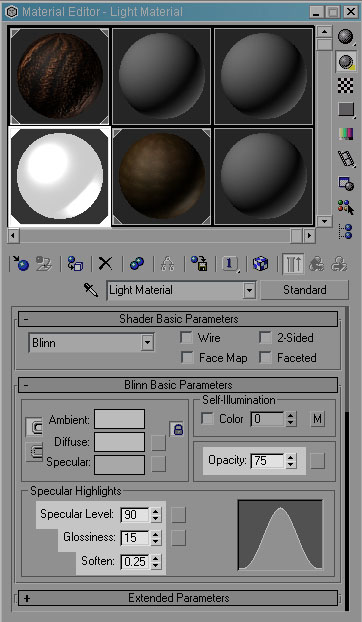
-. Press the M key on your keyboard to open the material editor.
-. Select the material you applied to the lamp objects and change the following parameters.
Specular Level: 90, Glossiness: 15, Soften: 0.25, and Opacity to 75. Use the
following image as a reference.
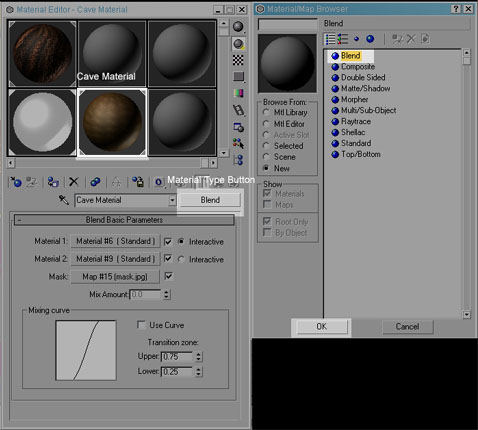
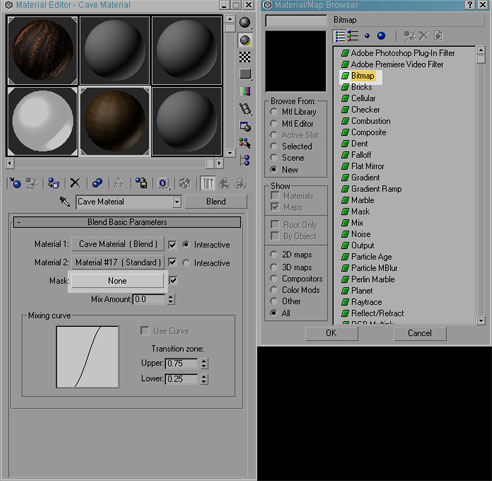
-. Select the material you applied to the cave object (Cave material if you downloaded the scene files)
-. Click the material type button and from the material/map browser windows pick “blend” then click Ok.
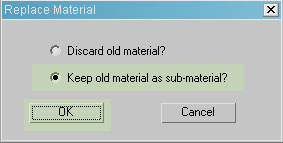
-. In the replace material window select keep old material as sub-material then click Ok.
-. Click on the material 2 slot.
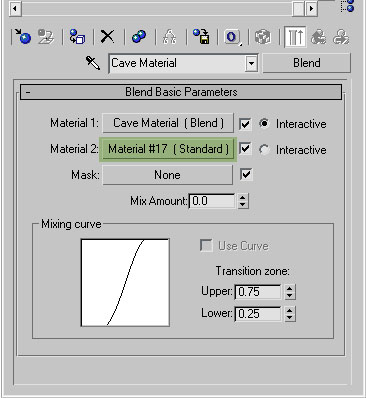
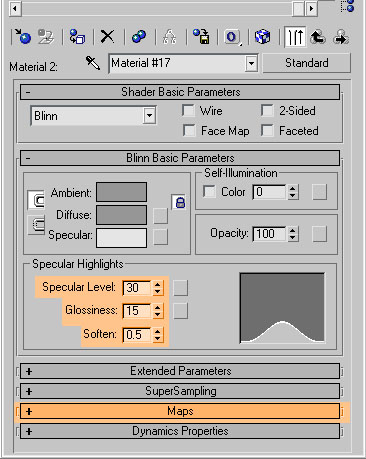
-.Change the following parameters
Specular Level: 30, Glossiness: 15, and Soften: 0.5. Use the following image
as a reference
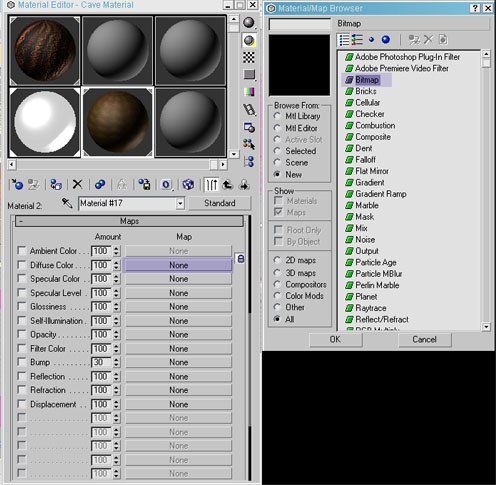
-. Open the maps rollout. Use the following image as a reference.
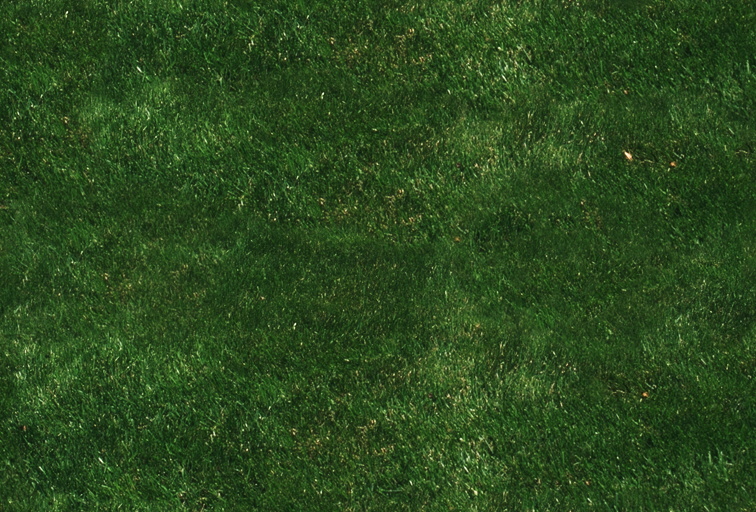
-. Inside the maps rollout click on the diffuse slot and from the material/map browser select “bitmap”. Open the GRASS.jpg file, included in the scene files or you can download it here. Grass Image
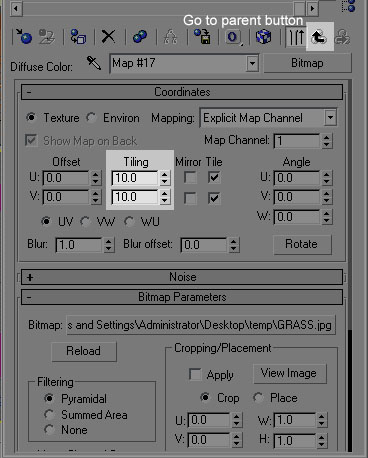
-. Change the Tiling parameters to 10. Use the following image as a reference
-. Click on the go to parent button.. Use the following image as a reference
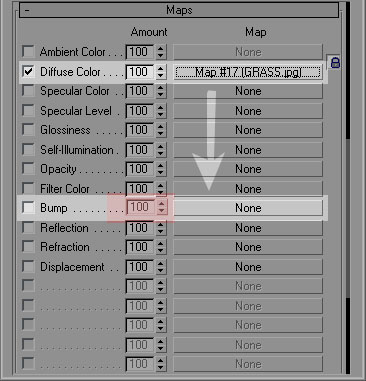
-. Change the bump amount to 100. Use the following image as a reference.
-. Click and drag the diffuse slot, drag it to the bump slot. Use the following
image as a reference.
-. On the copy options window select instance then click Ok.
-. Click on the go to parent button. ![]()
-. Click on the mask slot, in the material/map browser pick bitmap and click
ok. Open the Mask02.jpg file, included in the scene files or you can download
it here. Mask02 Image
-. Close the material editor.