
Navigation Bar
Tutorial #4, Page
3:
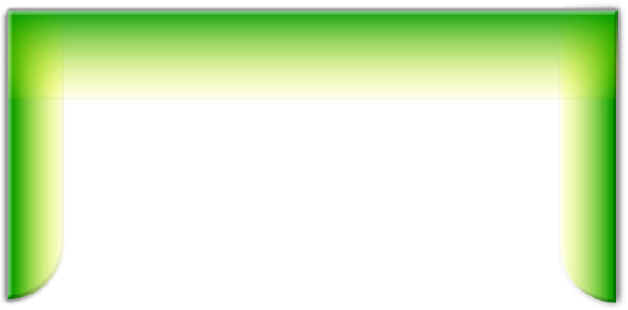
| For the rectangle at the top, I chose to apply the FADE TO TRANSPARENT feature so that the bottom portion becomes transparent. For the right vertical column, I made the left portion transparent, and for the left column, I made the right portion transparent. I made the rectangle the top layer of the three objects then carefully lined them all up until they blended together smoothly like the image on the right. |
You may have to play around with the amount of transparency of each object as well as well as the positioning of the objects. After you've lined them up, apply the EMBOSS effect to all three objects. You may also want to apply a SHADOW, using a different shadow direction for each object, like so:
Yeah, I know you can see the edges of the three objects where they meet, but if you play around with colors, fades, and transparencies, you may be able to do a better job than I did. Besides when we get the photos added in to the final image it will be less noticeable.
At this point, you can add the text that will become your links. I've covered adding and modifying text in a previous tutorial, so I won't go back over how to do that. And since you'll want to choose your own font and names for your links I'm not going to show you how to make your image look exactly like mine. You may want to experiment with the shadow direction on the text however, in order to carry over the illusion of light coming from the center of the image. For example, note how each of the links below has a slightly different shadow direction. (They aren't active links, so clicking on them won't get you anywhere).

Again, I covered shadows in a previous tutorial.
After adding your links, you can add the main text for the banner, then we're ready to add the photos. Next page, please....


![]()
![]()
Home Navigation Bars Buttons Backgrounds Cool Tricks Next Page