3/16/03 - This is my dome after cutting all the pieces out. I would not advise using a jigsaw...it is impossible to keep a straight line. It took much filing and sanding to correct my mistakes. By the time I was finished the space between the panels was more than I would like to have seen.
Proud Member of The
This is a portion of the aspects superdome mounted inside my aluminum dome. It looks brown due to the fact that it was primered and then painted aluminum. The superdome will provide support for the outer panels. The lower panels will be mounted in the same fashion.
Here is a rear view of the radar eye. Holes were drilled about halfway into the eye. Then I cut the ends off of four bolts and glued them in place. This will allow me to remove the eye if need, which will come in handy when I build my next dome. Tape is still holding the lens in place. I will be permanently gluing it in place soon.
For the R2 blue I decided to go the simple route. I found this can of metallic blue at my local hardware store. It was only $6.50 per can so I figured there was not much to lose! This was my first painted piece, the rear logic display panel. The highlighted areas are a very nice metallic blue and the darker areas appear almost purple. For a cheap can of paint, it appears similar to the finish of a blue candyapple paint. I added several layers of clearcoat to bring out the color, add some gloss and protect the paint from the inevitable scratches.
1/31/04 - This is my second attempt at building a logic display. The first was based on Mike Biasi's front display, which incorporated 70 LED's. They were difficult to fit, and required 36v, so I decided to rework the idea.

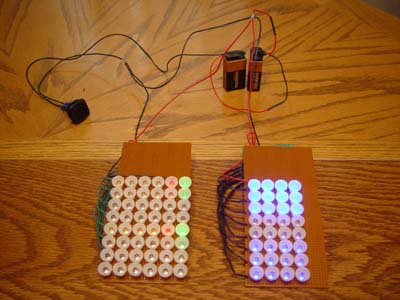
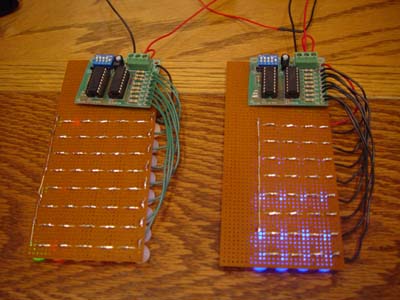
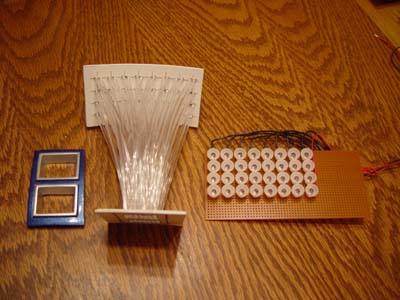
My solution was to mount the LED array on a circuit board, similar to Mike Senna's...but with more LED's. The pic flasher is mounted to the back of the board.

Next I made two templates to support the 3mm fiber optic strands. One template places the strands above the circuit board, the other aligns the strands in the display. The front display uses 32 5mm blue LED's and the rear uses 48 yellow/red/green(I might have to reduce the number on the back due to the low output of the yellow LED's). The whole thing runs on 12v.

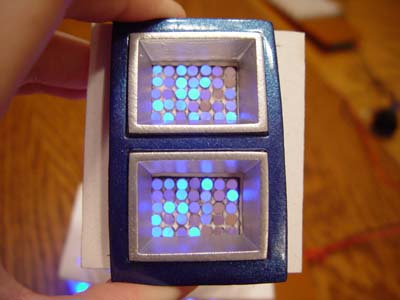
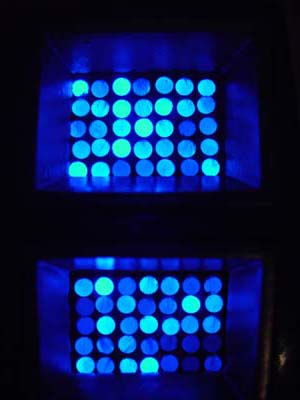
I am very pleased with the result...a very random pattern that is fully adjustable with dip switches on the PIC flasher. There is also a slight bit or variability with the color of light depending on the length and angle of the fiber strands in relation to the LED's.

Click Here

to view the video

DOME PAGE 1 | DOME PAGE 2 | DOME PAGE 3
Hosted by www.Geocities.ws

1