1/16/03 - Shiny new dome recieved today! I also purchased a radar eye made by Dave Everett and an eye lens by Steve Kazmeroff. All items found on E-Bay...thanks Darrin!
Proud Member of The
1/25/03 - I am now working on measuring, taping and cutting the dome. The outer dome is aluminum and the inner dome is an Aspects "superdome". I will be using a Dremel to start the cut and finish with a Jigsaw. The plastic dome will be used as support for the cut panels as well as the internal electronics.
2/06/03 - This is my collection of dome parts built by Dave Lockwood. Two of the holoeyes are molded as one-piece units, the third comes in three pieces and is movable once assembled. The logic displays on the left still need to be sanded and trimmed.
2/18/03 - This is the light source for my holoprojector. The brand name is TekTorch and is an LED flashlight that runs on 3 Alkaline watch batteries. My next step is to insert a 1 1/2" plastic magnifier lens into the top of the holoprojector. I purchased my magnifier for only $1.25. I will post a pic once it is all assembled.
2/18/03 - I drilled a 1 1/4" diameter hole in the front of the holoprojector about 1" deep. Next I drilled a hole just large enough for the flashlight to fit inside.
2/18/03 - This litlle light really puts out a bright beam! I have the light back far enough that the beam evenly lights the opening. The box said that the light is good for 200 hours, but I have not tested that yet. Continuous usage might drop that number quite a bit.
2/21/03 - These are the LED lights that will become the processor state indicators on the dome. They were purchased from fiberopticproducts.com, and will blink red-blue on the front, and green-yellow on the back of the dome.
3/15/03 - This is my assembly for the processor state indicator. It consists of two 1 1/2" PVC pipe cut 1" in length. Two small sheets of frost light diffusion material is placed in front of the LED unit. I purchased the sheets from B&H Photo. Mine are produced by Lowell. The first sheet is directly in front of the LED and the second sheet is placed in front of the aspects dome, just behind the aluminum cutout.
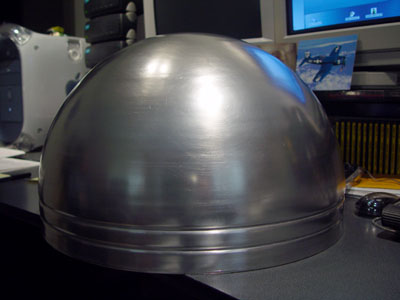
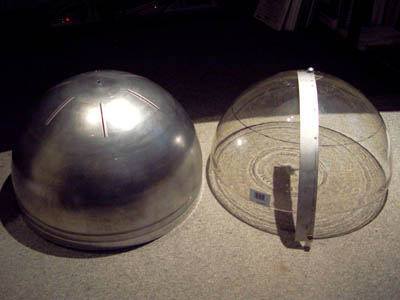
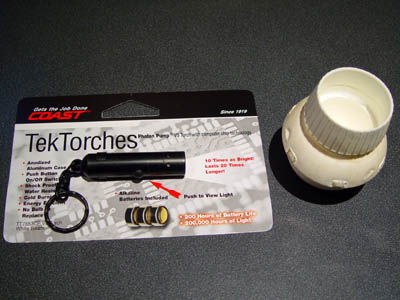
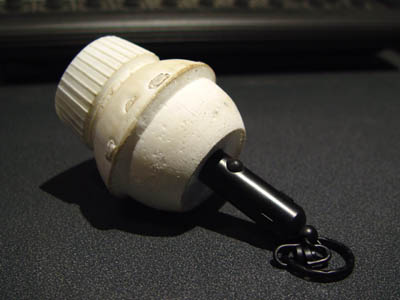
Here is a view of the light from the front and above. The aspects dome will later be glued inside the aluminum dome.
I just happened to capture the light as it changed from blue to red, it is very close to the original, not as good as using a shutter, but simpler.