
- Home
- Exterior
- Interior
- Engine
- Gearbox Swap
- Airbox Mod
- AMSOIL Air Filter
- Performance Chip
- Center Caps
- Cupholders
- S2 Brochure
- Window Sticker
- PCA Valuation
- On the Track
- PCA
- PCA Northeast
- Porsche USA
- Rennlist
- P-CarOnline
- Pelican Parts
- 944S2.com
- 944S2 Central
- 951 RacerX
- 968.net
- DS 944S2
- 944 Garage
- 12v.org
- Audi USA
- Audifans.com
- Audiworld.com
- Quattro Club USA
- My Audi site
- My Audi 100S
- My QSW (Sold)
- My 914 (Sold)
- My AMSOIL site
Porsche Links
Audi Links
Misc
![]()
©
2001
[email protected]
Jim Griffin


This page outlines the procedures that I used for installing an AMSOIL air filter in my S2.
The reasons for choosing an AMSOIL air filter can best be seen by reading these pages:
My Cars AMSOIL Air Filters
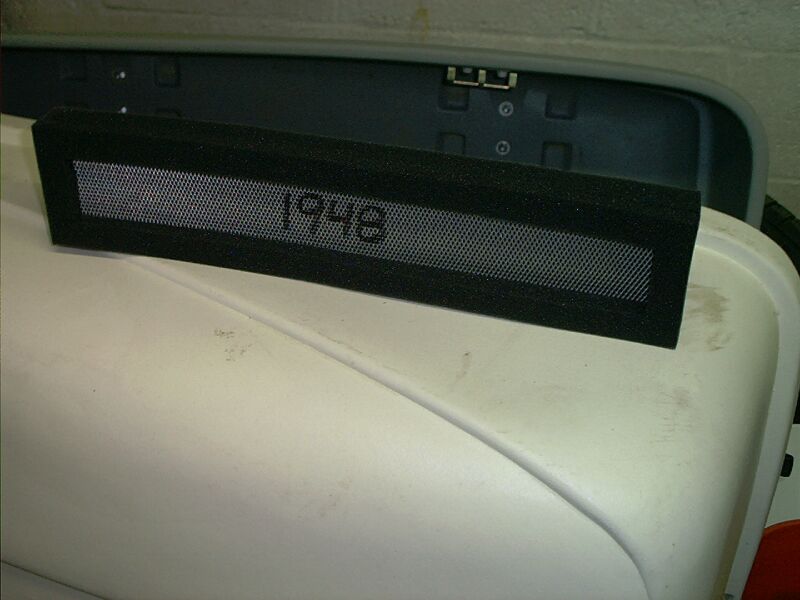
AMSOIL does not currently stock an air filter for the S2. Being a dealer, I researched through some reference material that I have, to see if I could find a filter that might match the S2's airbox dimensions. All I could find was a filter that was the right width and depth, but not the length. (It was 10 inches long, whereas the S2's length is 20 inches.). Given that, I ordered two of them, with the idea that I would join the two 10 inch ones together. (The part # that I ordered was S1948.)
Well, to my surprise, for whatever reason, when I received the filters from AMSOIL, they were 20 inches long each!! This meant that they would be (more or less) a perfect fit!! Needless to say, I was thrilled. I do not know why I got them at 20 inches vs. 10 inches... maybe they changed the spec. (Although, I had previously sent in a special request with the exact dimensions... so maybe they combined both my request and my order? I'm not sure. At some point, I'll order another one for verification.)
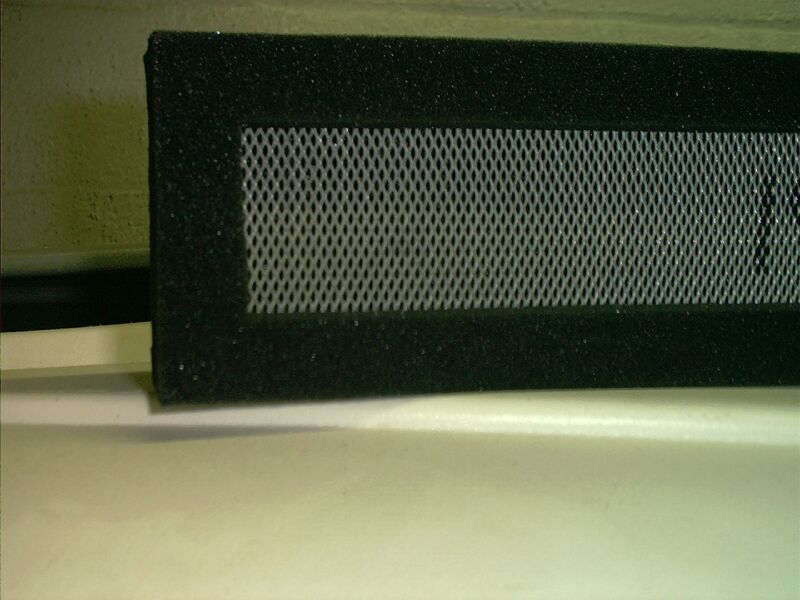
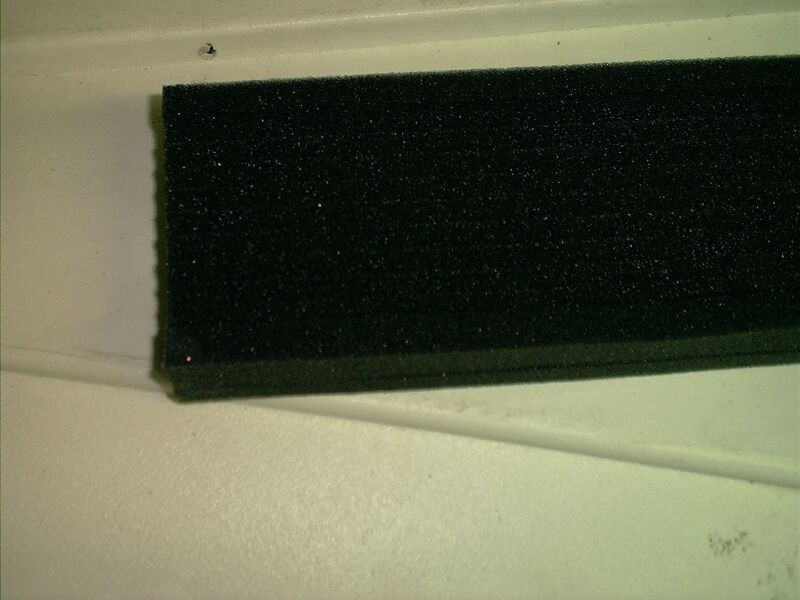
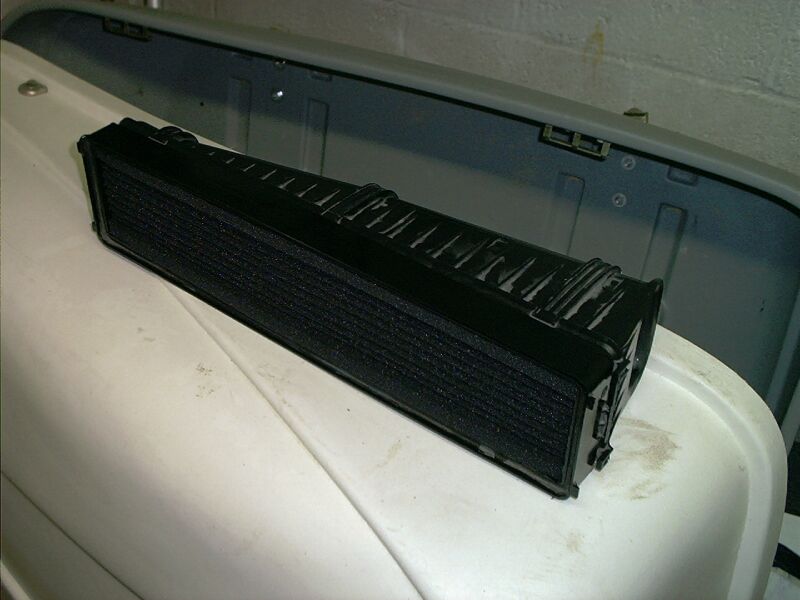
As you can see, AMSOIL filters are foam filters. They do not have a rubber edge like most filters. They are designed this way to essentially "mold" themselves to the airbox, so that the chance of dirt penetrating past the filter is greatly minimized.
During the installation, it may be necessary to "squish" the edges of the filter and "work" with it a little bit to get it to fit snugly. This is normal, and it ensures that there is a nice dirt-free fit.
After the installation is complete, you'll understand and appreciate the superior design, despite the little bit of extra effort (versus a "drop-in" filter).
Here is the AMSOIL filter as ordered.
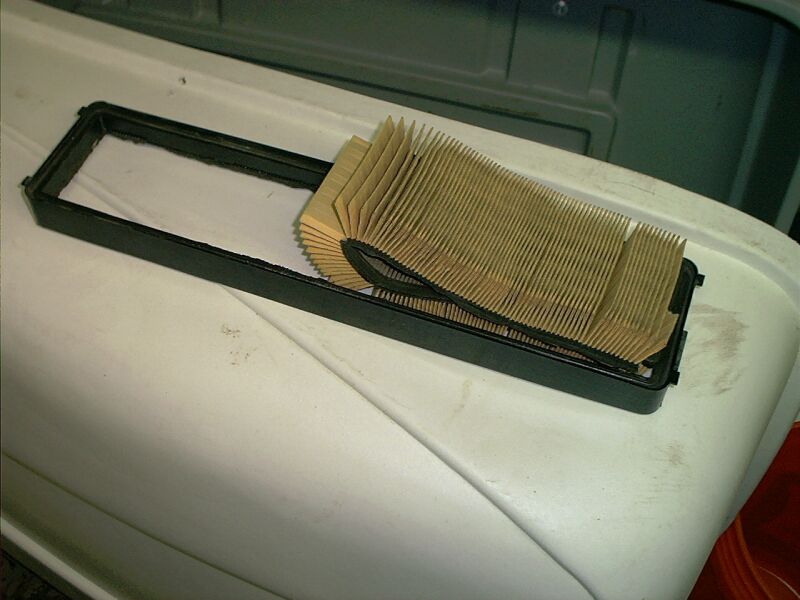
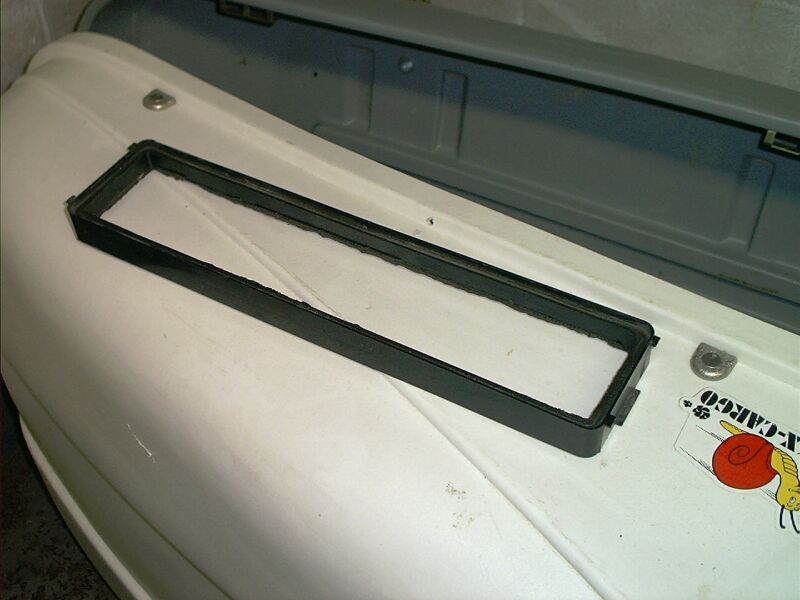
After removing the OEM paper filter from the vehicle, remove the paper element portion.
Note how the frame and its tabs are oriented relative to the paper element i.e. which side faces the front airbox piece.
The plastic frame will be re-used.
To view instructions and pictures about removing the front nose panel to gain access to the air filter, see: Airbox Mod
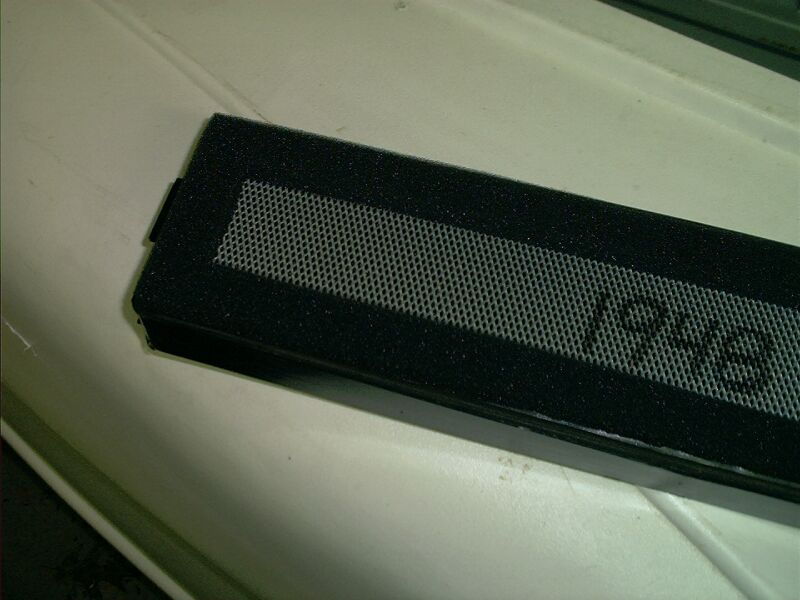
These pictures are examples of how the filter fits within the frame.
I actually found it easier to first install the filter in the front airbox section (see below),
and then install the frame around the bottom of the filter.

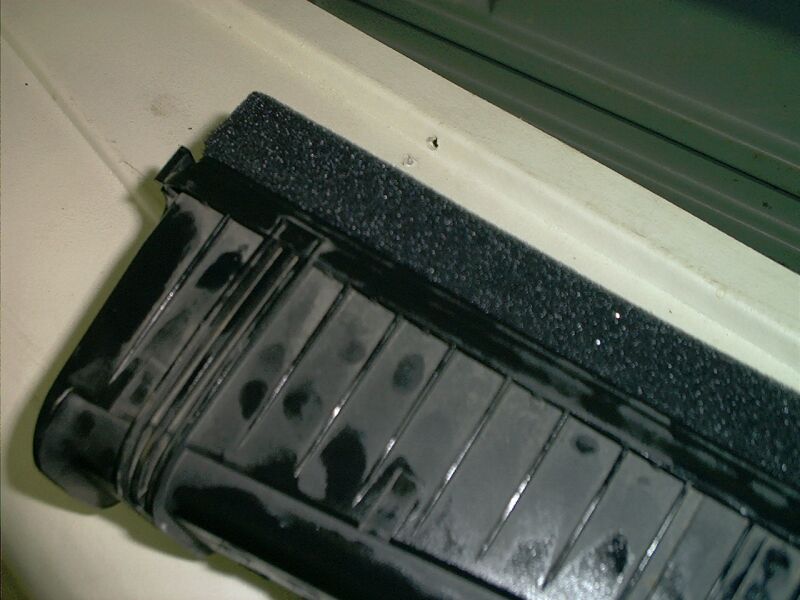
Here are pictures of the filter installed in the front section of the airbox.
As stated above, I found it easier to install the filter in this section first, and then "wrap" the frame around the bottom of the filter.
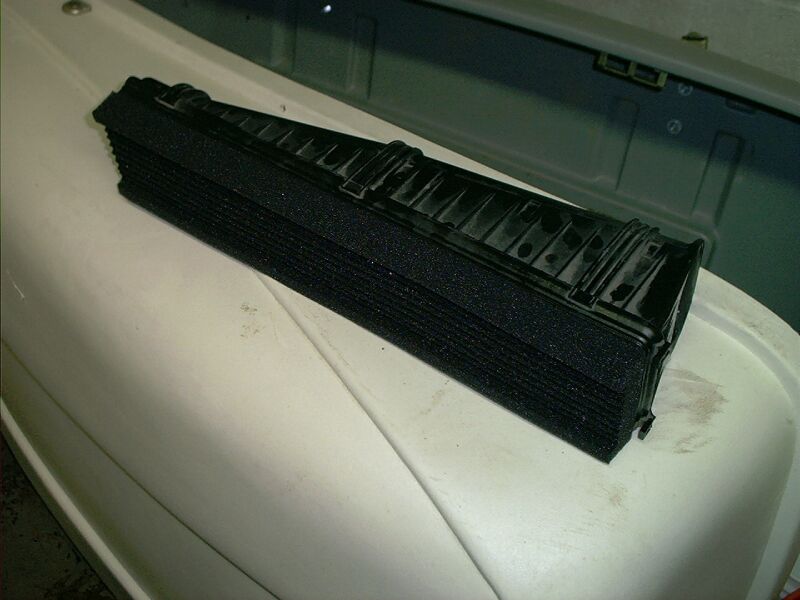
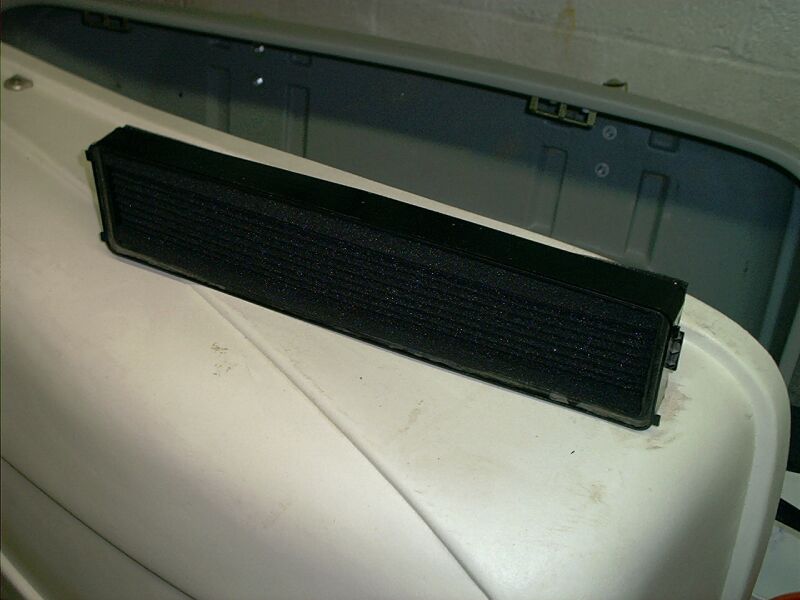
Here is the filter completely assembled.
This is what it should look like before installing it in the vehicle.
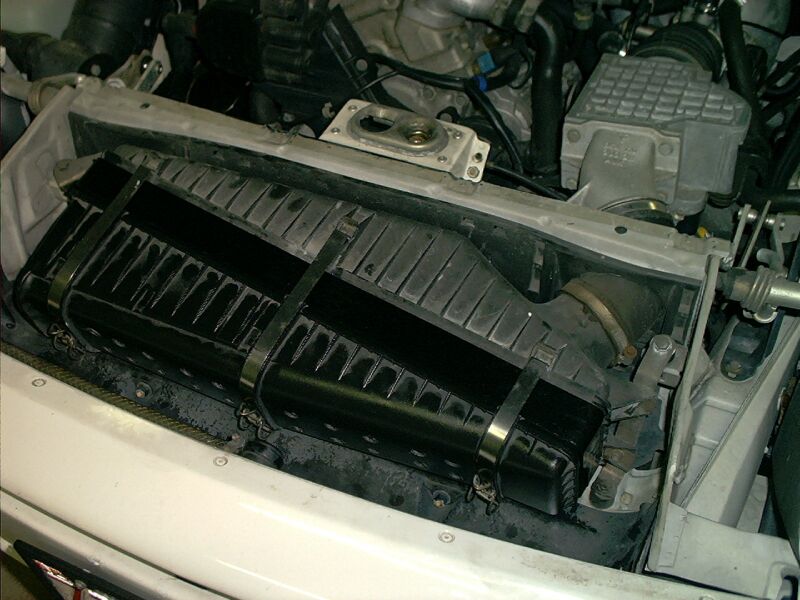
Here is the filter installed in the vehicle.
Re-install the nose panel, and enjoy!!
What have I experienced? The car seems to rev a bit easier and faster... and there is a noticeable difference in intake sound. As well, there seems to be an increase in the overall "music" that the car produces (i.e. intake, engine, and exhaust). (I don't call it noise... because intake, engine, and exhaust sounds are "music" to real auto enthusiasts).