This is what will be done to the exhaust side of the heads.

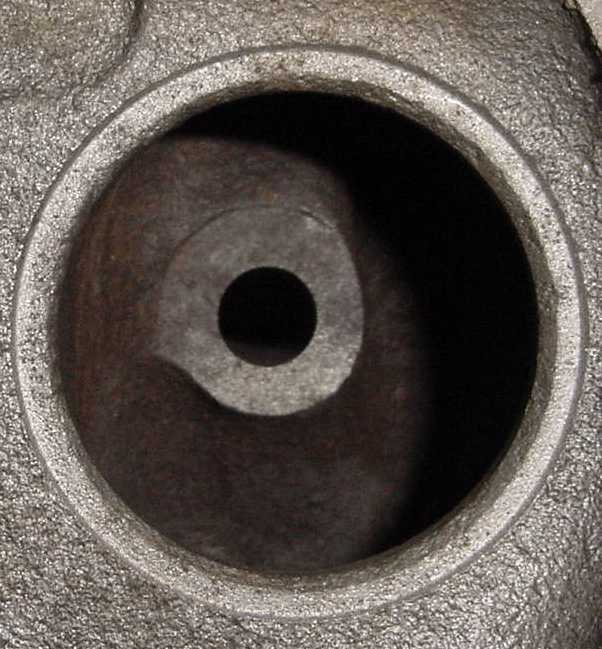
Pic 1 shows the exhaust roof raised .100"(bottom of pic), and the EGR bump removed.
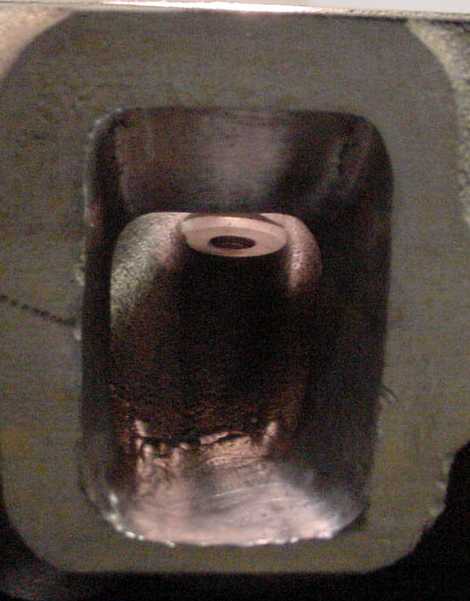
Pic 2 shows the EGR bump removed, the valve area tear-drop shaped and the roof raised.
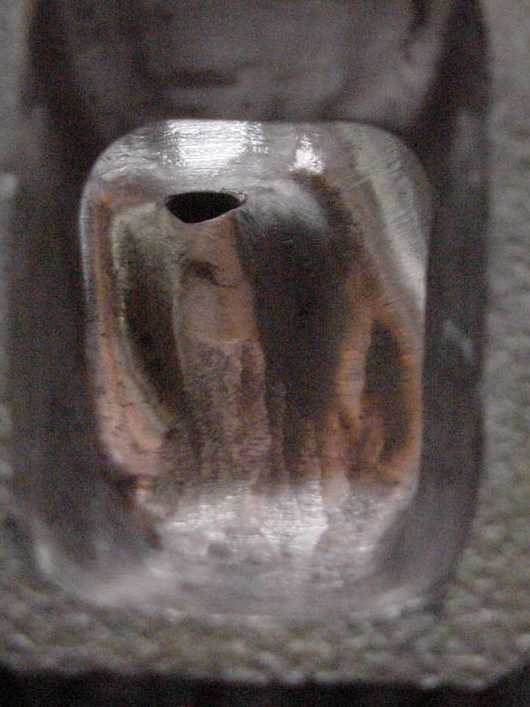
Pic 3 shows the middle 2 ports with all the same work as Pic 2 done.
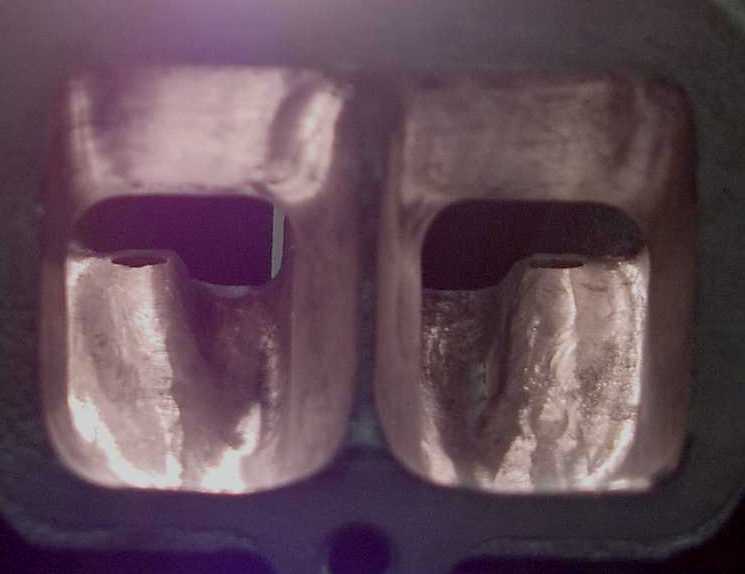
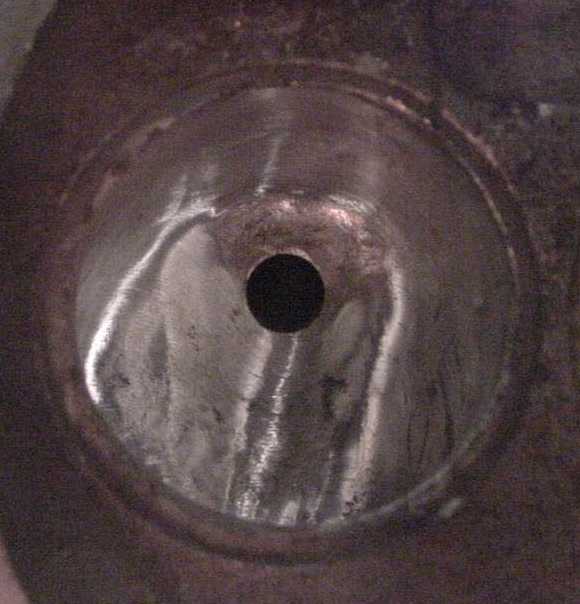
Pic 4 shows a top view of the valve area tear drop shaped.
Pic 4 also shows the bowl area walls is ported straight down from the valve seat, very important.
Pic 2 & 3 show the bottom wall polished (top of pic)
The areas where the headbolts go through the ports were smoothed out to remove any sharp angles and interferences. Also the walls opposite the headbolt holes were smoothed out and I made sure the area where the EGR bump was removed is also smooth. Cut the valve area to make a smooth transition, like a ramp, so the air flows right out of the port into the headers. The area just beneath the valve was cut straight down, on the outside 2 only. The middle 2 ports will have to have the heat riser area filled, then the bowl area has to be shaped to match the outer 2 ports.
The size of the exhaust ports before porting ranged from 132cc's to 134cc's.
After porting/polishing the size of the exhaust ports ranged from 141cc's to 143cc's.
I increased the size of the exhaust ports by an average of 10cc's.
