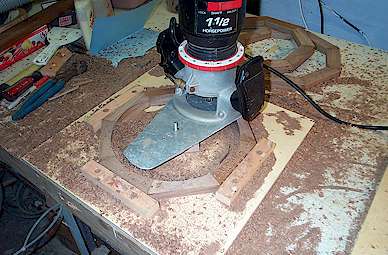
For some reason the photo of the jig used for routing the outside diameter will not load. I will load it later. It is basically the same as above, the newly rounded interior diameter is held from the inside while the outside is routed.
New Idea!!!
I've never taken the Roto-Zip tool very seriously, but I finally broke down and bought one. It's well worth the money. The Roto-Zip "sabre-cut" bit cuts cleanly through 3/4" walnut in one pass and takes a much smaller kerf than a router bit -- but most of all there is literally no tear-out of the end grain when cutting. My next rim will use a modified jig design and the Roto-Zip tool to cut the interior and exterior diameters.
Why not use a lathe?
You can, of course, use a lathe to turn the rim. It's a matter of preference. The method outlined here has the advantage of avoiding drilling any holes in the rim to mount it on a faceplate (on a wood lathe). I do use a lathe-like tool, but only for the final trueing of the outside diameter, as well as sanding both the inside and outside.