|
3.1
SKIN TONE
The
first thing I always shade is the skin.
Hold
Ctrl,
select the skin layer. This will select the areas on the pic
with the skin colour on it.
Press
Ctrl+H, this will get rid of the running dotted line while
retaining the selected area.
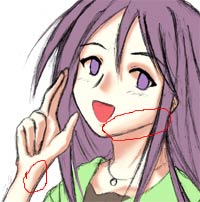
Before
you start shading, you MUST consider where the light source
is coming from. For this pic of Shinobu, I chose the light
source coming from the left.
Create a new layer above the skin layer. Rename this layer
to skin1. You will do the shading on this layer.
Now
pick the soft edged brush (shortcut = B), set the brush opacity
to 50% and choose a dark skin tone.
Use
some imagination. Think of what the shadow will look like
on the skin as the light comes from the light source. Use
the brush to colour the shadow according to your imagination.
Use
different sized brush for different areas.
After
you finished with one tone of skin shadow, pick an even darker
skin tone. Use this dark skin tone to shade the areas where
there is very little light.
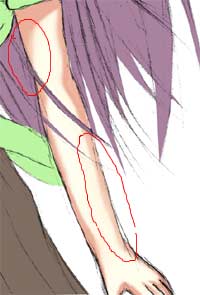
Now choose the original light skin tone, set brush opacity
to 10-15%. Use this brush to lighten up the transition areas
between the shadow and the light skin tone. This can give
a shadow a softer touch. A better example would be the areas
circled in red ->.
|