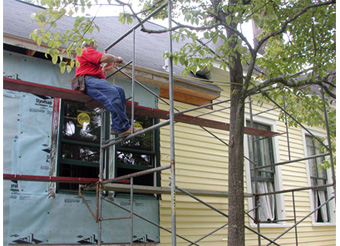
We had to carefully position our scaffolding around the dogwood tree. This is not all bad as we were able to use the tree to brace the scaffolding making it more stable. Note the planks are on the other side of the scaffolding which makes it tippy. We like the planks outboard because it offers us unobstructed walkways and also affords a nice tool rest.
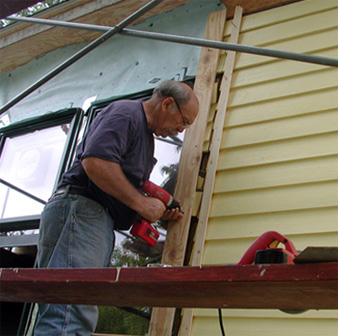
We chose to replace the original kitchen window with two windows to allow more light to enter the work area of the kitchen. After the windows were hung and tape sealed out air and moisture we proceeded to finish the wall. We fabricated surround boards with a bead detail in West Virginia in our woodshop. We also bought a new lightweight trim saw with a fine blade to cut the clapboards after first trying our larger saw and seeing splinters fly. Jim first holds up one of the new trim boards and marks where the old clapboards should be cut. To obtain a clean and straight cut, he tacks on a 1 x 2 to use as a fence or guide for the trim saw. This made for a perfect cut and the trim board fit nicely. Well, nothing that a little caulk won't fix!
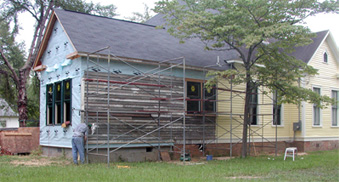
With the trim boards installed around the window, the corner boards can be installed. The corner boards are marked and used as the guide for installing clapboards. This was our longest wall where we used some of our best and longest recycled clapboards. Where joints were necessary, they were spaced randomly.
Our west-facing wall has been sanded and caulked and oil-based primer has been applied.
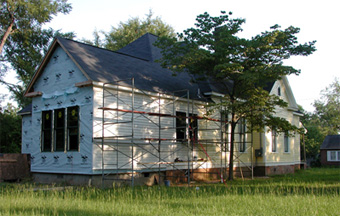
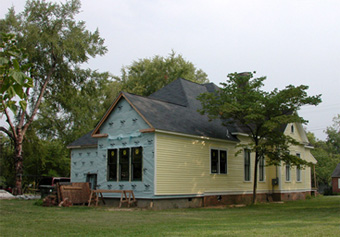
Below, the entire west side of the house is painted and it looks pretty darn good for a couple of amateurs.
The tree in the background to the left of the house is an elm tree.