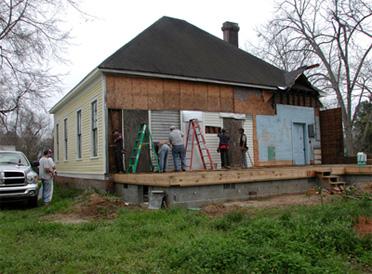
11 a.m. We had left clapboards on the north side to protect it from the elements. There is nothing behind the siding but our interior lath and plaster. Matt's schedule was moved up a day, so before the crew could start construction, everyone pitched in to remove the siding boards.
|
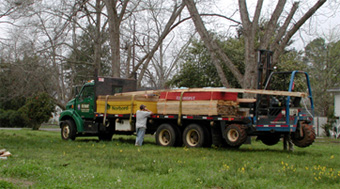
11 a.m. Matt estimated the materials he would need using our 8.5"x11" piece of paper and ordered them from Plymart. Plymart deals mostly with contractors. Here Matt inspects the lumber. Some of the timbers were longer than 16' which Jim had never seen before.
|
12 noon The old white clapboards are removed and the salvageable ones added to the backyard lumber stash.
Elizabeth wanted to keep the original blue tongue-and-groove wall boards to preserve that bit of history. (Not to mention our only source of electricity was attached to those same boards.) Many of the homes in this area use tongue-and-groove interior boards rather than lath-and-plaster to cover the walls because of vibration caused by the train which is less than a block away. The new east kitchen wall was built along the edge of these boards.
|
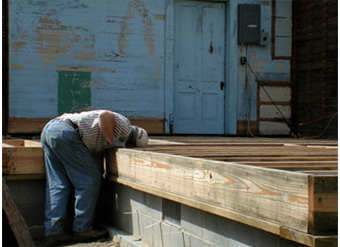
12:30 p.m. Matt and his crew measured the foundation and discovered the original beam that supported the kitchen east wall was an inch too tall. Jim agreed that there was a "hump." This defect had not been observed until Matt's trained eye spotted it.
|
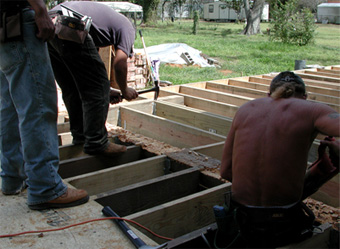
2 p.m. The crew remove that pesky inch of old sill beam.
|
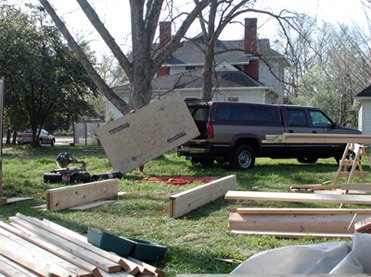
1 p.m. To keep the workflow going Jim volunteered to become the back up lumber hauling service. The Avantek is a moisture resistant flooring board. Our previously hauled stack of Avantek was based on how we wanted to haul in a load in the truck, not how much we needed. Matt's calculations showed we were a few sheets short, so headed out to pick up the needed sheets while the crew nailed down the first 20 sheets we had on site.
|

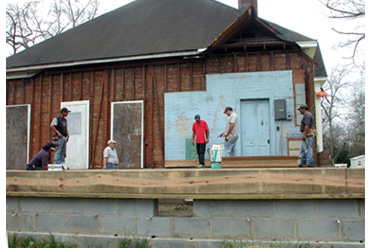
3 p.m. The pile of lumber to the left cut to size studs. The walls were built 10-feet tall which is the height of the original kitchen. The remainder of the house has 12-foot-high walls.
|
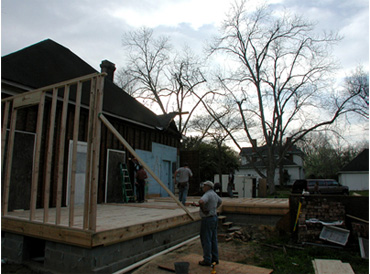
6:30 p.m. The first wall (east) goes up. The opening will hold the old salvaged kitchen window which will provide daylight into the new closet.
|
7 p.m. The west wall was modified to slip behind the old clapboards. We did not want a vertical joint of all the clapboards where our addition began. When we tore off the old kitchen, we left some of the clapboards in place that would extend out onto our new addition. This would stagger the joints helping to hide the point where new met the old.
|
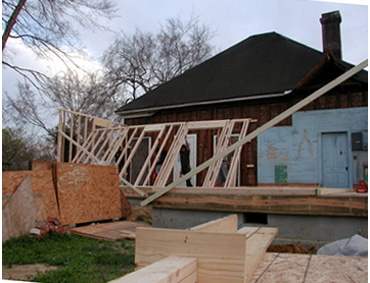
7:32 p.m. The back (north) wall going up. The large opening is for the new back door and the smaller opening was framed for a stained glass bathroom window. On one of our previous Lowe's parts run, we discovered a $553.00 door and sidelight which had been dropped and damaged and on sale for $50.00. We snatched it up and had been saving it for our rear door. We spent some time fixing the damage, except for a crack in the leaded glass. The style of door is not perfect for the house, but since it was a 3-foot opening, we could replace it later with a more appropriate model. The framework was worth the cost we paid.
|
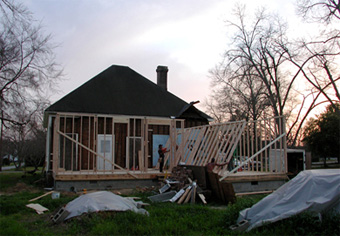
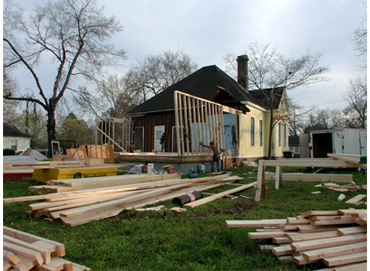
7:36 p.m. The east kitchen wall goes up
|

7:37 p.m. Day one ends.
|
|
|