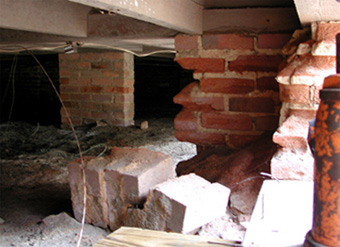
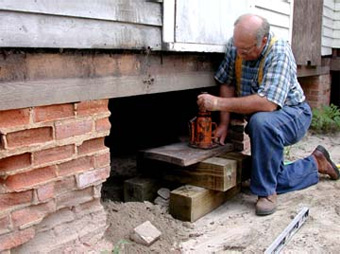
Back kitchen wall piers which had to be replaced.
|
Support pier under the back wall.
|
|
|
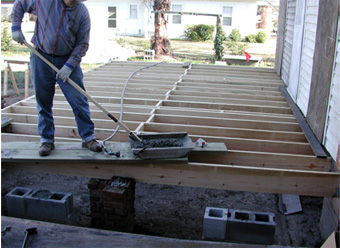
Bottle jacks on cribbing lift the house off the damaged piers. We leveled off the ground and built a log-cabin so our bottle jacks would fit under main wall support timber. We wanted a pyramid shape so the whole thing would not tip under the load. Also, two jacks were used so a single jack failure would not cause the whole thing to come crashing down. Beside, we would be working beneath it.
|
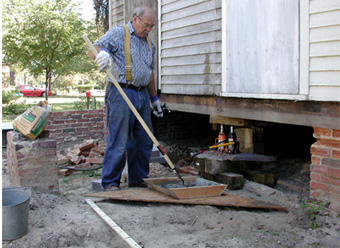
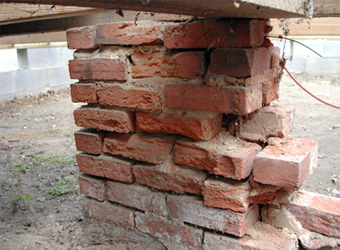
After removing the old pier we prepared a new footer for our pier. Above Jim is using his home-made mortar tray. It lasted through the building of the foundation and the building of several piers.
|
|
|
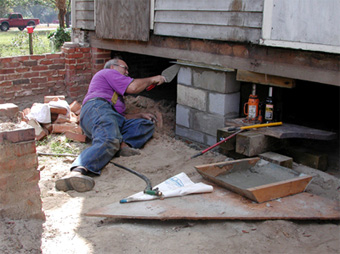
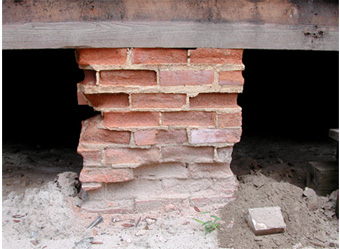
Above Jim places a piece of tin between the concrete block footer and support timber. This prevents moisture from wicking into the wood from masonry material.
|
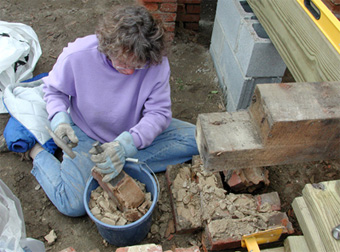
Good bricks from the piers were cleaned to be used later for veneering the foundation.
|
|
|
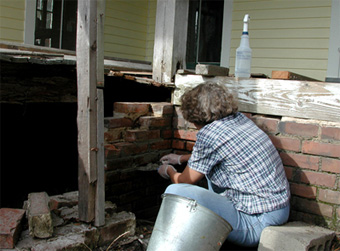
Pointing brick. The original brick mortar of sand and a little lime washed out of the joints. An internet search found the approved mixture of concrete, lime and sand. After cleaning out the joint, a scoop of mortar is pushed into the gap with a thin trowel. The joint is then finished (pointed) to look like the original. This was one of the projects Elizabeth worked on in spare time between other projects.
|
|
|