Hardware & Vents
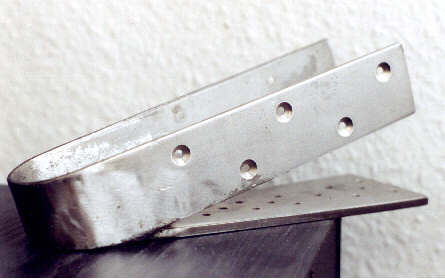
are very different: "Heel fitting fabricated
or cast with1/2´´pintle." Thats all to this importend part of the rudder system. I´ve thought for a long time about this hardware piece and here you see the result.
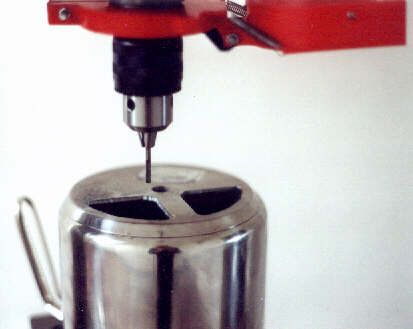
Tools I had to buy are: a cheap standing up drill machine (35$), some professionel drills (~15$). A sinker for steel (8$), a diskgrinder (20$) [I hope this is the correct idiom for that tool] to cut out the pieces from steel plates, some scrapdisks for the diskgrinder (~10$), some welding elektrods for stainless steel (10$),
Other tools I have had are two files, one round
and one straight, safety goggles etc.
All in all there were an investment of ~100$ for the tools. Another investment is the stainless stuff itself. I´ve got all my steel stuff from a professional stainless steel trader for 75$ including rudder stock. The "Ruhrgebiet" is quite near the city I live. A workemate has welded the pieces together. Oh, I`ve forgotten: three plastic cutting boards for bearings (2$).
So my stainless hardware costs all in all about 200$ - realy cheap, I think

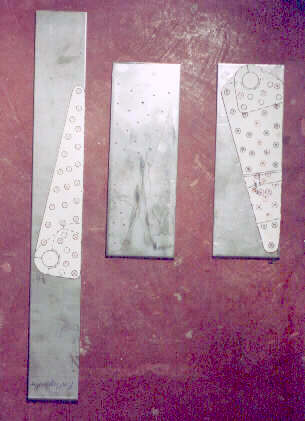
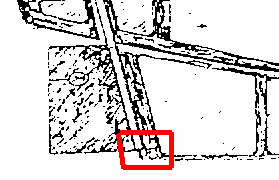
I`ve scaned the drawing to the computer an printed
them out as 1:1 templates. If anybody is interessted at this PC-files,
please send a mail.
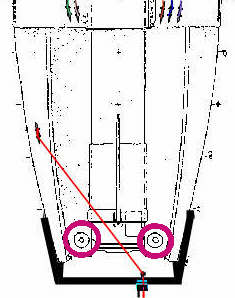
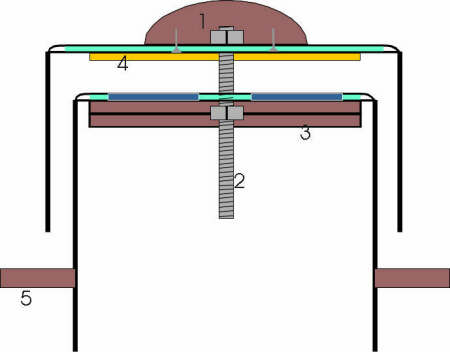
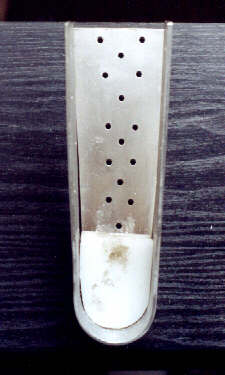
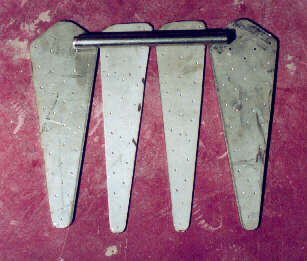
At the left picture the tabernacle-mast plates are cutted out and the screw holes are marked. To drill all these 110 screw holes a stand up drill machine is a good investment. Working time are 3 hrs to drill the screw holes. , I`ve drilled out the 1´´ holes for the tabernacle pin hole by hole with a 1/8´´ drill. after that I had filed it round very carefuly, because the pin must fit accurately through the holes. Working time 2 hrs for each hole.