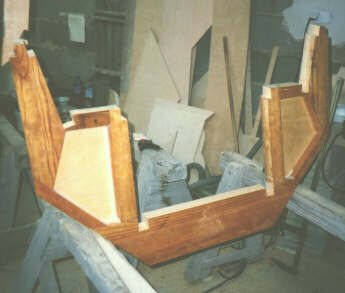
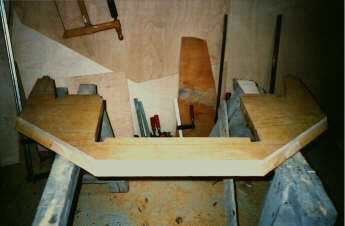
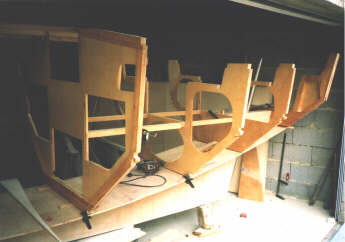
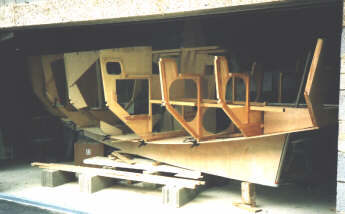
NOHN PAGES
SEABIRD´86
BUILDING STEP 6

Bulkheads & Transom

Phil C. Bolger gives detailed plans to set up the bulkheads, transom and stem.
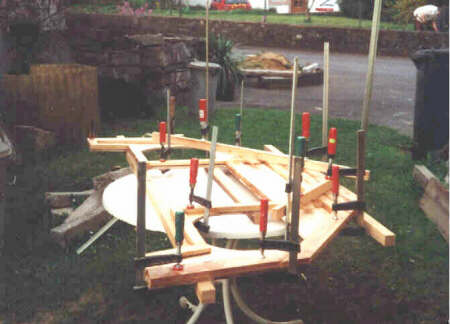
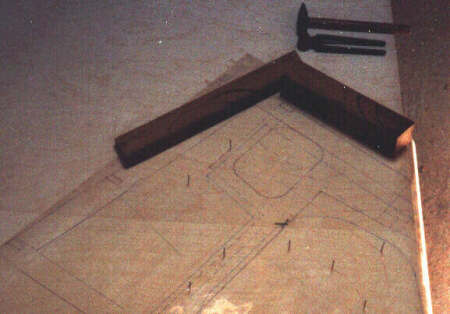
I've made 1:1 templates from printer foil last winter (half bulkheads, the keel walls, bottom and upper side panels)I've hanged the foil on the long wall of the living room. So I could draw the templates step by step in my free time. Another atvantage of the templates is that junk ply is minimized. Set-up to the plywood is very fast: lay down the template on the ply, mark the centreline, a nail on every edge, than nails and template away from the ply, draw the lines between the nail points and Set-up is ready. All in all I've needed 2 hrs. to set-up all the 8 bulkheads.
Working this way to set-up and sawing the bulkheads and transom were one day working time only.

Framing needs more time.
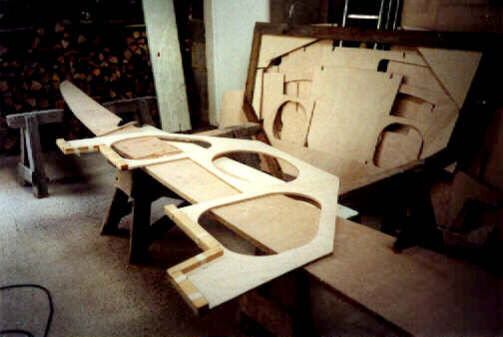
My framing wood is all larch, 3/4´´ thick x 1 1/2´´ or 2 1/2´´, pre sawed last year.
I've found, framing is more easily, if I had glued some pieces first and let them harden before gluing the leftovers.
Transom, all measurings for bevels and clamp-stringer-position are given in the plans. It fits o.k.

seabird original
seabird modified version

building steps
building step 1   Model
building step 1a more model pictures
building step 2   The new workshop
building step 3   Preparations
building step   Keel & Bottom
building step 5   Horn assembly
building step   Bulkheads & Transom
building step 7   Hardware & Vents
building step   Stringers & Clamps
building step 9   Rudder
building step 10 Side panels & Bilge panels
building step 11 Main sheer moldings & windows
building step 12 Tabernacle posts
building step 13 Deck
building step 14 Cockpit

miscellaneous
going around the boat
breakdowns
scarfing tool
load handling

links
seabird ´86 index
back to top
mailto: [email protected]

Hosted by www.Geocities.ws

1