
Tutorial #3:
Now we get a little fancier, and we'll create something like the image below. Actually, if you follow this tutorial to the very end, we'll even improve upon it a bit by placing a photo in the white space.

This tutorial uses my favorite icon a lot; the INSERT SHAPE
![]() icon. Lets start by choosing the one from
the BUTTON SHAPES that looks like this:
icon. Lets start by choosing the one from
the BUTTON SHAPES that looks like this:

You can see that I've also added the EMBOSS effect to it,
because that's the effect I wanted for my final image. Next, stretch it out by clicking and dragging the borders of the
frame around it to make it bigger. Choose the FILL COLOR ![]() icon, click on MORE, then click the FADE tab. For my example, I've
chosen to make the fade go from left to right. Below is a thumbnail of what it
looks like in NetStudio. Click on the thumbnail to see a bigger image. You'll
need to use your browser's BACK button to return here.
icon, click on MORE, then click the FADE tab. For my example, I've
chosen to make the fade go from left to right. Below is a thumbnail of what it
looks like in NetStudio. Click on the thumbnail to see a bigger image. You'll
need to use your browser's BACK button to return here.
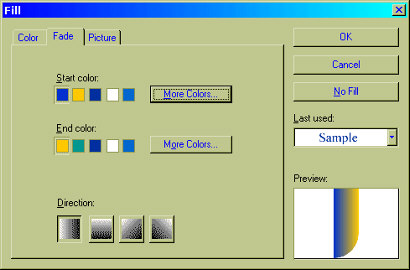
I've chosen blue as the start color and a dark yellow as the end color. Now I have this:
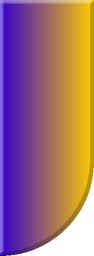
In my example here, I've made it a little smaller so that this page will load quicker, but you can make yours whatever size you want.
Let's move on to the next page of this tutorial, shall we?


![]()
![]()
Home Navigation Bars Buttons Backgrounds Cool Tricks Next Page