Title
Navagation
.:: HOME
.:: NEGATIVE9 HUB
.:: ABOUT ME
Wings3D Specific
.:: ORENITATION
.:: MATERIALS
.:: LIGHTS
.:: UVMAPPING
.:: RENDERING
3rd Party
.:: RENDERING
.:: ANIMATION
Reference
.:: MANUAL
.:: TIPS
Showcase
.:: GALLERY
Other
.:: TOOLS
.:: TUTORIALS THREAD
Martin Krol's Demon

Navagation
.:: *BEGININGS*
.:: STEP TWO
.:: STEP THREE
.:: STEP FOUR - Coming Soon

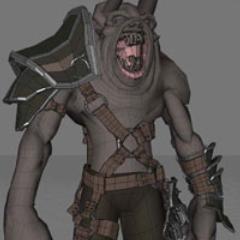
Dissecting Martin Krol's "Demon"

Watching Martin Krol's timelapsed modeling sessions of "Demon" brought upon the idea to break-down each step of the 'DEMON' timelapsed session to a frame-by-every-other-frame to a step-by-step tutorial.

A Learning by Dissecting Approach.

This tutorial will take you through the inital stages of Roughing out a character using Methods adapted from Martin Krol's Demon modeling session video. These methods are converted from Mirai to Wings3D.

This tutorial only outlines the first 28 seconds, what you create from there is left to your imagination.

What you Need, or Need to Know

Conventions used
Elements will be highlighted accordingly:

  • Action
  • [ Hotkey's ]
  • Selection
  • Note

    Files

  • Base File: This is a cube extrude 6 times to match the first step of the dissection.

  • Martin Krol's Demon

    Martin Krol's Demon
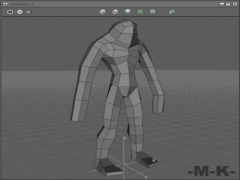
    Ending Result of this Tutorial

    How it Begins

    Martin Krol Dissected: Step 1 Starting Out
    The first step has been provided above, but for the curious this was acomplished thus:

    Create a CUBE and select the top Face.

    Extrude -- Normal out 5 times. From there, each individual section was Moved along the Z axis to get to the desired effect.


    NEXT ::..
    Questions/Comments to:   Webmaster
    Hosted by www.Geocities.ws

    1