ESPRESSO
If you like coffee, then chances are that you'll really enjoy Italian coffee
(or caffè ). There are many different styles including
"espresso" and cappuccino, which are both popular in the United
States. All styles are based on espresso. For example, cappuccino is
espresso with steamed milk and milk foam.
Note that "espresso" is a non-Italian term used in the US.
What we call espresso is simply "caffè " in Italy (note the accent on
the second syllable). I'll use the more-familiar term "espresso"
for this page. Just note that in Italy, the correct term is caffè .
If you want to make "true" espresso, then be prepared to spend
several hundred dollars on a high-quality espresso machine like you see in
restaurants or cappuccino bars. These machines use high-pressure steam to
produce the espresso. Home machines, even the $100 models found at Wal
Mart and other places, do not produce enough pressure to create espresso like
you find in a coffee bar.
A very reasonable alternative for home use is an "espresso pot",
called a moka in Italy. The moka is a simple device that uses steam
pressure to force water through a strainer to make espresso. It won't be
exactly like the espresso you find in bars, but it can come close. The
espresso pot is an inexpensive alternative to making good caffè .
The method below is the Neapolitan way of making caffè. The foam
usually developed from a machine is manufactured by hand in this method.
One word of caution before proceeding. A 2-ounce shot of espresso has
about the same amount of caffeine as an 8-ounce cup of drip coffee. Don't
get into the habit of pouring 8-ounce cups of espresso throughout the day
(unless you want to be wired out all day).
You can click on the pictures below to see enlarged versions.
|
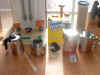 |
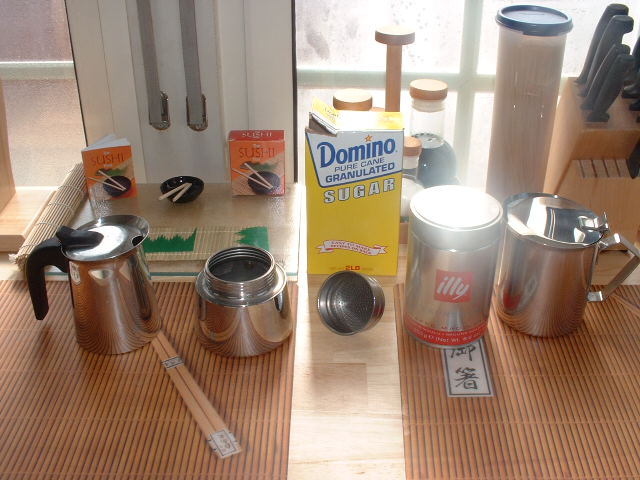
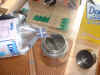
You'll need the following items to make Italian
espresso: good quality espresso (popular Italian brands are Illy and
Kimbo), sugar, cold water, an espresso pot, a container in which to mix
the espresso, and small cups (preferably ceramic espresso
cups).
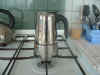
The picture at the left shows a disassembled espresso pot, the
espresso, sugar, and a stainless steel container (far right). |
|
 |
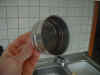
Some items on the espresso pot are
replaceable. After several months of use, you may have to replace
the rubber gasket (pictured on the left) or the entire strainer
(right). When emptying the strainer of used coffee grounds, do not
bang it. This will dent it and ruin the seal. Instead, rinse
it under running water. |
|
 |
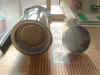
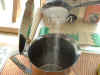
This is a close-up of the strainer
assembly. |
|
 |
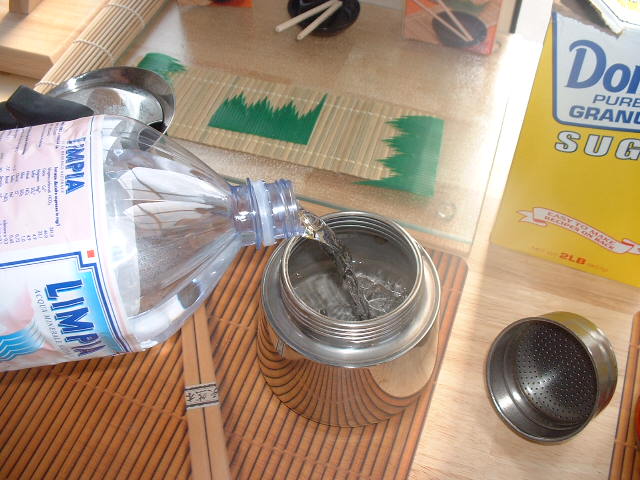
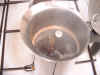
Step 1: Fill the espresso pot with cold
water. The inside of the pot is usually marked with a line to show
the fill level. If not, then fill it up to the relief valve on the
side. The water should not seep through the strainer when you insert
it. This will waterlog the coffee and possibly affect the flavor. |
|
 |
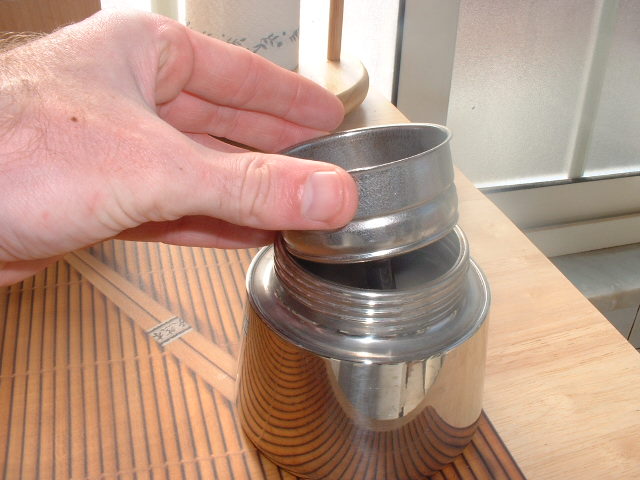
Step 2: Insert the strainer assembly into
the base. (Alternately, you can fill the assembly first then insert
it. It's a personal preference). |
|
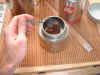 |
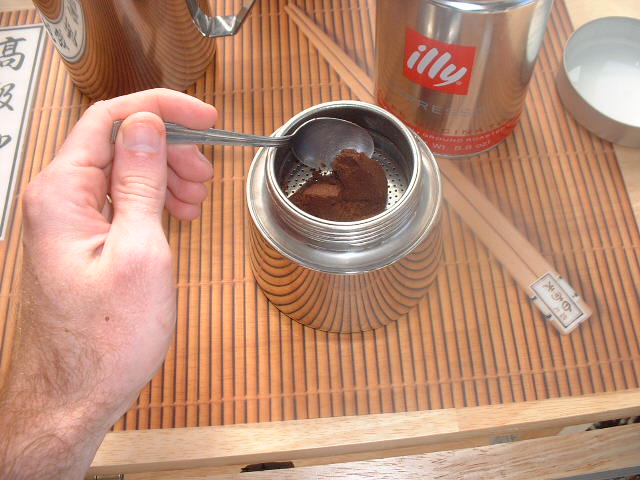
Step 3: Fill the strainer with
espresso. Ensure that you do not get any grounds on the outside rim
of the container. There must be a perfect seal at this point or else
the water will spew out once it begins to boil. Simply wipe any
excess grounds off before assembling the pot. This is one reason why
some people fill the strainer first then insert it.
Warning: Do not pack the espresso down! This could possibly
clog the system and generate too much pressure. Although acceptable
for commercial machines, packing the espresso in this type of pot can be
dangerous. |
|
 |
This is what the espresso should look like
after you fill the strainer. Piling the espresso like this places it
flush with the upper strainer of the pot, thus producing a stronger
flavored drink. You can adjust it to your liking. |
|
 |
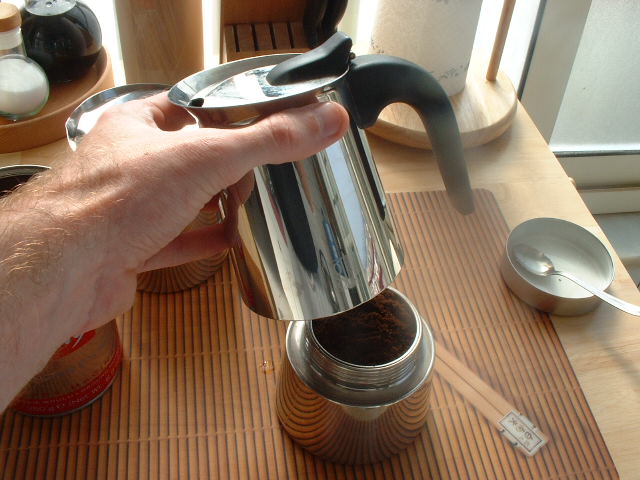
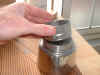
Step 4: Assemble the pot. Once
again, ensure that no grounds are on the outside rim. Screw the pot
onto the base by holding the pot itself, not the handle. The handles
can break easily (but are also replaceable). |
|
 |
Step 5: Place the pot over a low
flame. A low flame increases the brew time, which enhances the
flavor. At a later step, you'll want a slow trickle of espresso
instead of a full-force fountain.
In this picture, you'll notice a small metal piece under the pot.
This piece is common for Italian stoves and is available at any hardware
store. It should work with an American-style stove if the burner
sides are spaced too far apart. |
|
 |
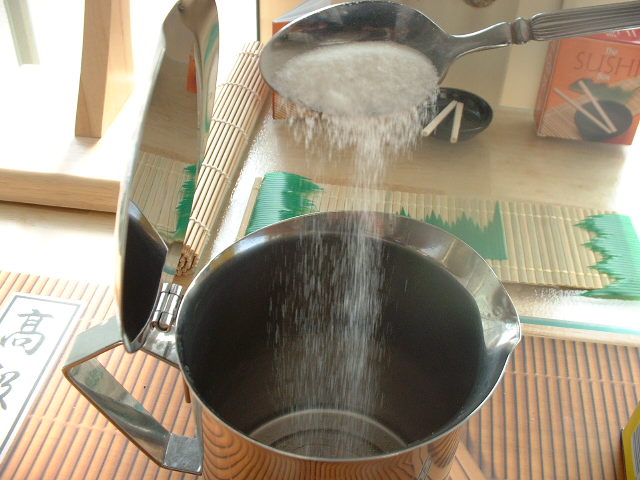
Step 6: While the espresso is brewing,
add sugar to your mixing container. You can start with about a
teaspoon per cup and then adjust it from there to suit your taste.
The pot in this picture is a 10-cup pot, so I used a little more than 10
teaspoons. After some experience, you will be able to just dump the
right amount of sugar into the container without measuring it.
Remember, making espresso is an art, not a science. |
|
 |
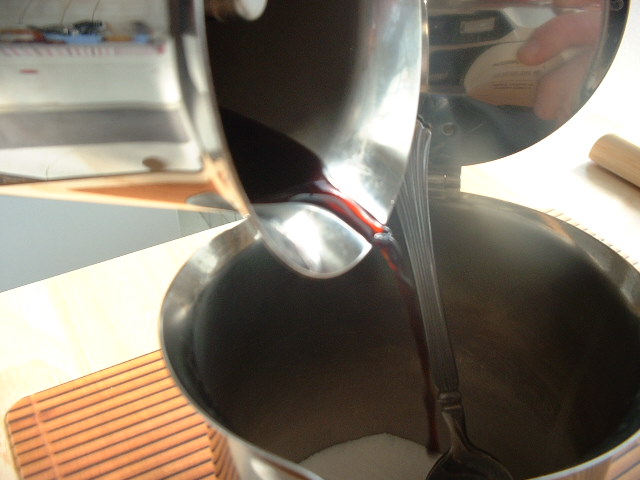
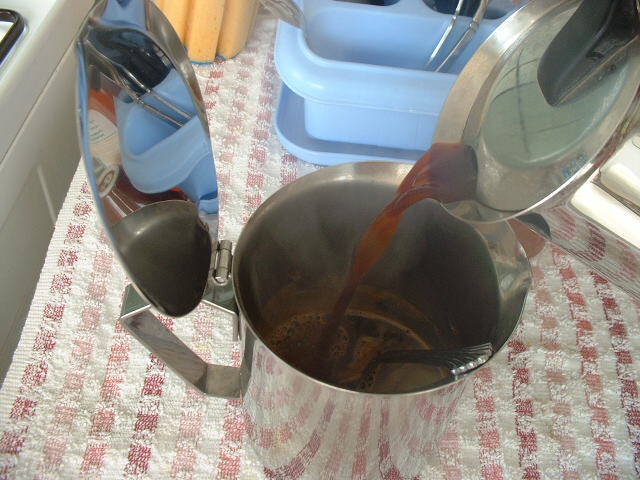
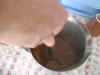
Step 7: This step is critical and may
take some practice to get right. As soon as the espresso starts to
come out, remove the pot from the heat and pour some of the liquid into
the mixing container with the sugar.
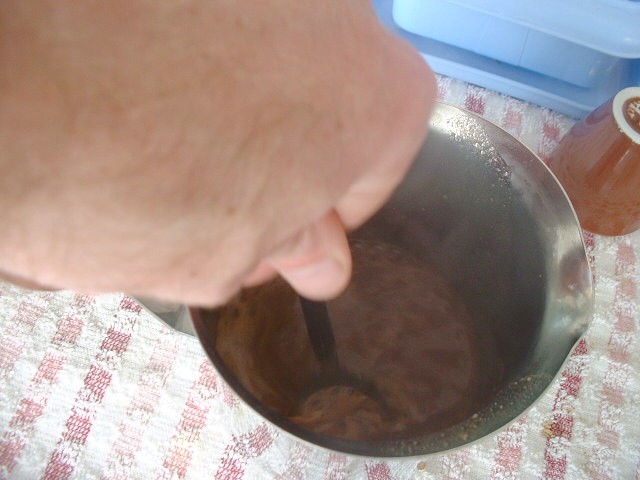
Adding too little is much better than adding too much, so be
conservative. Once you have some espresso with the sugar, start
stirring. The end result will be a slurry with the consistency of
peanut butter (or a little thinner). If it is too dry, keep adding
espresso a little at a time until you get the right
consistency.
If you run out of espresso, add it back to the flame until more comes
out. You should use the first espresso out of the pot since it is
the strongest. Don't brew the entire pot then try to add it to the
sugar. It won't taste the same. |
|
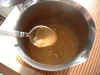 |
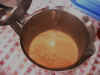
This is about the right consistency, maybe a
little thin but it worked. If you accidentally add too much liquid,
you can either add more sugar (not recommended unless you don't mind it
being super sweet) or simply add the remaining espresso at the end of the
brew. It won't have a lot of foam on top, but is still drinkable. |
|
 |
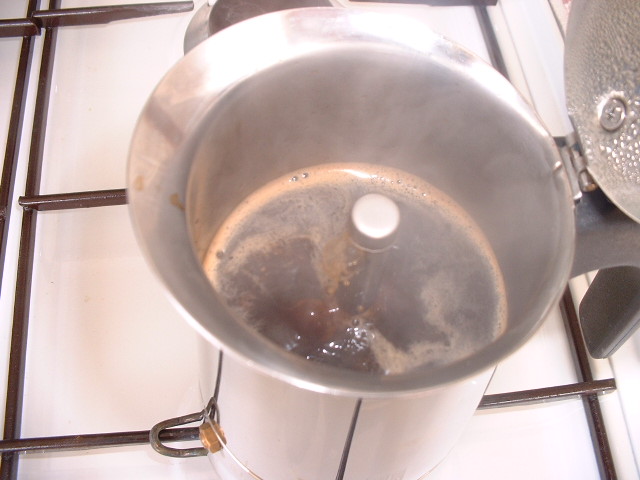
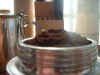
The espresso comes out as mostly steam toward
the end of the brew. The pot pictured here has a tube designed to
minimize splatter during the brewing process. The lid on this one
can remain open during brewing. Other models have two holes in the
side and will spray espresso all over the kitchen if the lid is up. |
|
 |
Step 8: When the espresso finishes
brewing, pour about half of it into the mixing container. |
|
 |
Step 9: Stir vigorously to aerate the
mixture and produce a thick foam. Once thoroughly mixed, add the
remaining espresso to the container and mix once again. |
|
 |
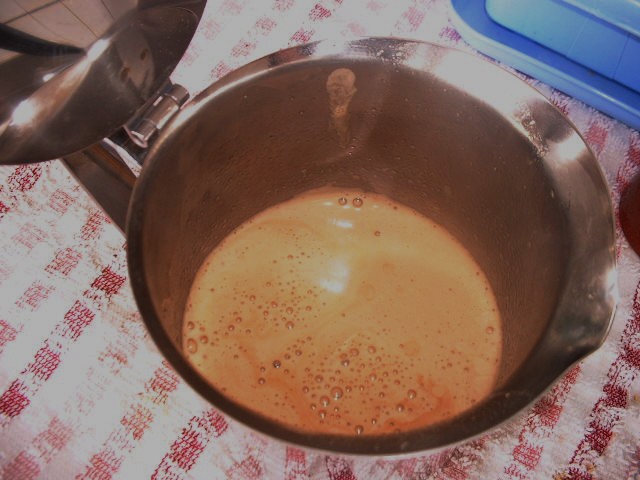
The end result. The amount of foam
produced depends on the technique and the amount of sugar used. With
just a little practice, you'll be able to make perfect caffè every time,
just like a Neapolitan. |
|
 |
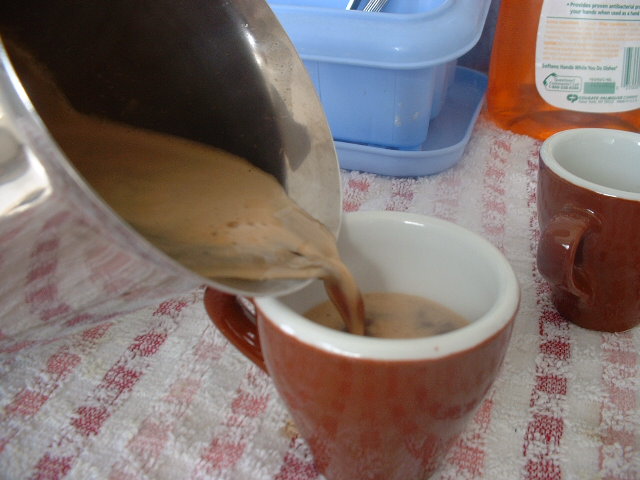
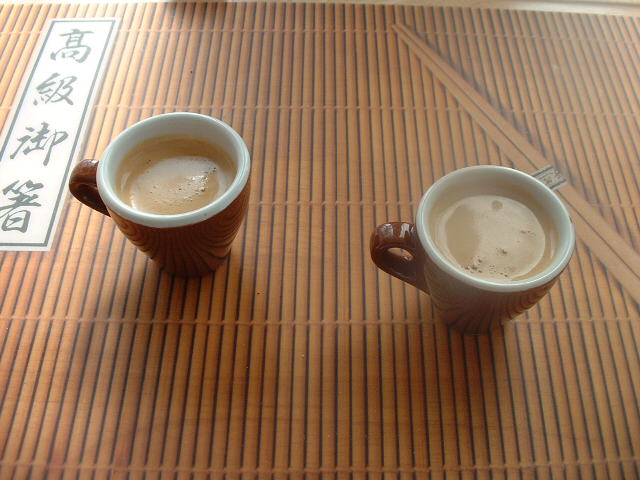
Step 10: The best part. Pour the
espresso into small ceramic cups. You can use a spoon to get the
foam into the cups if necessary.
Since the cups are small, the espresso can become cold very
quickly. To keep it hotter longer, place the cups in hot water just
before you start brewing the espresso. When you pour the espresso
into the hot cups, it will retain the heat and allow you to serve piping
hot espresso to your friends. |
|
 |
Two cups of perfect caffè in ten easy
steps!
It's not hard to learn how to make caffe using the espresso pot.
Part of the enjoyment of caffè is actually making it. E-mail us (or
post a message on the board) and let us know how it turns out if you
decide to make your own. |