Assignment 2
NTU Round-the-clock !


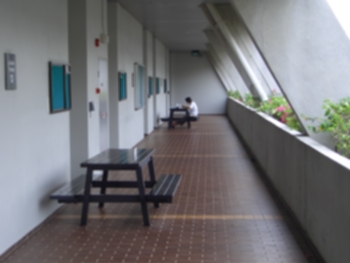
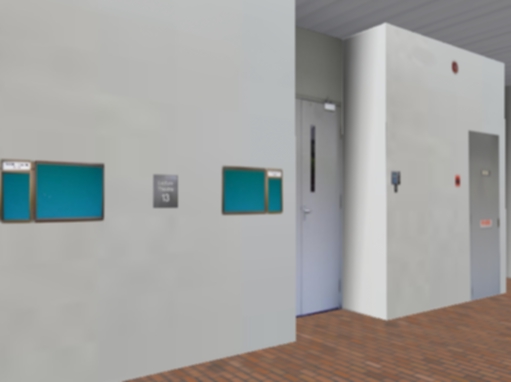
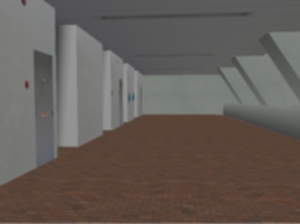
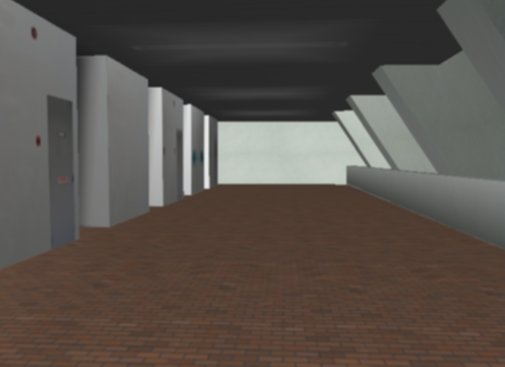
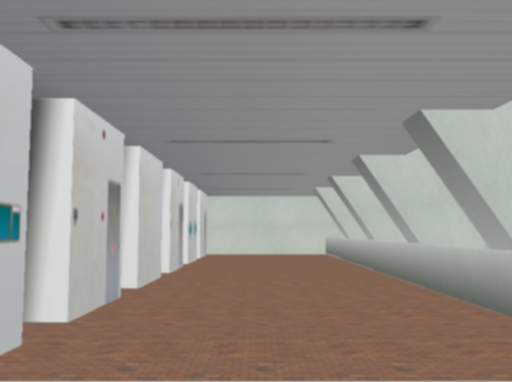
Day View of the corridor outside LT13

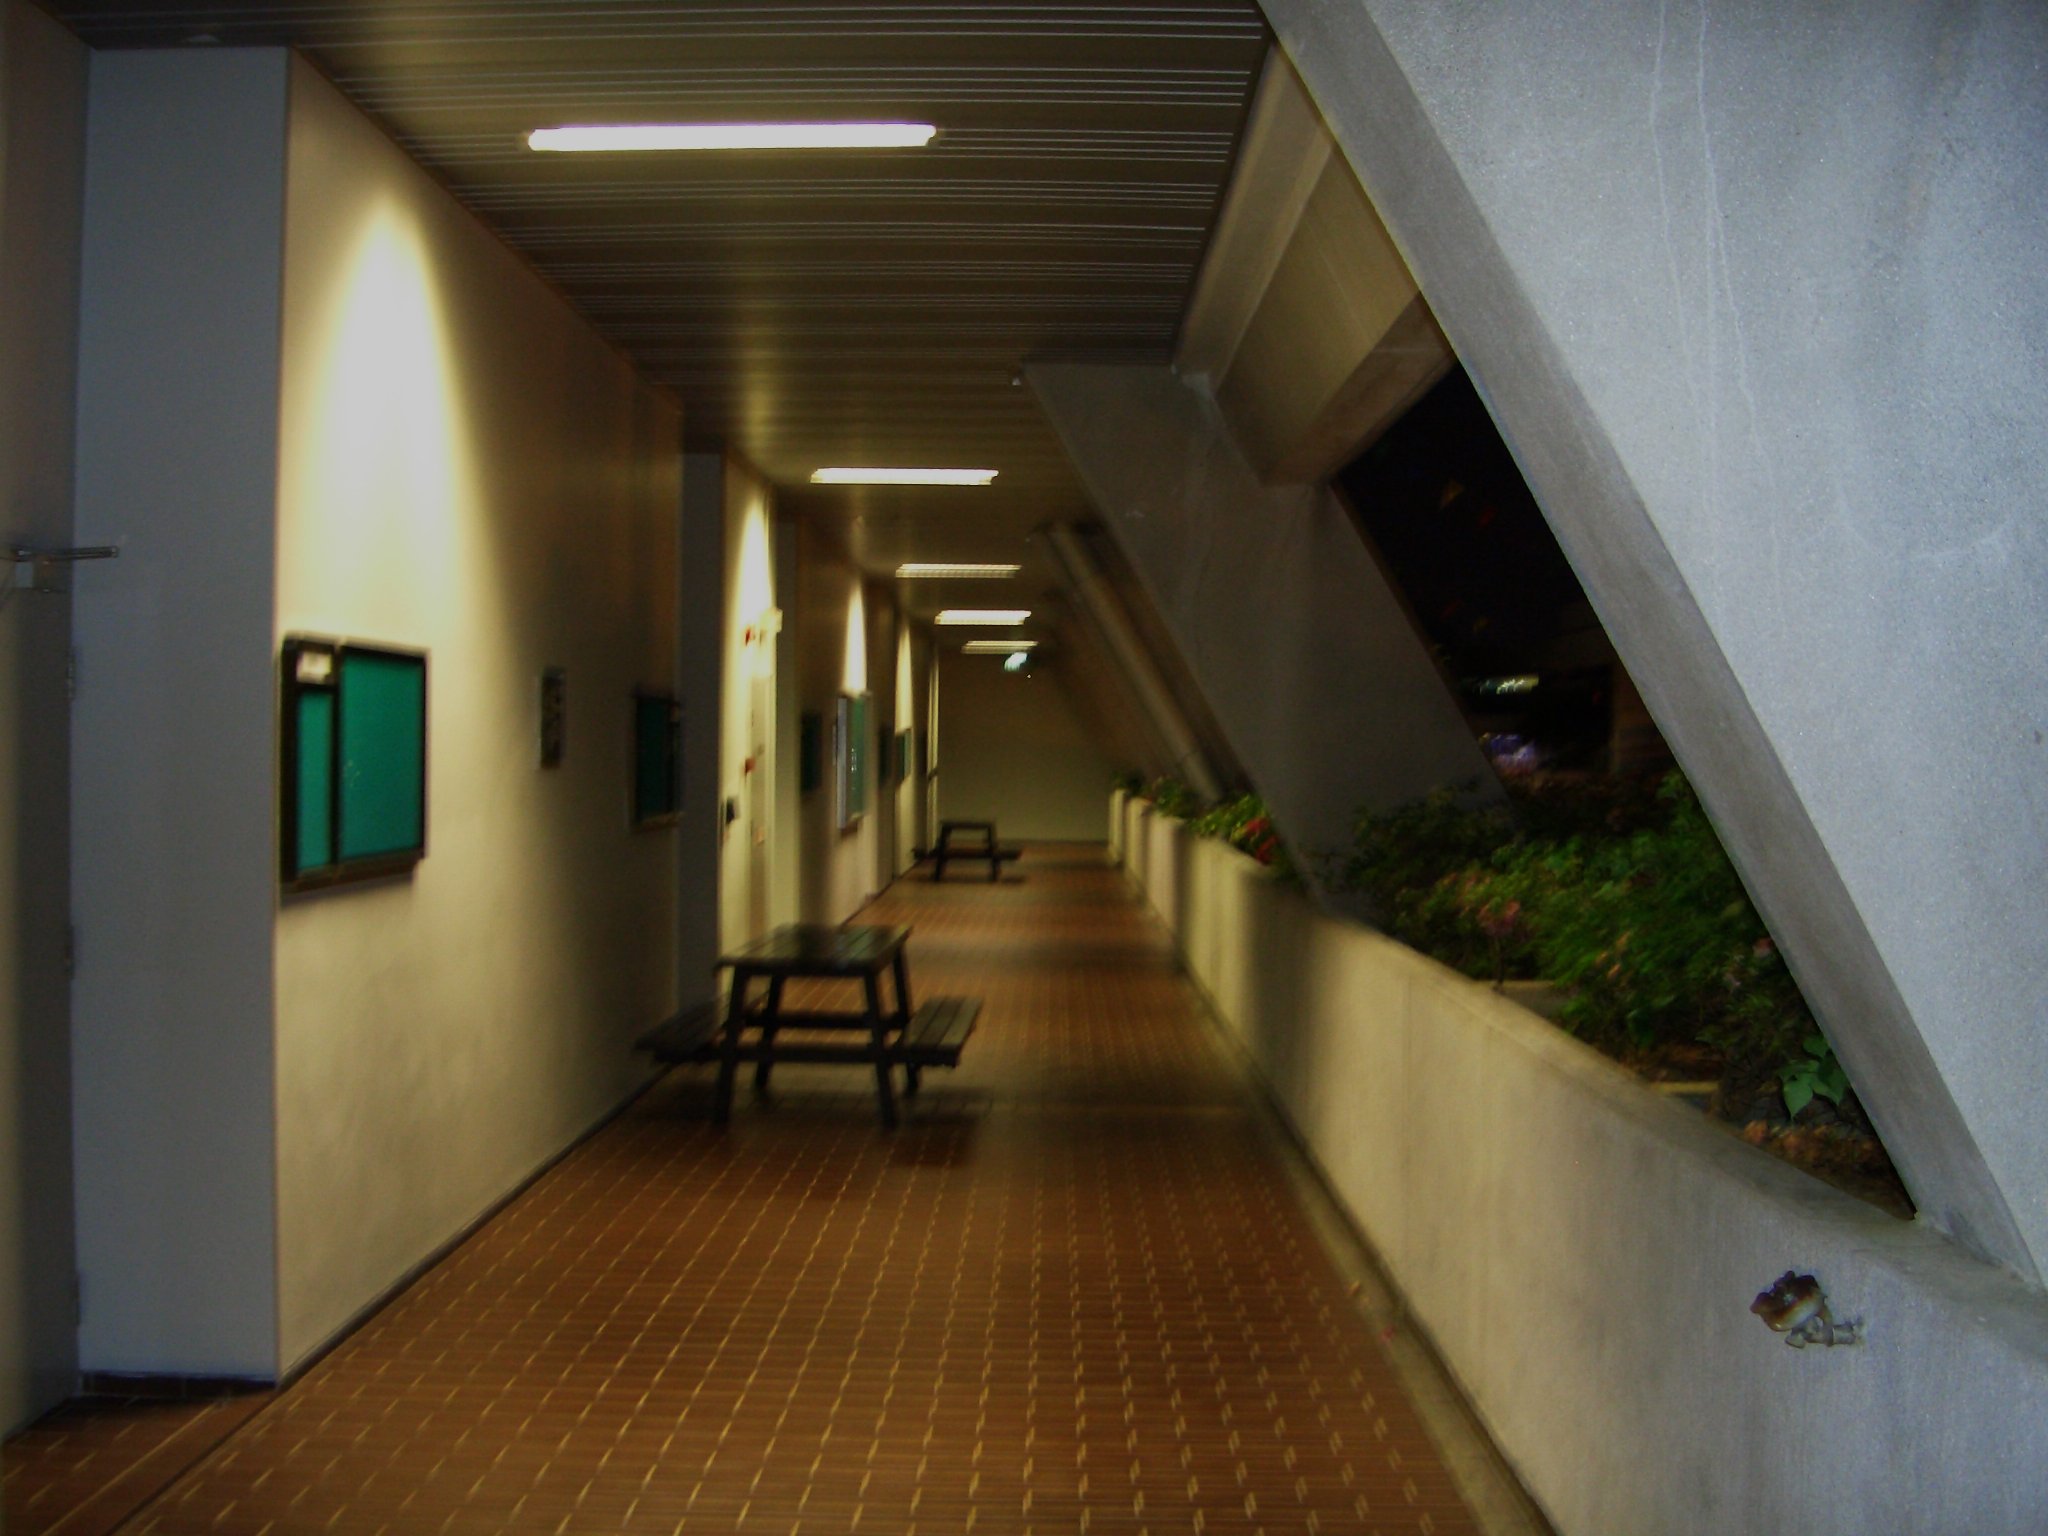
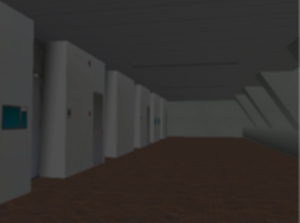
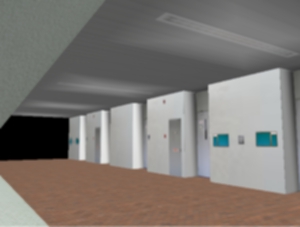
Night View of the corridor outside LT13


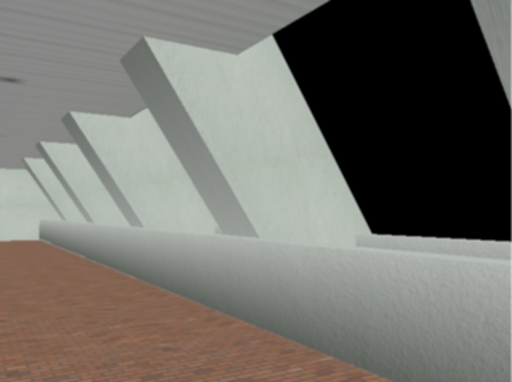
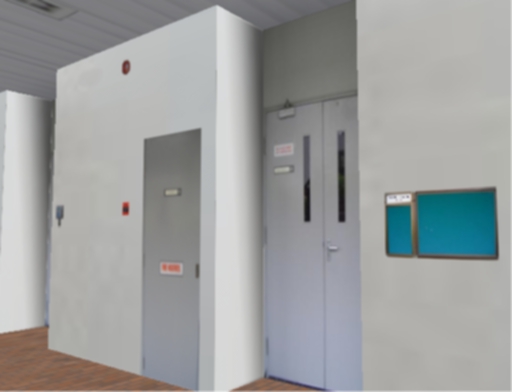
Use of lightmaps in the scene. Notice the "shadows"
at the side walls and the ceiling above the door

The stone walls and the parapets with their respective
lightmaps for a realistic effect.

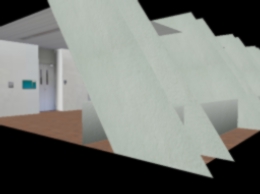
Not all the sides are modelled, some faces not visible
to the normal view of the user are not modelled
e.g. the outer side of the diagonal
(A really simplified attempt at back-face culling)


Some of the scenes like the walls above are created
by taking the pictures of the individual objects
on the wall and combining them in the image editor
to form a single image. (as the original ones are too large
to take at the corridor)


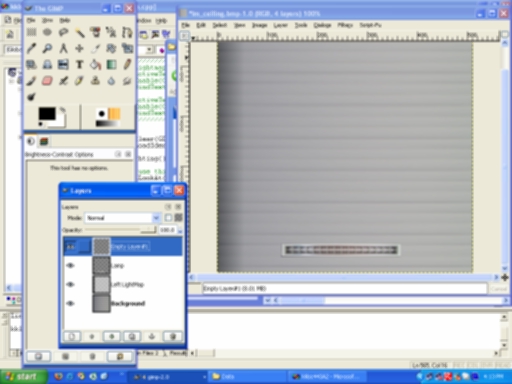
Image editing to create some pictures that were too large
to capture accurately with one shot of the camera. Hence
combining the individual items was one of the work-arounds.

Transitions From Day to Night
The day and night scene of my programme: There are 2 main
sets of controls, one to change the environment from
day to night (button N) and vice versa (D), and another set to ON (L) and OFF (O) the lights in the corridor.


12pm


5.30pm


7.30pm (with Lights still Off)


8.00pm (with Lights ON)


Sometimes, when I feel the stress of work, I love to enjoy some moments of solitude in the school. The benches outside upper level lecture theatres like LT13 and LT12 are just that, as they provide me with such a good getaway from the hustle and rush of NTU.

Hence, for this assignment, I have chosen to model the corridor outside the quiet area of LT 13 and LT 12. Another reason why I chose this scene is that it will require lesser amount of polygons to model (one of the requirements of this assignment).

Some quick facts of my project:
1. Language and APIs used: OpenGL in C++
2. Number of polygons in the screen: 46
3. Modelled after: Corridor outside LT 12 and 13
4. Texture Maps Edited with: The Gimp


Key Controls in the Executable:

Movement Controls
The movements here are modelled like those from a First Person Shooter game.
Look Around/ View Direction: Mouse Direction
Move Forward: Up Arrow
Move Backward: Down Arrow
Move Left: Left Arrow
Move Right: Right Arrow

Lighting Controls
You may wish to change from day to night or vice versa. When the environment is dark, you may also wish to turn on or off the lights.
Gradual Day to Night: Press down button 'N'
Gradual Night to Day: Press down button 'D'
Turn Lights ON: Press 'L' button once
Turn Lights OFF: Press 'O' button once


Preparation and Design Considerations

Prior to doing the modelling, I went about that area with a digital camera to take snapshots of the scene and to collect pictures that can be used as texture maps. I took pictures of many parts of the scene (e.g. the LT doors, notices, signboards, the fire alarm, etc.).

As I also have to model the scene for the night, I stayed behind in school to about 8 pm to snap the night picture. A collection of some of the texture maps and pictures taken can be found HERE!


Coding the OpenGL Programme

Usage of Polygons
In order to cut down the number of polygons used and to lessen the calculations the processor has to take, polygons that will not be visible to the user (e.g. the bottom of a pillar and the outer walls of the stone parapets) are not created.

Lights
The scene is lit by a set of 5 ambient lights and another set of (spotlight+diffuse) lights. On pressing the button 'N', the amount of ambient lights from the first set of lights will lessen, simulating the change from day to night. The opposite goes for the pressing of button 'D'.

The 'ON' and the 'OFF' of the 2nd set of lights (i.e. the (spotlight+diffuse) lights set) demonstrates the glEnable(GL_LIGHT0) and glDisable(GL_LIGHT0) functions.

Texture Mapping and LightMaps
I tried to use some of the methods of creating a realistic environment taught in the lecture like texture mapping and light-maps. These textures and the lightmaps were edited and created using the open-source graphics editor The Gimp 2.0. The textures are filtered by Mipmap method as I wanted to try them out on learning about their usefulness in the lectures.

Viewing
OpenGL does not have a camera function but a glulookAt() function. Hence "movements" in the scene will be actually an adjustment of the gluLookAt() points and also the reverse of the directions of the transformations of the objects in the scene.

An example of a lightmap is shown above for the wall beside the LT door.

In this encounter with textures, I also learned the usage of many other operations related to texture mapping like Wrapping, Blending and Texture Mapping.


Conclusion:
I have gained so much from this hands-on experience as it has reinforced me in concepts on lighting, textures, viewing and OpenGL. Hope you enjoy 'touring' my scene! ;)


<---Download Code and Executable--->


Credits and Acknowledgments:
1. I wish to thank Dr Edmond C. Prakash for this opportunity to do some hands-on on the concepts learned in lecture.

2. Miss Anita Widyastuti Nugroho for her generous loan of her powerful digital camera.

3. My girlfriend, GGZ, for her generous offer to test my programme

4. To Jeff Molofee (NeHe), the creator of the NeHe Website and Ronny André Reierstad of Morrowland.com APRON Tutorials.
Kudos to them for without their well-explained tutorials and sample codes, I may not have gone so far. Parts of my code on initialisation of the window and OpenGL was coded with close reference to their sample codes.

5. Some additional textures were obtained from the following website: http://textures.forrest.cz/

6. Other References:
The OpenGL Redbook
OpenGL Website

Blending of Images on The Gimp 2.0 (used for some of my textures)


Another Peaceful Scene At Night


Best viewed in 1024x768 :: Sitemap
Copyright© Ryan Ko Kok Leong 2004.All Rights Reserved.


Hosted by www.Geocities.ws

1