|
|||
|
|
Assignment
3
Bumps in NTU:
Can You Feel It??
|
||
|
Quick Links Assignment 6 Assignment 7
|
|
NTU
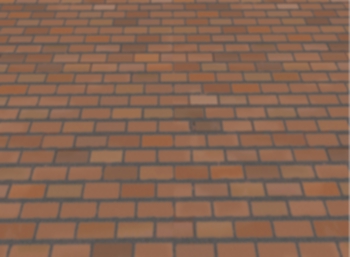
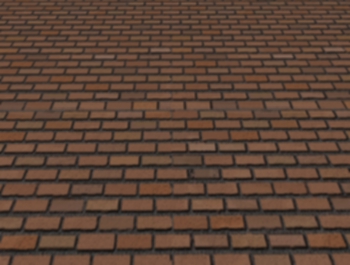
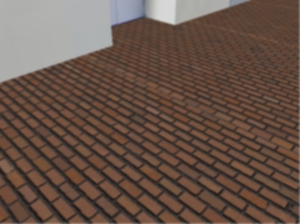
looks more beautiful by adding surface features. And with surface features
like bumps and 'uneven' textures, we can add realism to the scene's
texture. Hence, I have decided to choose the polygon that should have a patterned roughness: The Tiled Floor! :) With its 'brick-like' texture, a bump map was applied to the original texture to make us feel like we are 'walking' on a realistic texturised floor in the scene. Some
quick facts of my project: Key Controls in the Executable: Bump
Controls (NEW!!!!!) Movement
Controls Lighting
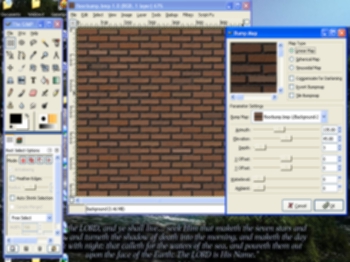
Controls Approach Used The
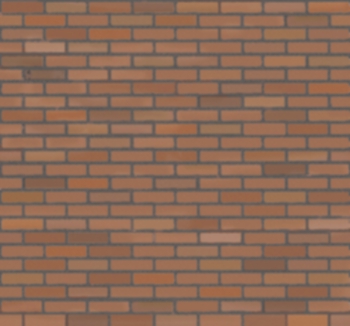
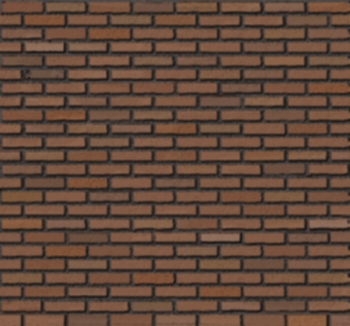
bumpmap of the floor polygon was created by the Bump Map Generator plug-in
in the Gimp 2.0. With this generator tool, I was able to create the
relevant bump map from the brick-like original texture by adjusting
the depth and other relevant parameters in bump mapping as shown in
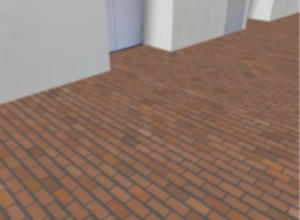
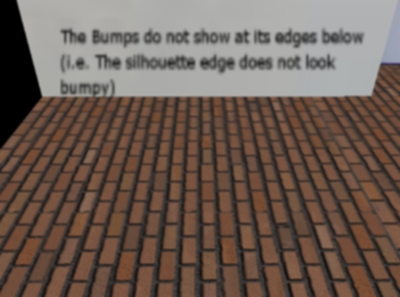
the picture on the left. Interesting Observations: As
mentioned in lecture notes and in the book 3D Computer Game Programming
by my professor (Dr. Edmond Prakash), bump mapping is not able to show
the bumpiness on the silhouette of the texture.
In other words, the silhouette follows the edge of the floor and is
therefore not perturbed like the rest of the texture. This is demonstrated
by a screenshot I captured from my scene on the left.
Through this assignment I also witnessed the limitations of realism
(especially in the silhouette region) bump mapping inherits compared
to other alternatives like Displacement Mapping.
<---Download Code and Executable--->
Credits
and Acknowledgments: 2.
To Jeff Molofee (NeHe), the creator of the NeHe
Website and Ronny André Reierstad of Morrowland.com
APRON Tutorials. 3. Some additional textures that are used in both Assignments 2 and 3 were obtained from the following website: http://textures.forrest.cz/ 4.Bump
Mapping Tutorials for the GIMP Bumpmap Plug-in 5. Other
Important References I could not do without:
|
|
|
|
Best
viewed in 1024x768 :: Sitemap
|
||