Paint Shop Pro Advanced
Week Four Part 4
Making Selections to
Minimize Color Spill
Continued
Method #1
Airbrush the Edges
1. Activate your image that has the object you want to select. Double-click the background layer and name it Magnolia. This will make the layer with the magnolia on it a floating layer that can have transparency.
2. In order to see what you are doing, create another layer, fill it with a light contrasting color, and place it below the layer with the magnolia.
3. Click on the Magnolia layer to make it active.
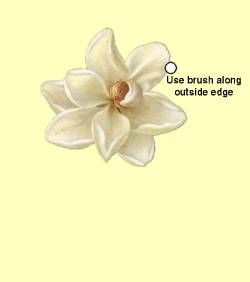
4. Go to Masks - Load from Disk and load Mask1. You can see that there is a color spill along the edges of the flower. See image on the left.
5. On the Layers palette, click on the Magnolia layer and then click on the lock at the far right to preserve the transparency of that layer (There will not be a red X over the lock). Now you can paint anywhere you want and the only area that will change color will be where there are already pixels. You will not paint new pixels into the transparency.
6. You will use the Eyedropper Tool to sample the color just inside the edge of the magnolia. Click on the airbrush and set the brush size to about 15. Now paint just outside the edge of the flower just close enough to eliminate the color spill. (See image above) As the color changes near the edge of the flower as you move around it, resample the color with the eyedropper and then continue painting with the airbrush until you have eliminated the color spill from the whole edge of the magnolia.
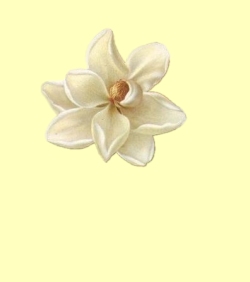
Finished Image
Method #2
Next Page