| DEANS CHASSIS PLUG INSTALLATION - CONTINUED |
 |
| Slide the heat shrink tubing over the twisted wires on the other side of the car. Remember to point the car to your left. |
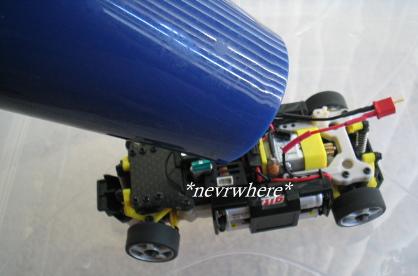 |
| Now use a hairdryer or heat gun to shrink the tubing around the connection. |
 |
 |
 |
 |
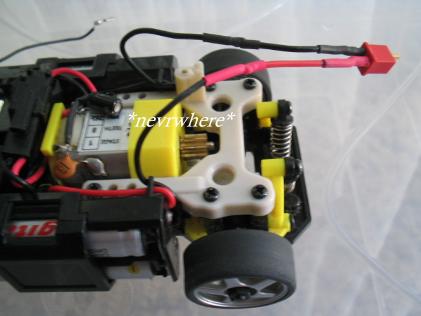
| The heat shrink tubing will shrink down around your connection helping to reinforce it. |
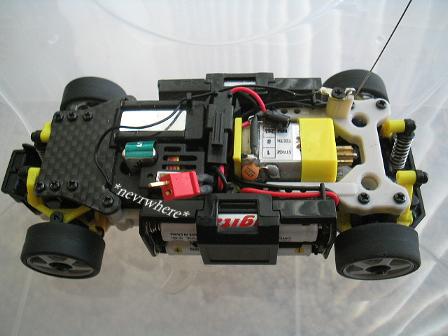
| Now run the wires back towards the back of the motor. Make sure you slide the wires into the wire retaining slot also. That is that little plastic bar you see near the bottom and the top of the picture to the left holding the wires. |
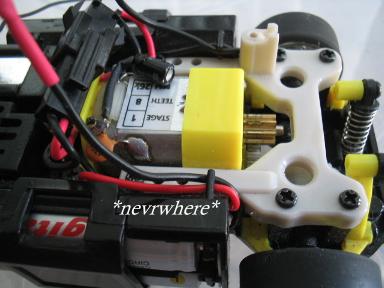
| Run the wires towards the back of the motor and tuck them in behind the motor and underneath the motor connector. |
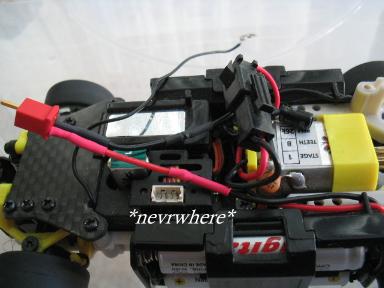
| Have the newly installed Deans plug poking out with alittle bit of wire as shown in the picture. |
| That's it you are now finished and ready to plug in your 5 cell or 6 cell battery pack. |
| Reattach the antenna. |
| INSTALLATION GUIDE |
| CLICK LINKS BELOW PART 1 - CAR PREPERATION PART 2 - DEANS CHASSIS PLUG INSTALLATION PART 2 - CONTINUED PART 1 - MOUNTING ON BODY PART - 2 MOUNTING ON BODY |
| If you have any questions, please email me. [email protected] |

|
| TOP AND TAIL MOUNT 6 CELL HOP-UP DEANS CHASSIS PLUG INSTALLATION - part 2 of 2 |