 |
 |
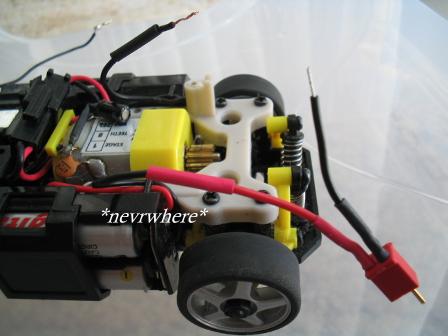
| DEANS CHASSIS PLUG INSTALLATION |
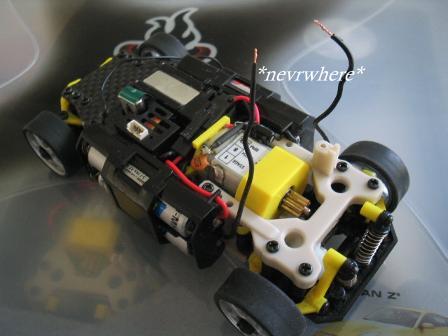
| This is where we left off. Wire exposed and ready to be cut. |
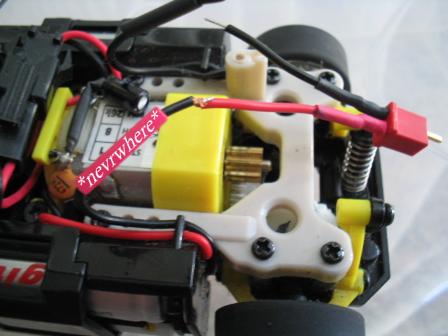
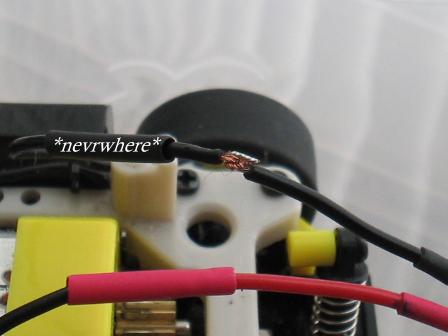
| Cut wire in half at center. Strip approximately 1/4 inch at each end of the cut wire. |
| Get 2 pieces of pre-cut heat shink tubing included in your kit. Point the car towards your left side to orient it for the following steps. Slide the heat shrink tubing over the wires as shown. Red heat shrink over the the wire closest to you when the car is pointed towards your left side. Black heat shrink over the wire furthest from. See picture. |

|
| INSTALLATION GUIDE |
| Clicks link below for installation instructions. |
 |
 |
| Twist red wire on the Deans plug with the wire closest to you. Make sure the car is pointing to your left as shown in the picture After twisting the wire you can solder the connection but it is not necessary. I have done it with and without solder and have found no noticable difference. |
 |
| Cover the twisted wire with the red heat shrink tubing as shown. |
 |
| Do the same on the other side. |
| TOP AND TAIL MOUNT 6 CELL HOP-UP PART 2 - DEANS CHASSIS PLUT INSTALLATION part 1 |