 Previous Page |
Page 3 |
 Next Page |
| ||
Previous Page |
Page 3 |
Next Page |
| ||
Saving to a disk is done the same way as saving to your computer, except that there is one additional way you can save to a disk.
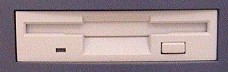
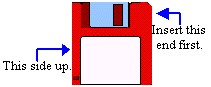
To save to a disk, insert the disk into the Floppy Disk (or "A:") Drive. To insert a disk, place it in the drive as shown below, pushing slowly and carefully. Never force a disk into a drive. When the disk is almost all the way in, use a little more pressure to push it in all the way, until the drive "clicks" (makes a clicking sound). The floppy disk drive button will pop out when the disk has been inserted completely.
 |
 Disk |
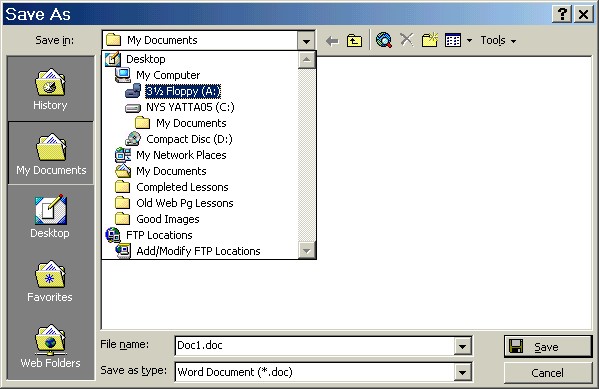
The rest of the saving process is the same, including moving to different folders if necessary. Remember to remove your disk when you are finished. The disk is removed from the floppy disk drive by pushing in the button under (or next to) the disk drive. (Note: Never remove a disk while the light next to the floppy disk drive is on. Wait until the light goes off before removing the disk.)
Remember to remove the disk from the computer when you are finished with it. If a disk is left in the floppy disk drive the next time the computer is turned on, there will be an error and the computer will not be able to boot up.
Using Send To on the Shortcut Menu
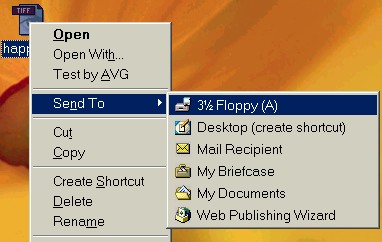
Another way to save to a disk is to right-click on the document icon (which opens the shortcut menu), go to the Send To submenu, and select 3-1/2 Floppy (A). Again, make sure your disk is in the floppy disk drive before saving this way.
Practice:
READ ALL INSTRUCTIONS BEFORE STARTING.
| 1. | Resize this lesson window to make it smaller. If you have a disk to use, go back to the Microsoft Word window and save the document to the disk (select "3-1/2 Floppy (A:)" from the list and then use your name as the file name), then go to step 3. |
| 2. | If you do not have a disk to save to, go to the Microsoft Word window and then go to the next step. |
| 3. | Close Microsoft Word (use the Close button, select Exit from the File menu, or right-click on the Taskbar button and select Close). If the dialog box appears asking if you want to save the changes, click on the No button. |
| 4. | Go to the Desktop and right-click on any file or folder shown there. Open the Send To submenu to look at it. Do not save to disk. |
| 5. | If there is a disk in the floppy disk drive, remove it (push in the button that popped out when the disk was inserted). If there is no disk in the drive, go to the next step. |
| 6. | Click on the Taskbar button to return to this lesson window. |
Previous Page |
Next Page |