| PAGE 2 |
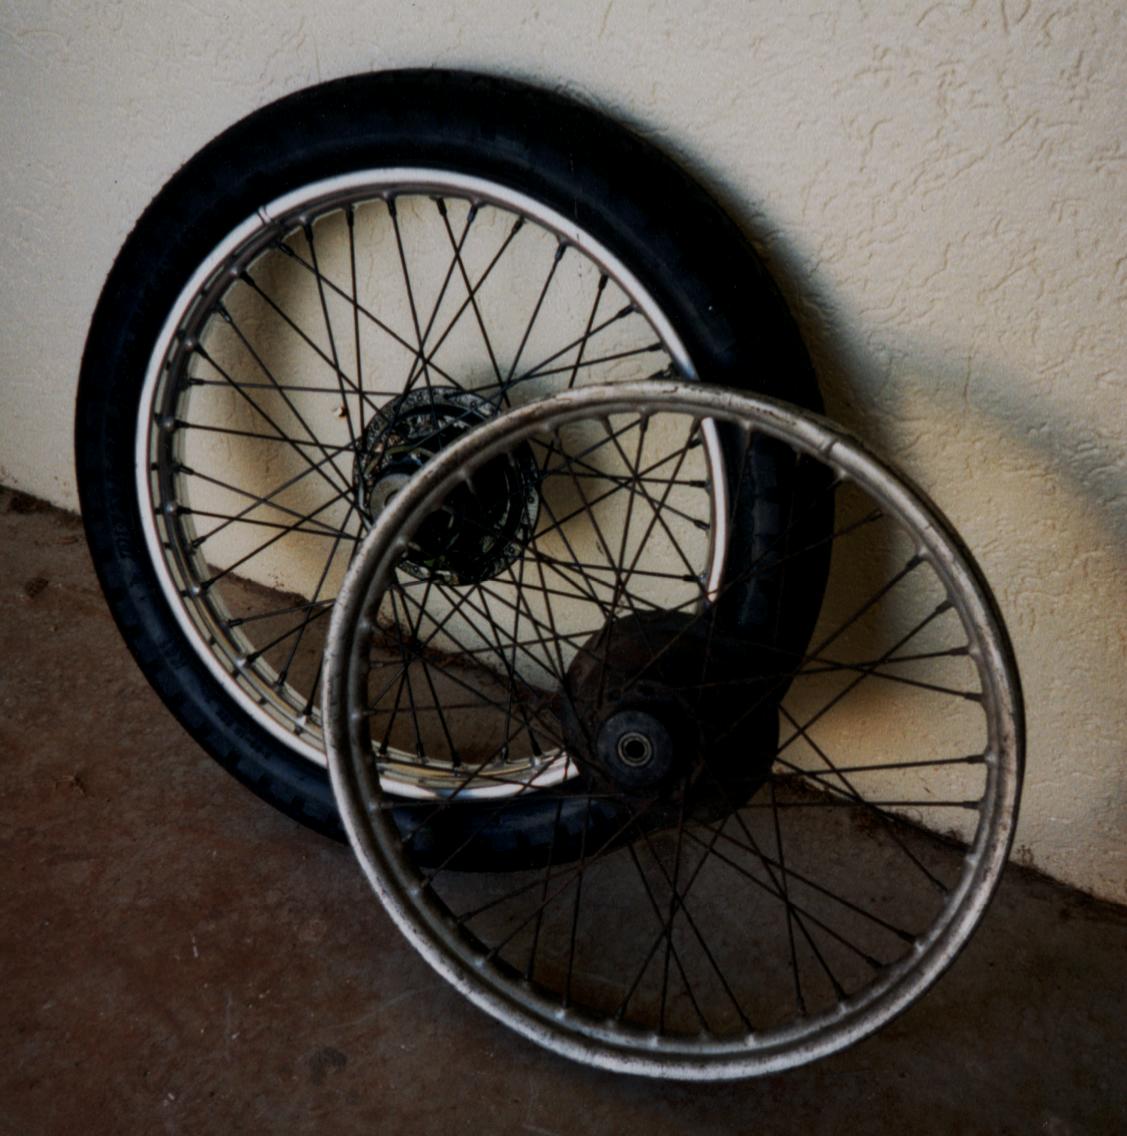
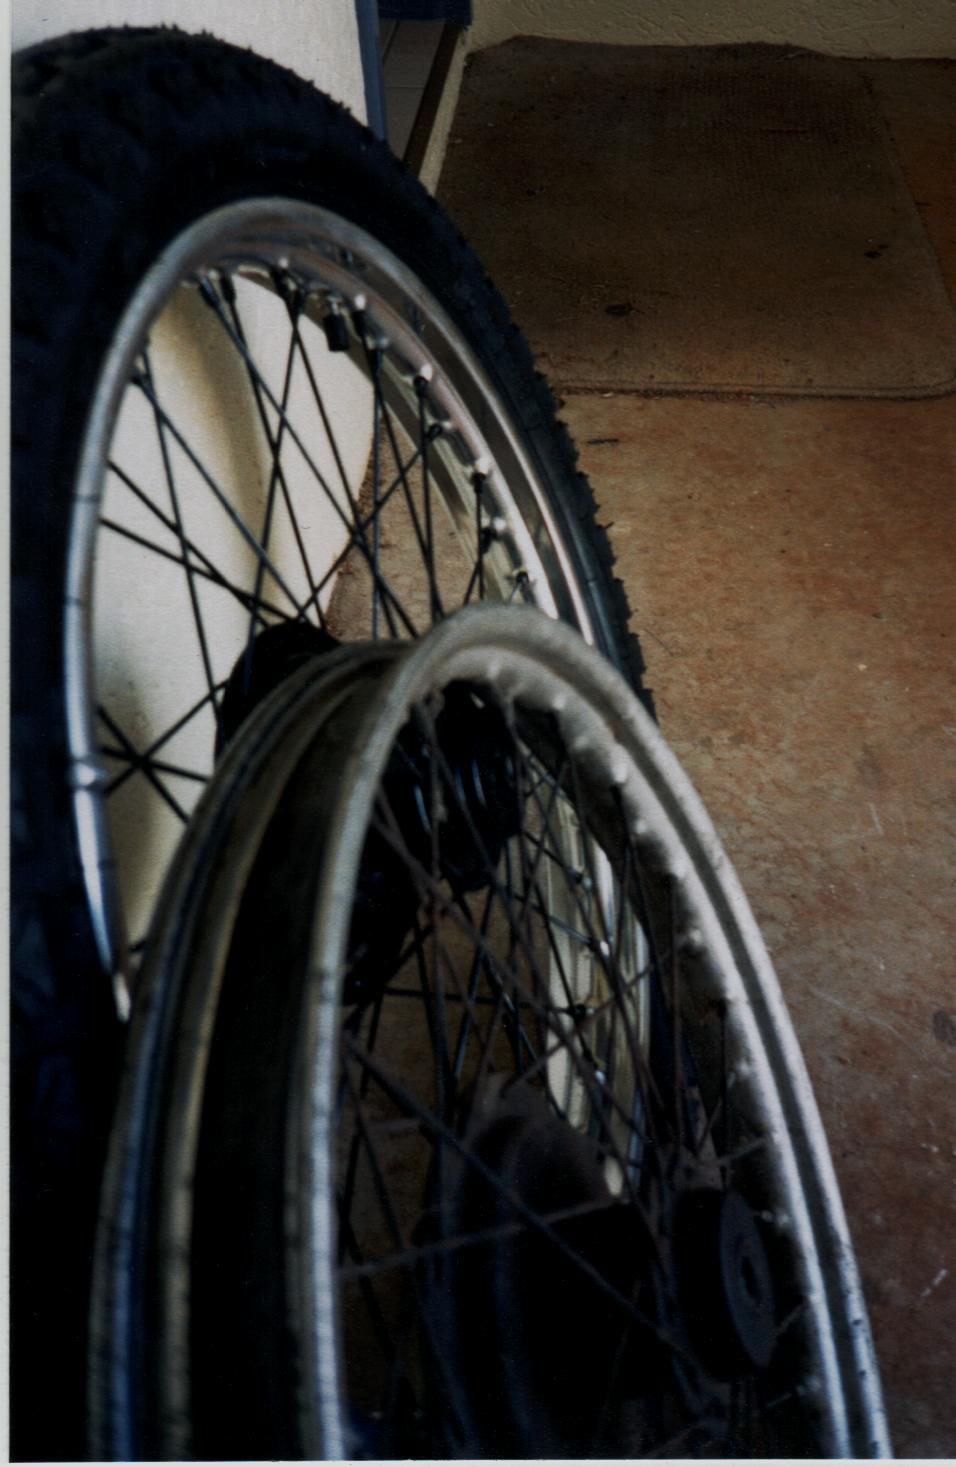
| SINCE JAN 2001 I started working on the wheels - one at a time starting with the front. The rims were badly oxidized aluminium and the spokes were a nice rusty colour but they both looked to be fairly sound. I was originally going to completely disassemble the wheels but ended up doing all the work whilst they were complete. Probably harder way of doing things but I didn't want to mess around re-lacing them and I'm too tight to pay someone else to do it. After the mandatory de-grease I sanded the worst of the oxide off with a nylon kitchen scourer. I've found that this is a good way to do an initial clean up with out scratching up the surface too much. Using my bench grinder fitted with a buffing pad I managed to get most of the rim polished, leaving just between the spokes to do by hand. When hand polishing I use "autosol". After 10 years of doing up Harleys, I think I've tried just about every alloy polish on the market and have found that "autosol" is the best for me (no-this isn't a paid advertisement!!) |
| SOME OF THESE DATES ARE A BIT DODGY BECAUSE I DIDN'T KEEP TRACK OF THINGS IN THE BEGINNING |
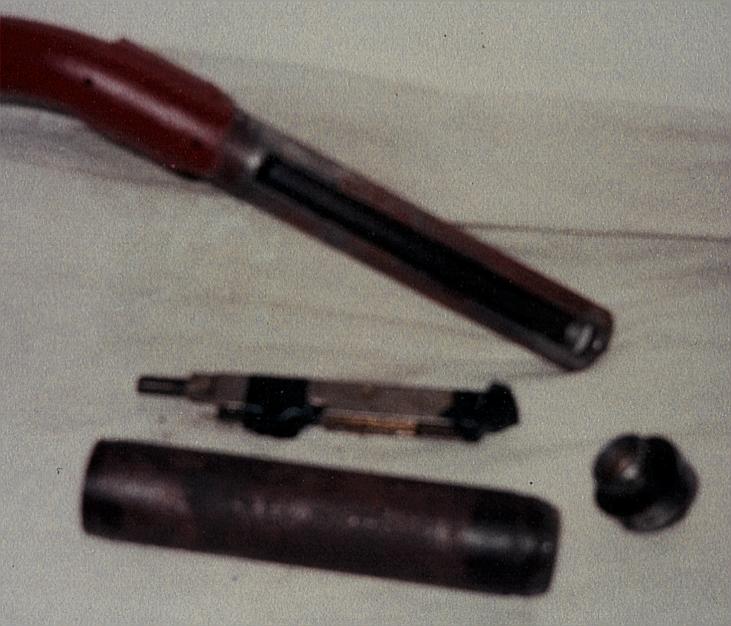
| The rim came up like chrome. I love turning shitty looking alloy into something beautiful!! Cleaning up the hub wasn't as bad as I thought. I managed to get to all of it between the spokes using various electric drill mounted wire brushes. The spokes of course had to be sanded back by hand. (I had decided to paint them black, same as the hub) This involved hours of enjoyment!! The rim of course had to be masked up before painting and I found (after a bit of trial and error) that the easiest way was to cut V shaped notches out of the side of a roll of masking tape. This meant that as I unrolled the tape, it had scollops on it to go around the spokes. HA!!! I went to the paint shop and bought some gloss black paint and primer. I already had a small "touch up" spray gun which was perfect for this fiddly job. Getting a decent coat on the inside of the hub was a bitch but all went well. When dry, the tape was pulled off to reveal a brand new wheel. Beauty - only one more to go!! The back wheel was done the same way, except that I replaced a couple of the spokes that looked a bit dodgy. (thank god for that pile of spare parts!!) When both wheels were finished , it was off to the tire shop for new rim tapes, tubes and tires. I thought that getting tires that fitted might have been a problem, but luckily they had two in stock. MAY 2001 I've ordered a heap of parts from the LE Velo Club in the UK. They've got a great spares scheme for members. Most of the things ordered were things like radiator hoses, gaskets, contact breaker points, control cables etc. Of course I've already come across a few other things that I should have ordered but they can wait a while. I've stripped the bike down again so I could get a few things sandblasted Off to the blasters are the frame, front guard, handlebars, headstem and radiator support frame. I'm using one of the spare radiator support frames because the original was fairly bent up. (luckily the radiator is not twisted!) Pulling everything apart was fairly straight forward but it was interesting to see how the throttle worked. It's an internal throttle on the handle bars that uses a kind of worm gearing to pull and push the throttle cable. Hell I hope I can put it back togethor!! |
 |
 |
 |
 |
| Click on pic for bigger view |
| Click on pic for bigger view |
| Click on pic for bigger view |
| Click on pics for bigger view |
 |