IN COLOR SEPARATION | CMYK & SPOT COLOR SEPARATION | By: Rodelio D. Balagot
| ARCHIVE DIRECTORY | COLOR SEPARATION | PHOTOSHOP IMAGE COLOR SEP | PORTABLE DOCUMENT FORMAT COLOR SEP |
 |
||
PDF COVER FILE |
 |
||
Figure 1: Opening file in PDF |
 |
||
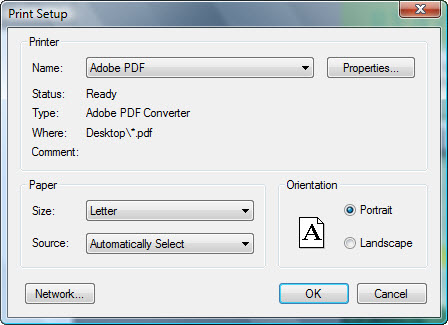
Figure 2: Print Setup Tab |
 |
||
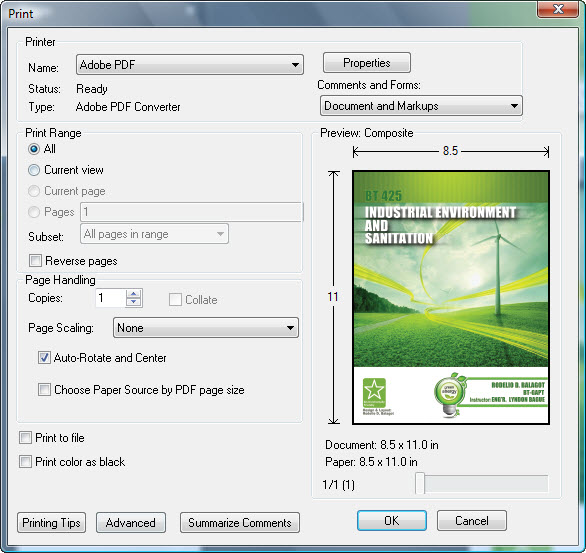
Figure 3: Print dialog box |
 |
||
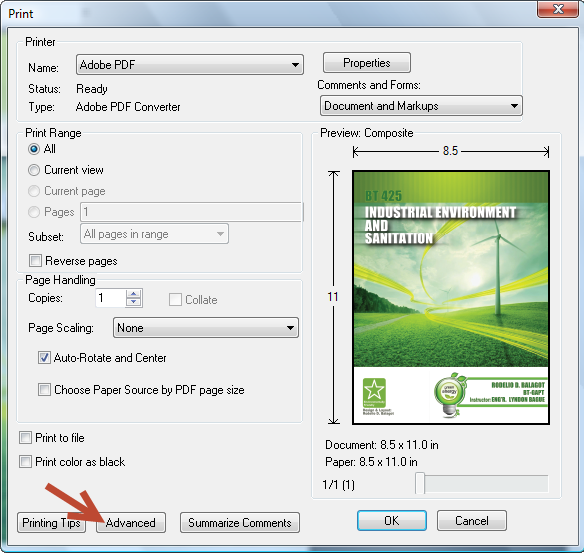
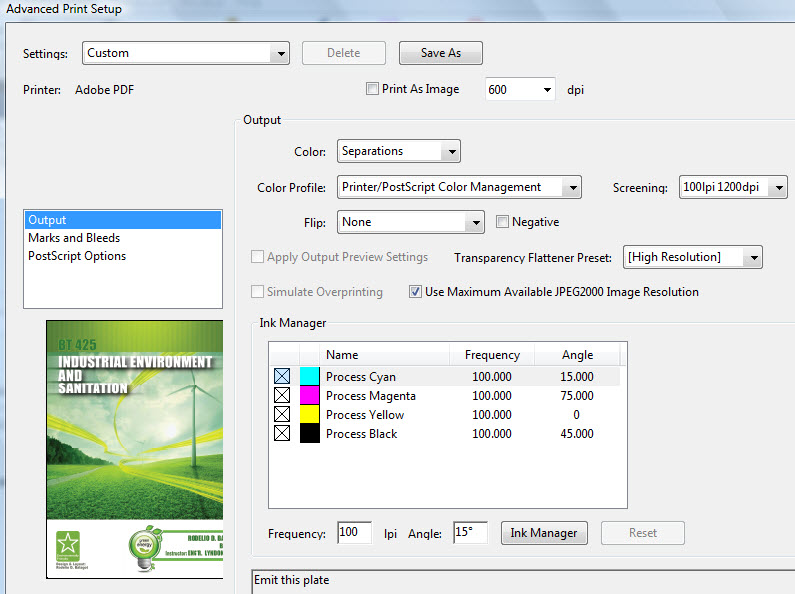
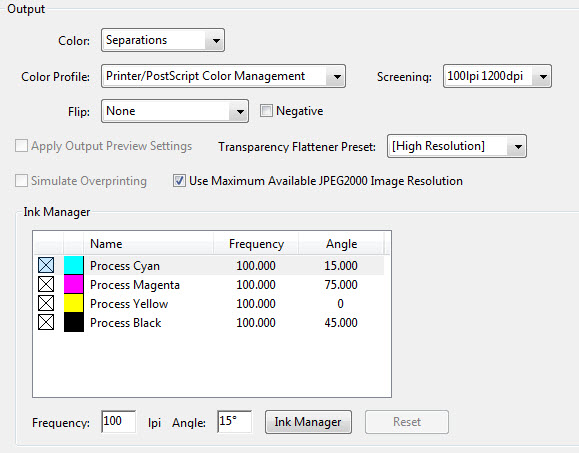
Figure 4: Advanced Print Setup-Output |
 |
||
Figure 5: Output Tab A. Indicates that the color will print. B. Indicates a spot color. |
 |
||
Figure 5: Advanced Print Setup-Output |
 |
||
Figure 6: Color Management Tab |
PDF Color Separation |
||||||||||||||||||||||||||||||||||||
Prepare to print separationsBefore you print separations, do the following 3 steps:
Step 1: Calibrate and profile your monitorWhen you calibrate your monitor, you are adjusting it so it conforms to a known specification. Once your monitor is calibrated, the profiling utility lets you save a color profile. The profile describes the color behavior of the monitor—what colors can or cannot be displayed on the monitor and how the numeric color values in an image must be converted so that colors are displayed accurately.
Note: Monitor performance changes and declines over time; recalibrate and profile your monitor every month or so. If you find it difficult or impossible to calibrate your monitor to a standard, it may be too old and faded.
Step 2: Preview Color Separation You can preview separation plates and ink coverage to ensure that a document meets your requirements. 1, Choose Advanced > Print Production > Output Preview. 2, Choose Separation from the Preview menu, and do one of the following:
Step 3: Preflight PDFsTo verify that your PDF contains only the features, fonts, and formatting that you’ve specified, use the Preflight tool to inspect, and in certain cases, correct the document’s contents. Use the Preflight tool to determine a document's validity for print production or other conditions. When you preflight a document, you validate that the document contains only specific features, fonts and formatting. 1. Choose Advanced > Preflight 2. Select a profile from the list. To correct errors, select a profile that includes a fixup. These are denoted by a wrench icon symbol next to the profile. 3. Click Execute. If the PDF has no problem at all proceed to page setup tab. What is a color management system?Color-matching problems result from various devices and software using different color spaces. One solution is to have a system that interprets and translates color accurately between devices. A color management system (CMS) compares the color space in which a color was created to the color space in which the same color will be output, and makes the necessary adjustments to represent the color as consistently as possible among different devices. A color management system translates colors with the help of color profiles. A profile is a mathematical description of a device’s color space. For example, a scanner profile tells a color management system how your scanner “sees” colors. Adobe color management uses ICC profiles, a format defined by the International Color Consortium (ICC) as a cross-platform standard. Because no single color-translation method is ideal for all types of graphics, a color management system provides a choice of rendering intents, or translation methods, so that you can apply a method appropriate to a particular graphics element. For example, a color translation method that preserves correct relationships among colors in a wildlife photograph may alter the colors in a logo containing flat tints of color. Note: Don’t confuse color management with color correction. A color management system won’t correct an image that was saved with tonal or color balance problems. It provides an environment where you can evaluate images reliably in the context of your final output.
Task 1: Preparing artwork for color separationBefore you print color separations from PDF, it’s a good idea to perform the following prepress tasks: First: Copy the Image " BT GAPT COVER" file onto your computer. Double click it will Launch Adobe PDF application. Then, Open the pdf file How: File > Open [Shortcut: Ctr+O] search from the place you saved (See Figure 1) Task 2: Embed printer marks in a PDF
Add Registration Marks in your film output
Task 3: Print color separationsAcrobat supports host-based separations and in-RIP separations. The main difference between them is where the separations are created—at the host computer (the system using Acrobat and the printer driver) or at the output device’s RIP. For host-based separations, Acrobat creates PostScript information for each of the separations required for the document and sends that information to the output device. For in-RIP separations, the work of separating a file is performed by the RIP. This method often takes less time than creating host-based separations, but it requires a PostScript 3 output device with in-RIP separation capability. To produce in-RIP separations, you need a PPD file that supports in-RIP separations, and any PostScript 3 output device or a PostScript Level 2 device whose RIP supports in-RIP separations. PostScript printers have built-in software that reads and interprets PostScript language into commands for the printer.
Print a PDFIf the desired printing option is in the Print dialog box, set it there rather than through the printer driver.
How to print color separations on a non-PostScript printer?If you want to print color separations from Adobe Acrobat CS3 on a non-PostScript printer, you should use RIP Software for Inkjet Printers (RIP - Raster Image Processor). What is a PPD file and how to select a PPD (PostScript Printer Description) file?
Please note: You can select a PPD file only when you have selected a PostScript printer or RIP Software (Raster Image Processor). Set advanced print optionsPrint settings are preserved as long as the application is open. To use the settings again, you can save them in a file.
Screen Variations Guidelines:
LPI - The number of lines per inch in a halftone screen. The higher the LPI the finer the screen. Please note, that the default values are determined by the PPD file.
Note: The color separation of 4 color CMYK and 4 spot color layout of your artwork will separate in 8 film output. Your job is done! Congratulations! |
||||||||||||||||||||||||||||||||||||
BACK TO TOP >