|
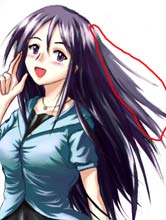
4.3
- Get rid of unwanted parts
In
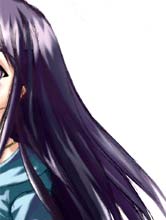
this picture, that
extra bit of hair circled in red doesn't really belong there.
To get rid of it, simply use the lasso tool to select that
part of the hair and press delete. Now that part of the hair
is gone!
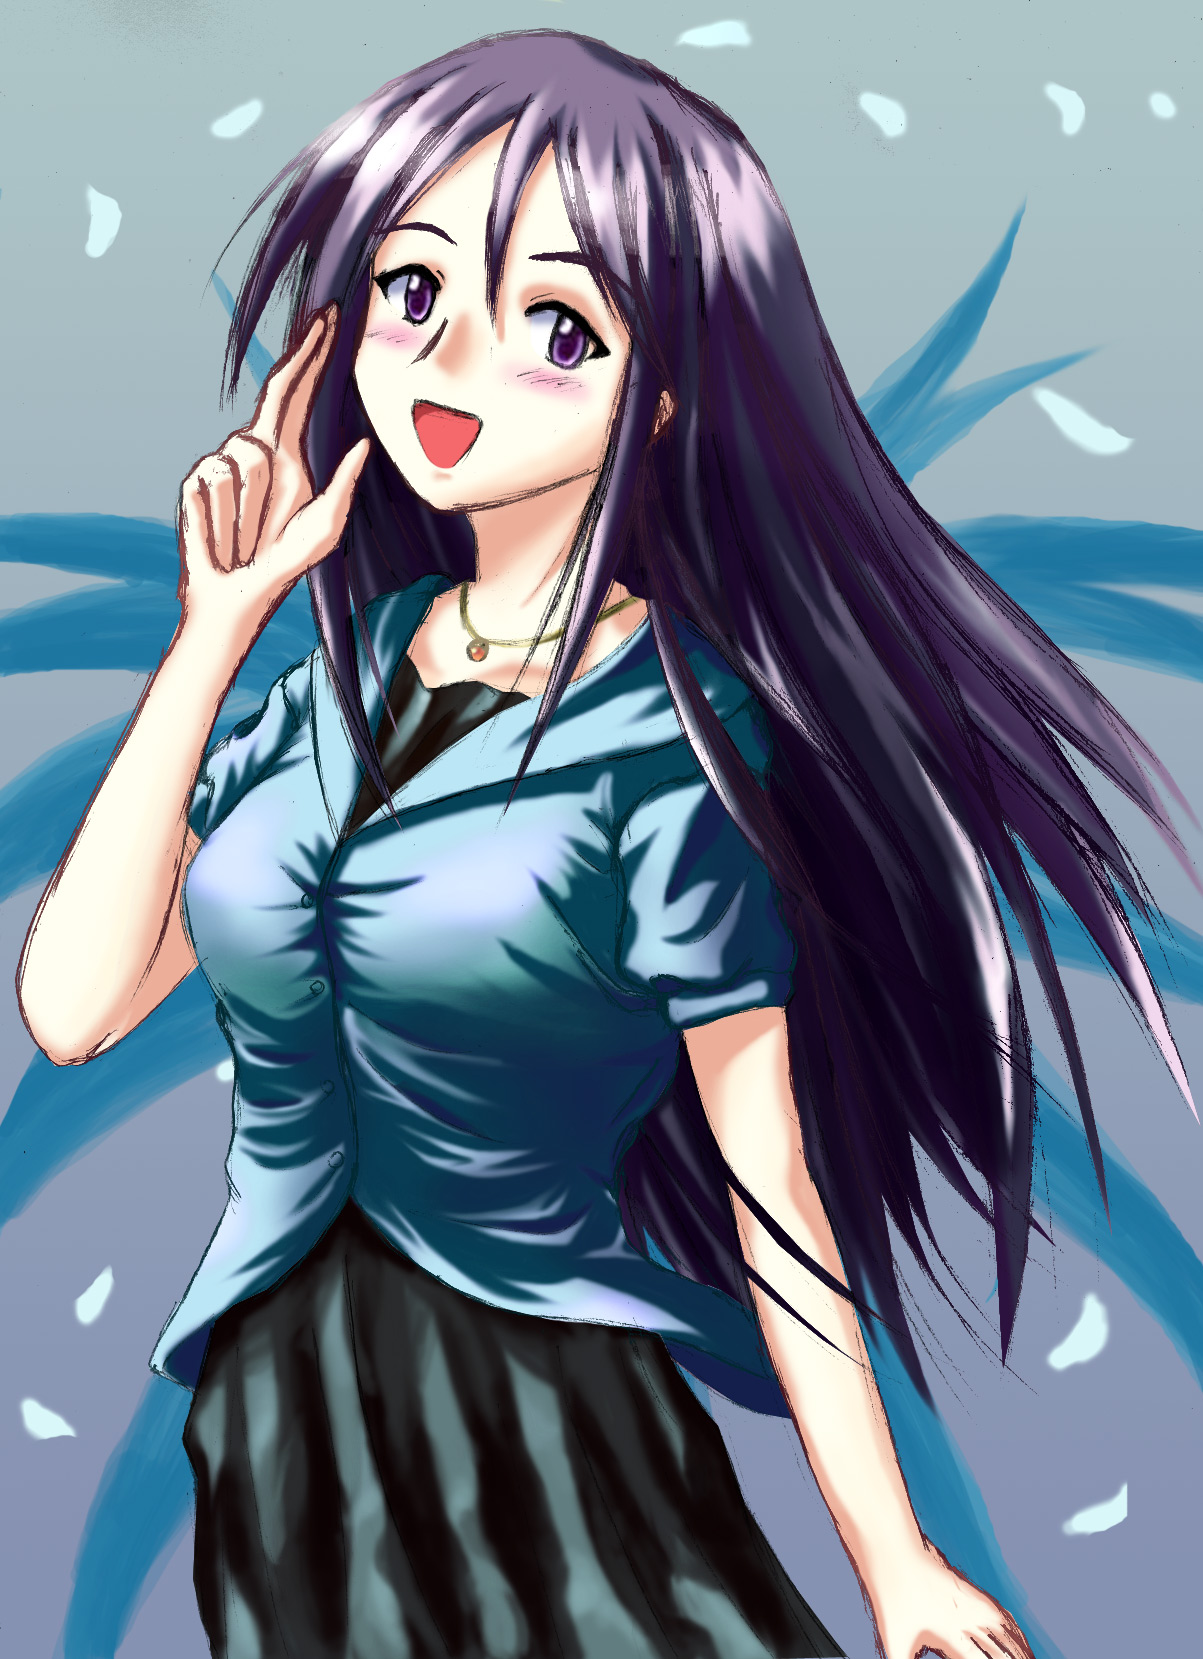
Add
a background and then everything is done!
|