|
Outdoor Electrical
When my old
gas lawnmower stopped working, I decided to buy an electric lawnmower.
I hated messing with the gas and oil and an electric mower is better for the
environment. I purchased a mower with a rechargeable battery. It
stays plugged in until you want to use it, then you just unplug it and
go. The only problem was that I didn't have an electrical outlet in my
shed and ended up having to keep the lawnmower on my deck. So, this
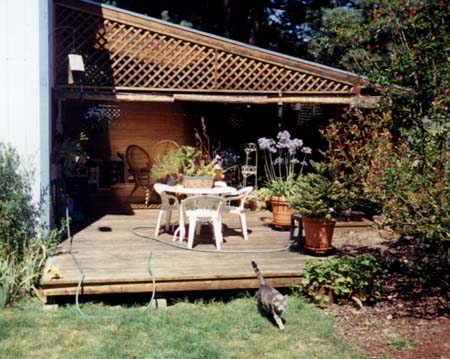
past summer, I decided to install electricity in my shed. I had an outdoor outlet that was
alone on a circuit that I could hook up to. Unfortunately it was at
the complete opposite side of the deck as the shed. I purchased 100
foot of outdoor electrical wire and ran wire under the deck from the
existing outlet to the front of the deck where I installed an electrical
outlet at that location.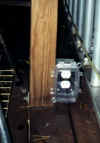 I was able to install a standard outlet because the existing outlet I was
running my wires from was already a GFI outlet. I then continued running the wire under the
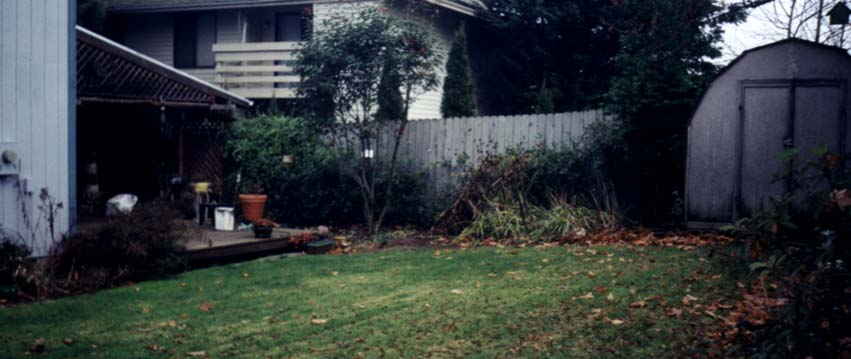
deck in the direction of the shed. When I reached the end of the deck,
I had to start going underground with the wire. Electrical wire needs
to be buried at least 18 inches deep. I dug an 18 inch deep ditch from
the deck to the shed. This is a distance of about 18 feet. I
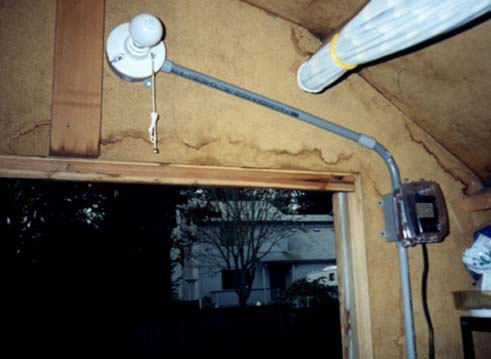
then installed conduit in the shed and ran the wires to install an
electrical outlet and a light. The last thing I did was shut off the
circuit breaker for the existing outlet I was connecting to (always check it
to make sure you shut off the right breaker) and connected my new wiring to
it.
I was able to install a standard outlet because the existing outlet I was
running my wires from was already a GFI outlet. I then continued running the wire under the
deck in the direction of the shed. When I reached the end of the deck,
I had to start going underground with the wire. Electrical wire needs
to be buried at least 18 inches deep. I dug an 18 inch deep ditch from
the deck to the shed. This is a distance of about 18 feet. I
then installed conduit in the shed and ran the wires to install an
electrical outlet and a light. The last thing I did was shut off the
circuit breaker for the existing outlet I was connecting to (always check it
to make sure you shut off the right breaker) and connected my new wiring to
it.


| Shed
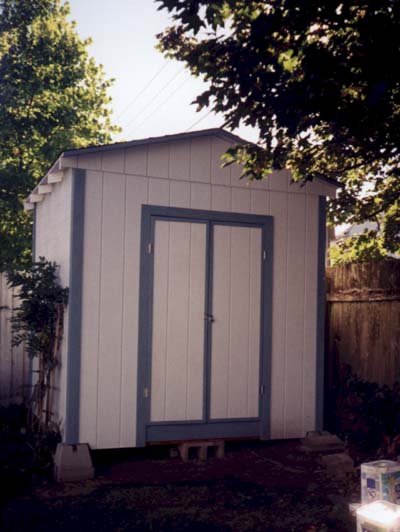
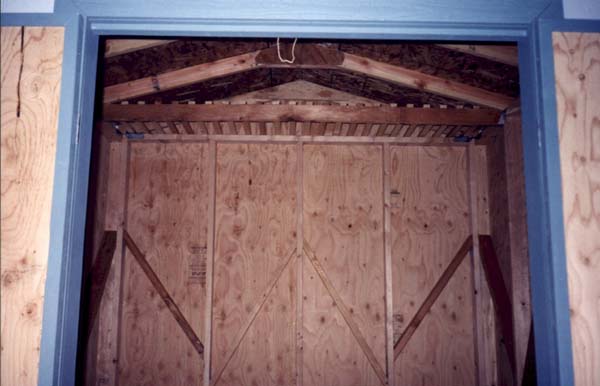
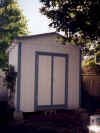
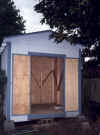
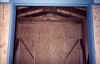
I've been denying the fact for a few years now that my old shed was falling apart, however decided this summer that I could deny it no more. The old shed had to go!!! I was afraid that if I didn't tear it down, it was going to fall down and then I'd really have a mess. I decided that the two weeks I had already scheduled off from work would be the perfect time to take on the project. So... I started tearing the old shed apart, starting first with the shingles and went down from there. I didn't want the whole thing to come down on me so I did acquire the help of my friend Creighton to help me tear it down. With the old shed gone, I purchased all I would need for the footings and floor frame and started in with getting everything level. This was probably the hardest part of building the shed. Every block had to be completely level and there was a lot of lifting the blocks in and out of holes until it was just right. That done, I build the floor frame using treated 2 X 6's and was then ready to have the rest of the supplies delivered. I took my list to the store, purchased the supplies and set up a delivery date. I had been drawing plans, asking questions and thinking about this for a couple of months, so had a pretty good idea of what I would need. I only had the big stuff I couldn't fit in my car delivered, like the flooring, siding, roofing and a bunch of 2 X 4's. The rest I picked up myself. Through the first week of my vacation, I worked on finishing the floor, painting the siding, building the framing for the walls and building the rafters. Then that first Saturday, I had a few friends come by to help me raise the walls. I was really happy to see Mike show up with his air compressor and air tools. He is also quite knowledgeable and so helped a lot. We were able to get the siding on the wall frames, get the walls raised, the rafters up and the roofing wood on before everyone had to leave. That worked out really well because I could do the rest of the stuff myself. To finish up, I papered and shingled the roof, built doors, installed trim, added more reinforcements to the inside walls, hooked up the electricity (I had already run the electrical to my old shed), touched up some painting and did a few other final finishing touches and voila' - a new shed. The last picture shows a small slat loft I built to hold seldom used items.
|
|