In The Beginning
Links Page
Contact Me
![]()
![]()
![]()
![]()
![]()
![]()
![]()
![]()
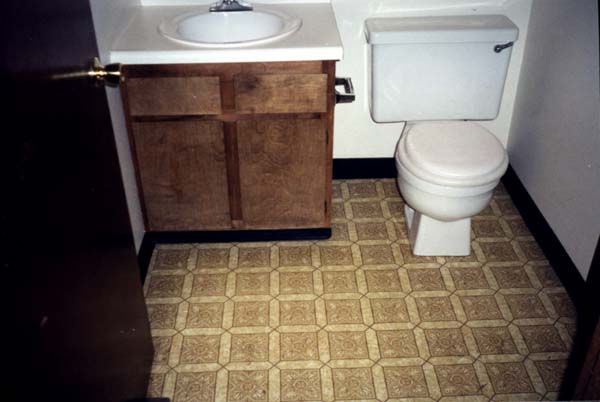
 The downstairs bathroom was the first room I
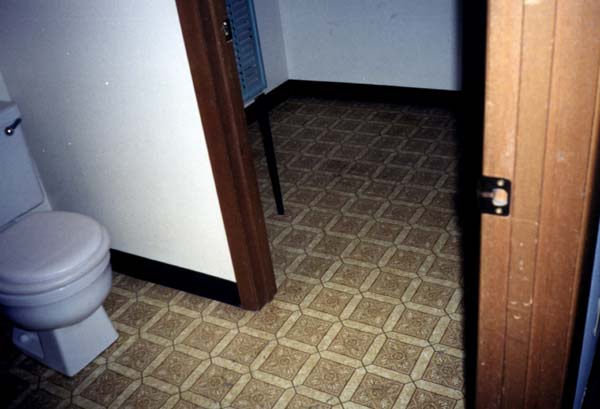
decided to work on. The linoleum was horrid and the sink was installed in an ugly cabinet. Through the bathroom was the door to the laundry room, so I
wanted one sheet of linoleum without a seam between the two rooms. I had never
put down linoleum before so my sister agreed to come down and help me. The
entire week before she came down, I worked on pulling up all the old
linoleum. What I couldn't pull up, I tried to scrape off with a stiff putty
knife. This is not what you want to do. Trying to get glued on linoleum
off particleboard is virtually impossible. You can go over the top of one
layer of linoleum but if you have more than that, the easiest way (I know your
not going to think this is the easiest way, but believe me, it is) is to take a
circular saw, set it at the correct depth to cut the sub floor only, make some
cuts, pull up and
The downstairs bathroom was the first room I
decided to work on. The linoleum was horrid and the sink was installed in an ugly cabinet. Through the bathroom was the door to the laundry room, so I
wanted one sheet of linoleum without a seam between the two rooms. I had never
put down linoleum before so my sister agreed to come down and help me. The
entire week before she came down, I worked on pulling up all the old
linoleum. What I couldn't pull up, I tried to scrape off with a stiff putty
knife. This is not what you want to do. Trying to get glued on linoleum
off particleboard is virtually impossible. You can go over the top of one
layer of linoleum but if you have more than that, the easiest way (I know your
not going to think this is the easiest way, but believe me, it is) is to take a
circular saw, set it at the correct depth to cut the sub floor only, make some
cuts, pull up and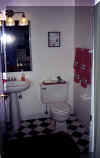 replace the wood. I had particle board in my bathroom
and I think in a bathroom, it should
replace the wood. I had particle board in my bathroom
and I think in a bathroom, it should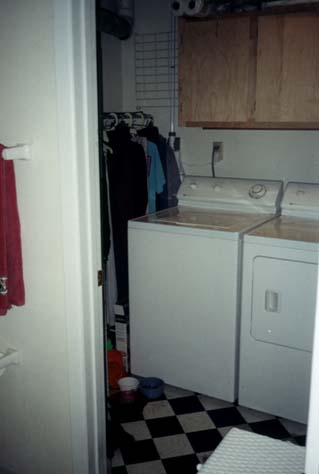 be
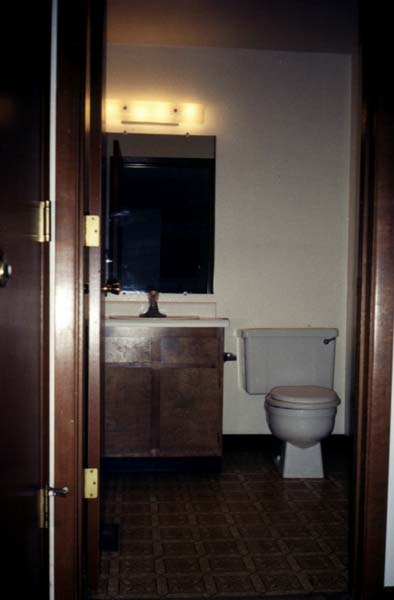
plywood anyway. My sister's
husband showed up to help also. He helped me remove the sink, the sink
cabinet and the toilet. (This was my first experience with learning that
stuff.) Since I didn't replace the wood, we had to sand the floor before
laying the new linoleum. My brother-in-law had to leave so my sister and I
laid the new linoleum and replaced the toilet. That following week I attached the new faucet to the new
sink and then installed the pedestal sink and the new light fixture by myself.
I also replaced the beige light switches and plugs with white.
be
plywood anyway. My sister's
husband showed up to help also. He helped me remove the sink, the sink
cabinet and the toilet. (This was my first experience with learning that
stuff.) Since I didn't replace the wood, we had to sand the floor before
laying the new linoleum. My brother-in-law had to leave so my sister and I
laid the new linoleum and replaced the toilet. That following week I attached the new faucet to the new
sink and then installed the pedestal sink and the new light fixture by myself.
I also replaced the beige light switches and plugs with white.
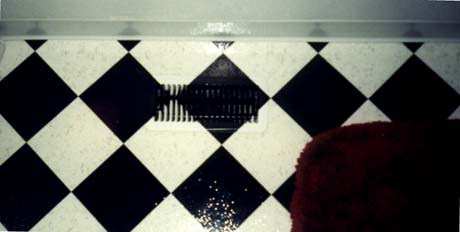
Check out the heat vent in this last picture. I painted it to match the floor. I can't take credit for that though, it was my sister Mary's idea.
![]()
![]()
![]()