Turning Pens
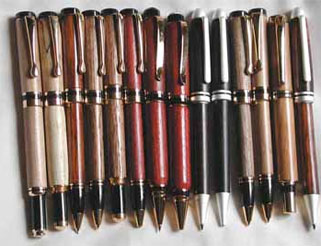
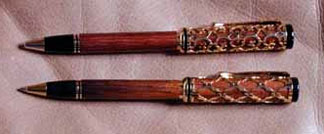
Below is a collection of fountain pens, ball point pens and pencils Jim has turned. Woods used are apple, maple, mulberry, bloodwood, ebony, walnut, and Jim's favorite: olive wood.
All of the pen kits used came from our local Woodcraft store. Kit parts come in a variety of materials including gold, silver, and Jim's favorite-titanium. Wood blanks can be purchased or you can just go out in your backyard and harvest your own.
Jim has used "green" wood by first cutting one-inch square blanks pre-drilling the center hole and then placing the blank on the heat register to cure. The hole in the center allows better air circulation and by relieving stress, also prevents the wood from splitting when it dries, However, the center hole must be redrilled because it shrinks during the drying process.
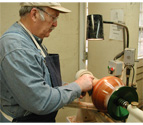
Special drill bits are required to pre-drill a center hole prior to gluing in a brass sleeve. The two wood blanks are then mounted on a special mandrel. Separate bushings are required for each pen to enable them to be turned to the exact diameter on the outside. Following the turning, the pens are sanded to a smooth finish using increasingly finer grits of sandpaper. A finish is then applied to the pens and they are polished while still on the spinning lathe. Polishes are used which react to heat resulting from friction of the polishing cloth held on the spinning pen parts.
The ballpoint pens seem to write better than mass-produced ones bought at office supply stores. However, refills for these pens can be purchased at some office supply stores. The pencils are either .05 or .07 mm. Some pens have a screw-on top while others have a snap-on top. The screw-on tops have a bad habit of coming unscrewed in Jim's pocket, but the snap-top variety requires a bit more fussy work when making them.