"Vertical 2 cell mod"
Gallery

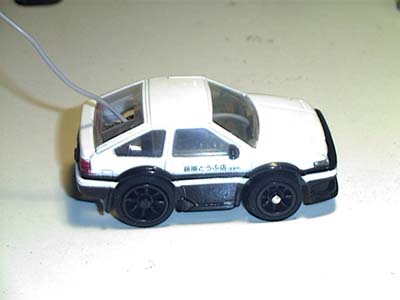
Bunta's 2 cell Bit mod is one of only a few that manages to put 2 cells in a Bit and still manage to put many of the stock bodies on the chassis. This is really great for a sleeper Bit to take to battle on the tracks.
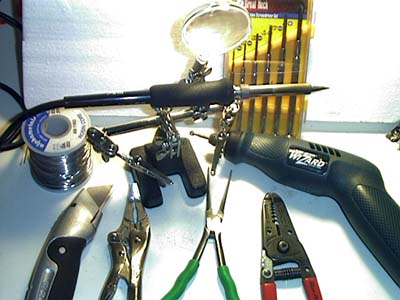
Tools you will need:
1)Soldering Iron
2)Small Phillips (+) and Flat (--) screwdrivers
3)Small wire cutters and strippers
4)Small pliers
5)Razor or X-acto knife
6)Rotary tool (Dremel)
7)Small Vise-Grips (OPTIONAL)
8)Project holder (OPTIONAL)
9)Super Glue (certain projects)
Bit 2 cell mod: (Chassis preparation)
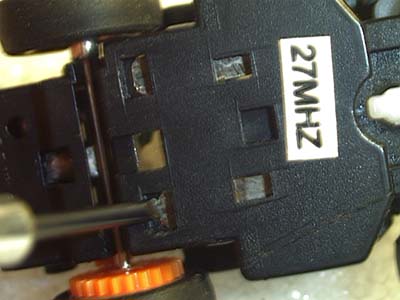
1)Remove car body from chassis by un-latching the front first.
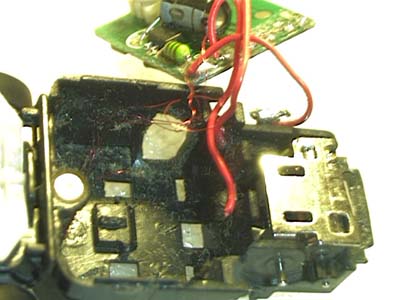
2)With a small flat screwdriver (or long fingernail) carefully un seat one corner of the PCB cover. Then slide the other side off. You do not have to break the little tabs.
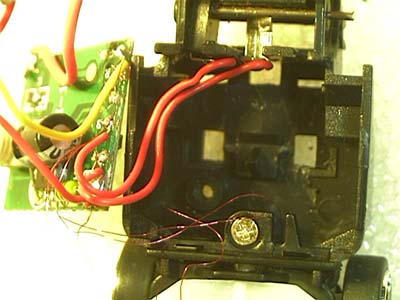
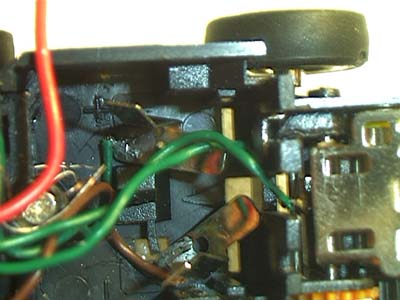
3)Now the cover is loose, slide the antenna wire though the loop and put the PCB cover aside. Be VERY CAREFUL of the PCB and it's wires. Notice the little hair thin wires? Those control your steering; do NOT damage any of these wires.
****PCB NOTICE ****
I have found some clones that have the capacitor soldered directly to the PCB in a vertical position and cannot be bent. DO NOT use these clones because the capacitor sticks up too far to flip the PCB over and still fit in the original body.
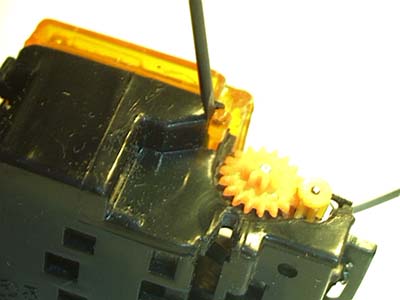
4)Bits have a much tighter battery compartment, the wires are usually correspondingly shorter also, this INCREASES the chances of snapping a steering wire BEWARE! Remove the rear axle, heatsink, and motor.
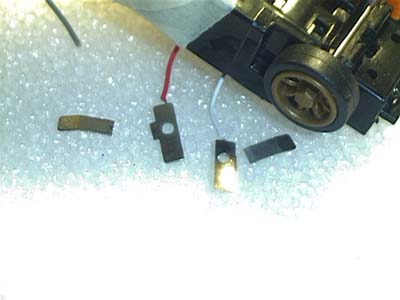
5)You can remove the motor contacts. This requires that the Idler gear pin must to be removed. With the flat side of a small flat screwdriver push the idler gear pin through the chassis and grab the other end of it with some pliers and pull it through.
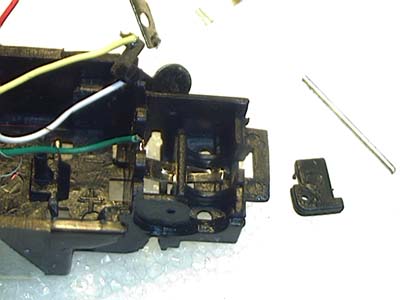
6)You can now remove the (forward) motor contact now. It's the one that attaches to the end of the motor on the side of the car. The (reverse) motor contact needs to be straightened out before removal. WATCH THE STEERING WIRES! This is a good time to shorten the forward motor contact. We want to prevent the contact from sticking out. We need to cut and shorten the contact and then re-solder the wire on to the contact.
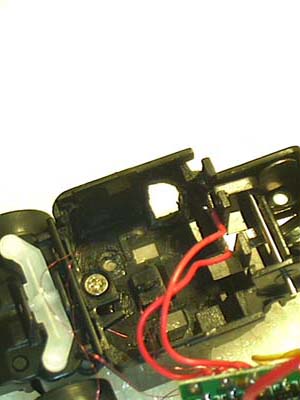
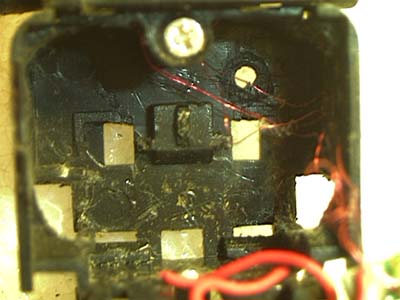
7)Both the charging contacts can be loosened by using a small flat screwdriver and pushing the ends towards the front from underneath the car. Use some small pliers to work the contacts loose from the topside. The only wires that should be holding the PCB to the chassis should be the thin steering wires. Be careful and tuck the PCB over the front of the car and tape it there with some slack in the steering wires. Don't get any of the tape onto the steering wires.
8)Get your rotary tool (Dremel) ready. It's time to make some cuts to the chassis near the battery/charging contacts. Remove the chassis material a little at a time, testing the fit of the battery. Cut both sides left and right. Cut the plastic back until you can squeeze a battery into that half of the chassis. Watch out how far back you go, the plastic gets pretty thin here, and the rear tires might hit the battery. If you need more room, you can get some by removing some of the plastic in the corners of the front of the battery compartment, but it's only a little you can gain here.
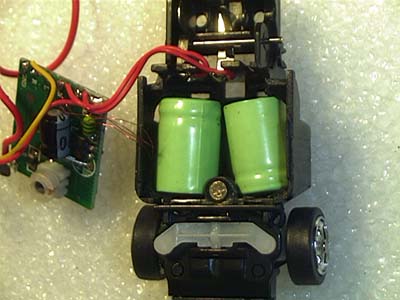
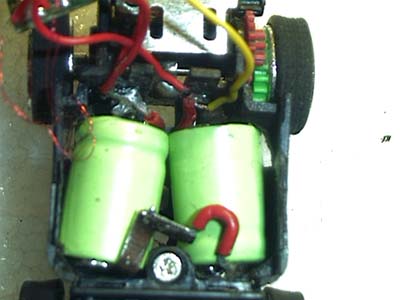
9)After doing the same operation on the opposite side, you can test fit your batteries into the chassis. You are half way there!! It's time to wire this little bugger up.
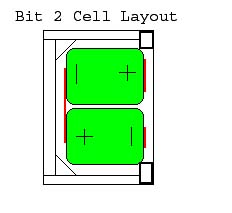
2 Cell mod (Battery Layout)
Batteries Wiring: (connector/insulator preparation)
1)For our project car to work, we need a working electrical circuit. All batteries have a positive and a negative terminal. With the batteries shoved into the chassis, we can see where we need to make some connections.
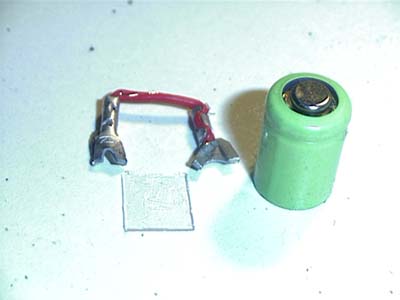
2)I personally don't like to solder onto a battery, you can buy batteries with solder tabs already on them if you like. I prefer to make small battery contacts out of things in my junk pile. If these materials are all used up, I can use un-insulated electrical crimp connectors and a short bit of wire. This way I can easily change my batteries, although I never had to yet.
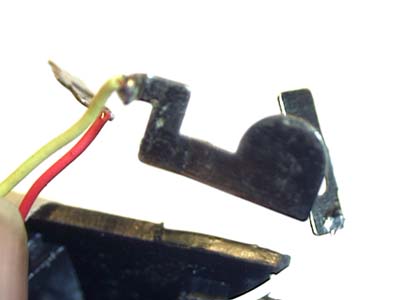
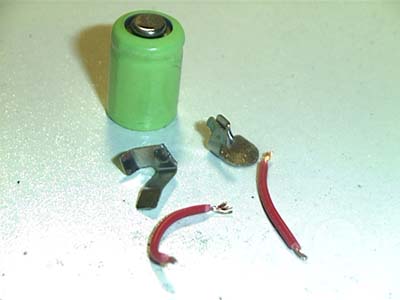
3)For Bits we need to make some new battery contacts, and some new charging contacts. The charging contacts are the original ones modified by snapping off the vertical parts. We then glue these charging contacts back into position with some super glue.
4)The vertical parts that were snapped off will become the battery contacts.
5)Now the batteries and wires are all connected as they should be.