 |
 |
 |
 |
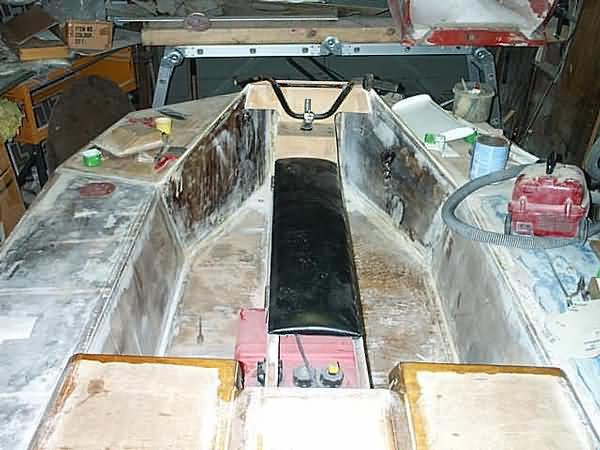 |
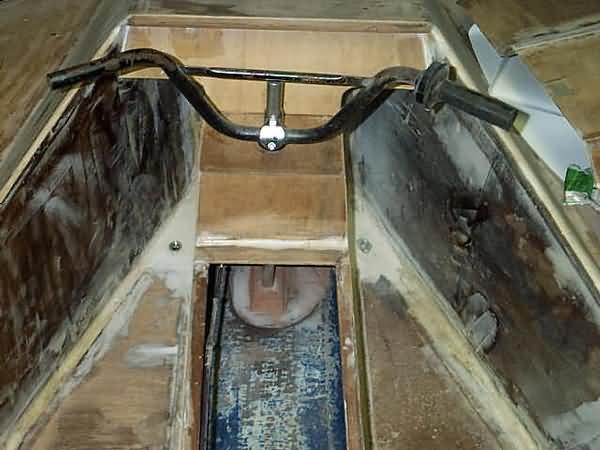
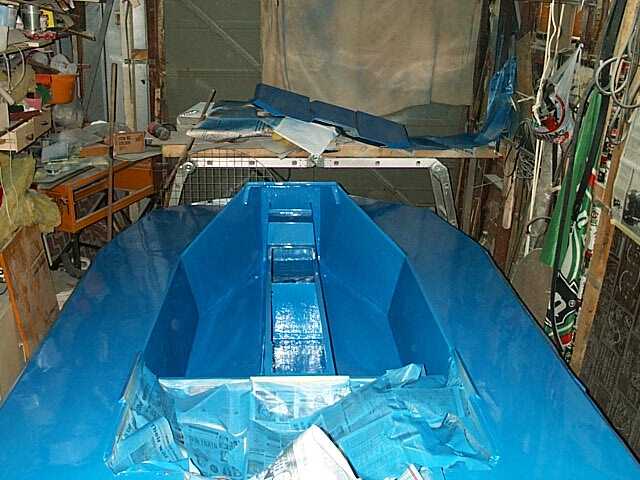
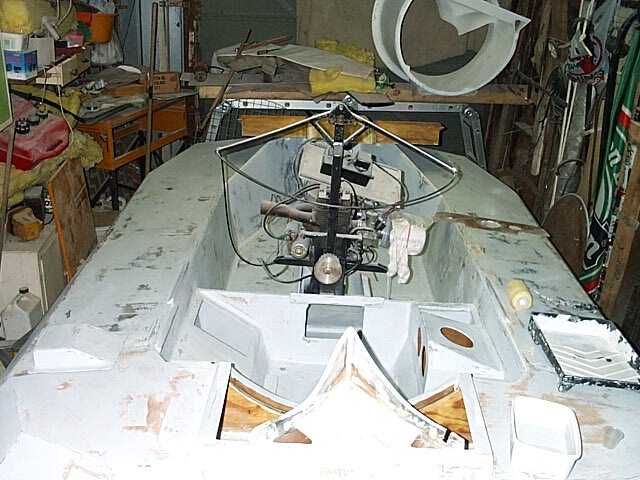
| The drain plugs have had a thin mixture of epoxy paste poured around them to assist in removing water. Handle bars will be changed for lower version, I also used the cling wrap to obtain excellent alignment of lower steering block I oversized the hole and then filled it with Epoxy Mix with the steering shaft wrapped in cling and sitting in the hole |
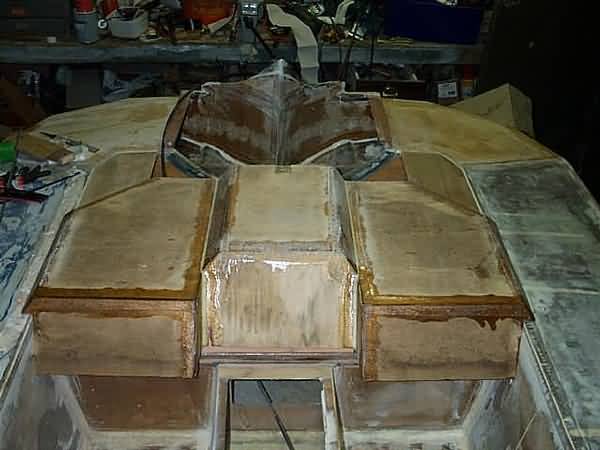
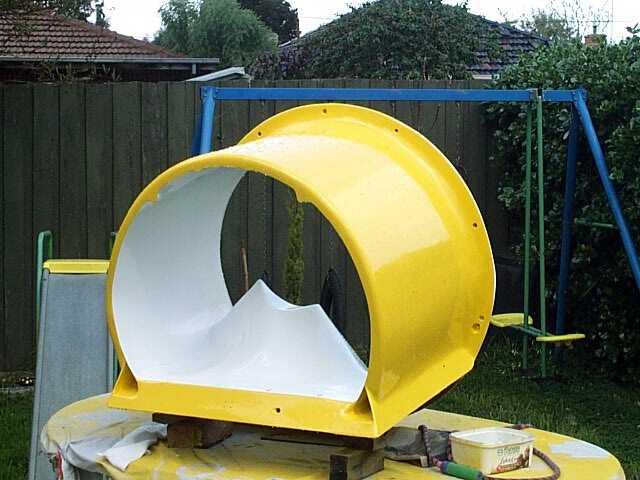
| Engine cover glassed externally to stiffen it up, Plans call for two layers on internal seems but I put one layer on each side this should stop joint splitting. |
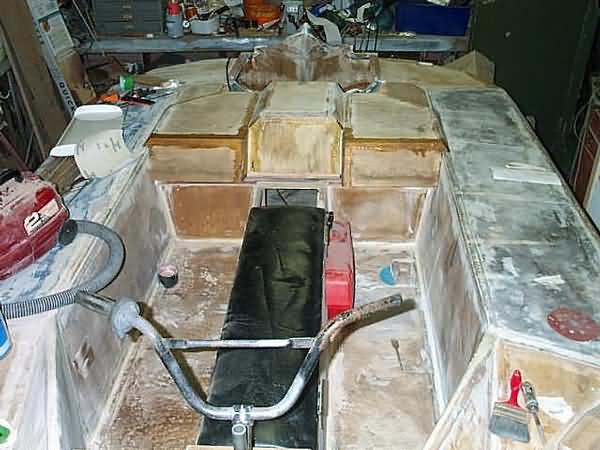
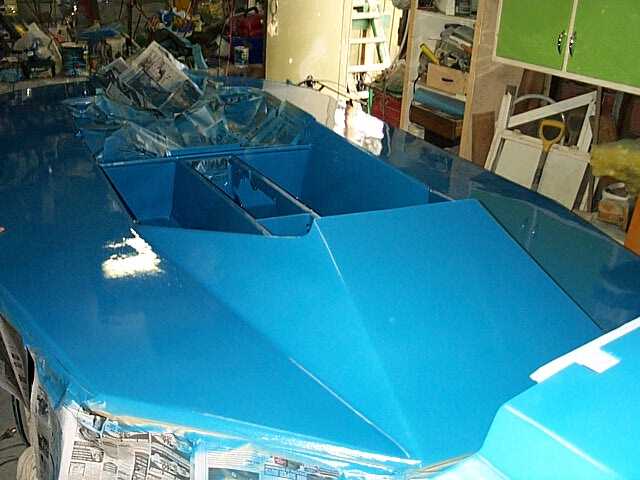
| Yes the seat is a little short but I decided to add an extra hinged piece so I can check the fuel guage without everyone having to hop off the seat |
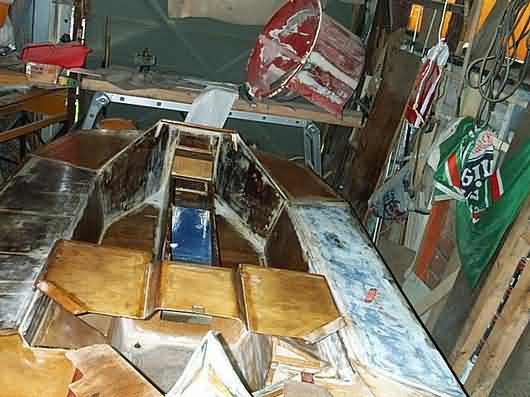 |
| Hull is now sealed with Timber Tuff Epoxy paint, a quick sand and then I can apply the polyurethane undercoat. |
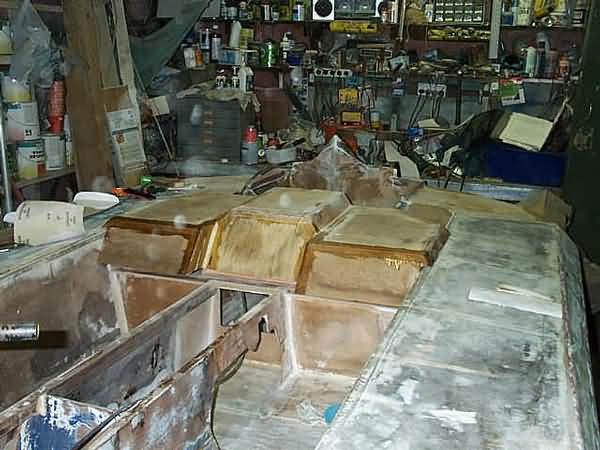
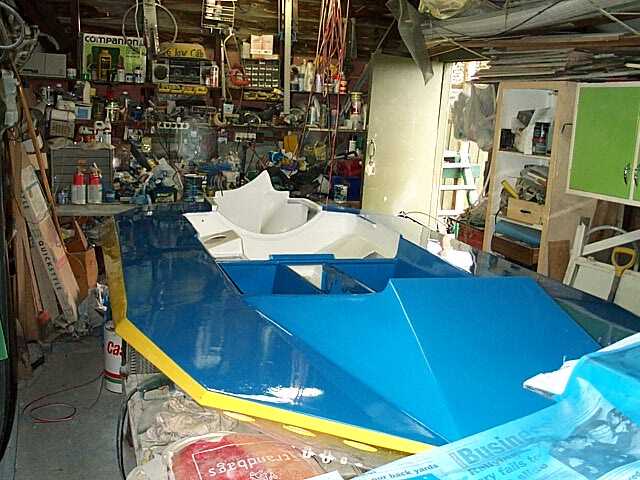
| I just threw most of the parts into place to see how it all will look |
| Blah Blah Blah Vabaeryhgzcght |
 |
 |
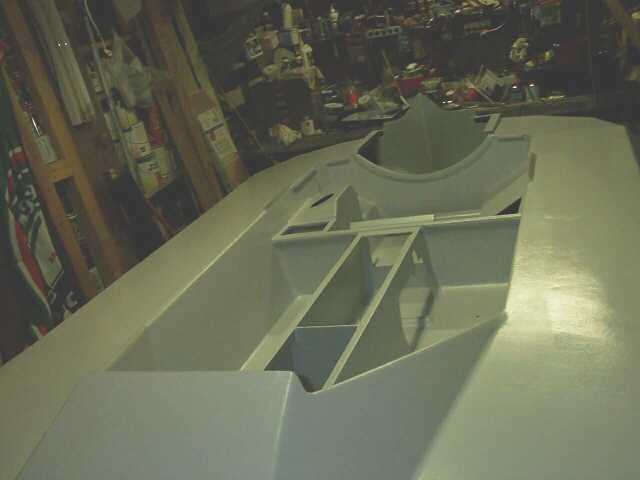
| Finally some Grey Polyurethane Primer applied it looks quite good just a few areas need filling its not perfect but I want to fly now. |
 |
| Polyurethane paint finally applied Note Check the colour of paint before leaving the shop I had this paint sitting around for 6 Weeks when I finally opened it It was the Wrong Color. |
 |
 |
 |
 |
 |
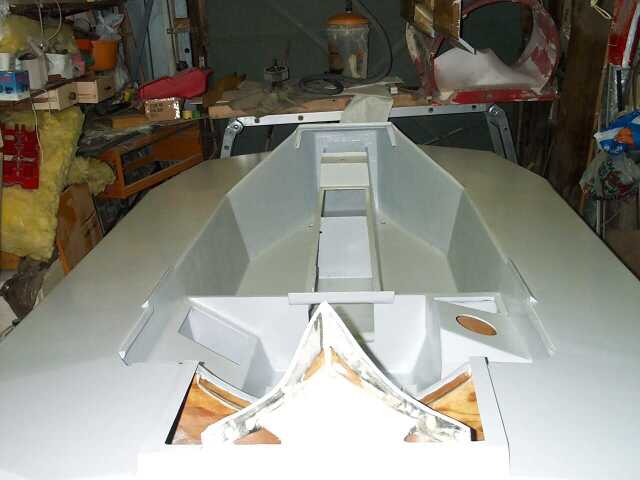
| This is after Sanding the undercoat Filling low spots reundercoating and then sanding again still perfect but good enough for me (I can always do it again later if I get bored Flying it)NOT |
| Construction Photos 2 |
| Construction Photos 2 |
 |
| Painting finally complete stillneeds some pinstripes between the colours but looking Good |
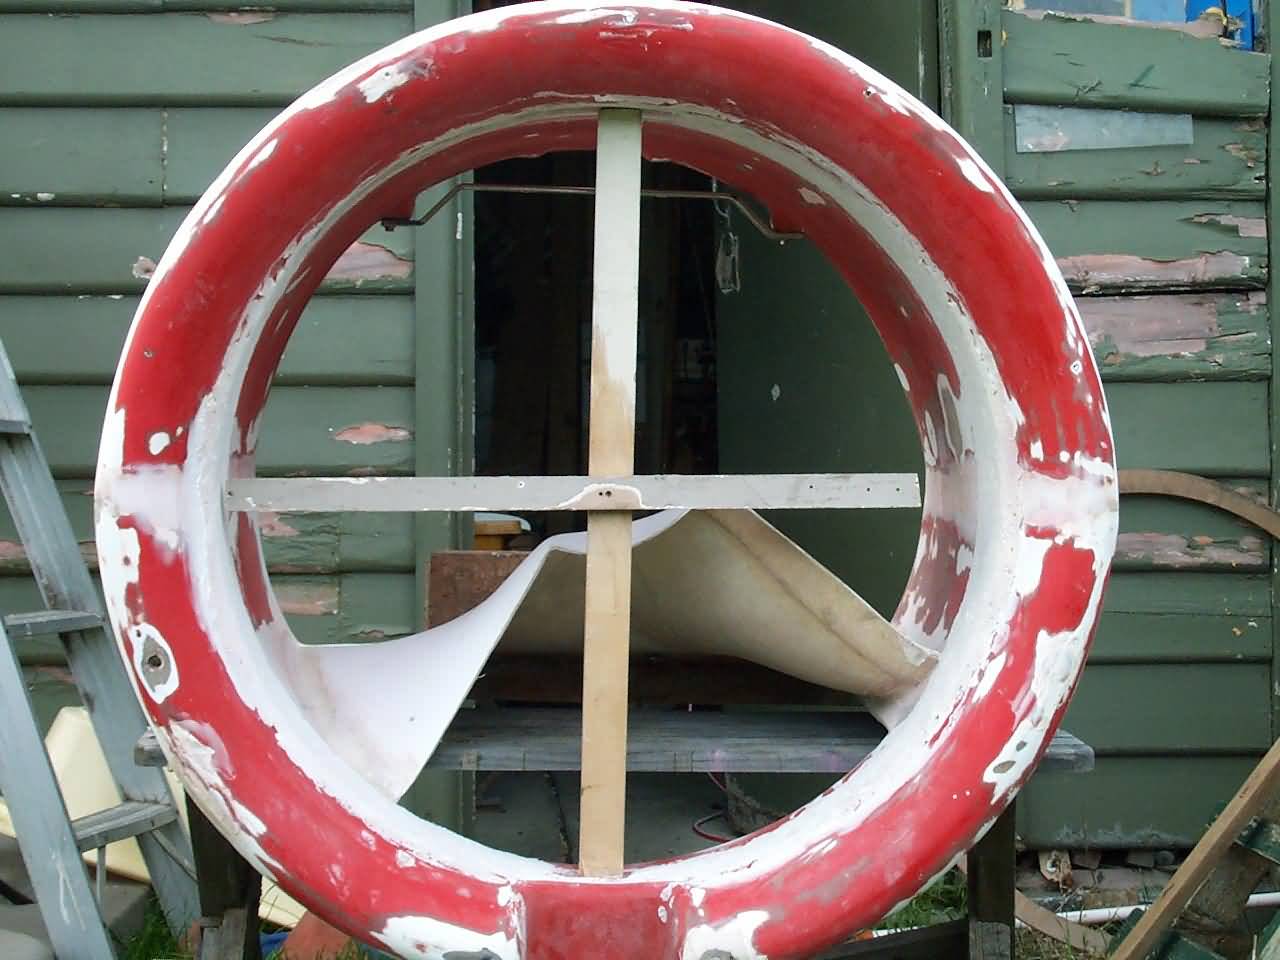
| I found the Duct was about 25mm out of round (wider than taller)after a few layers of great stuff were applied I set up this crude radius guide and then cut the foam out with a small Handsaw then I coated the Duct with Epoxy paste and sanded and filled until it was round and smooth sounds easy but it took nearly a month to complete. |