
|
Bowl or container (large & flat is best), pantyhose leg (wrapped around), a bent out wire hanger (secured with a rubberband or other implement), 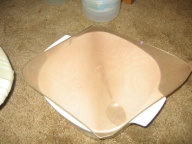
|
Steam iron preferably with non-stick face and ironing board 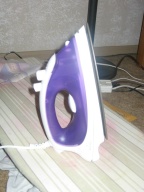 |
Food processor or blender 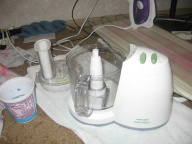 |
A towel (remember that the Hitchhiker's Guide tells us to never forget your towel) 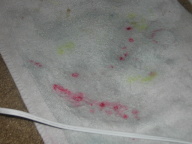 |
Old cotton cloth 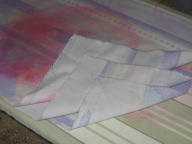 |
Next You Will Need: |
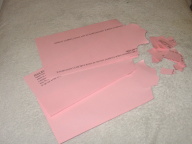
Paper!! Paper!! Paper!! (from Junk Mail, Scrapbook Trimmings, etc.) |
 |
 |
 |
I like to save scrapbook trimming and am starting to experiment with recyclable papers
such as junk mail. I also prefer to keep the colors separate so that I can mix them at will or create papers with areas of color.
Besides, mixing all papers can lead to the colors becoming muddied. |
Paper Prep: |
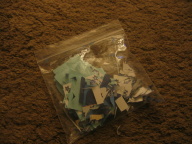
Rip Up the Paper... (about 1/2 inch or less)
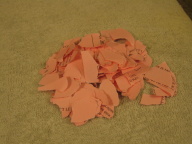 | Soak in Plenty of Water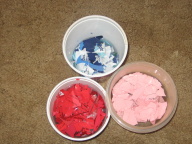 | Add Extra Water as needed ~it needs to be pretty soupy~
(this is a trial and error process) 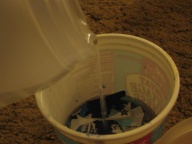 |
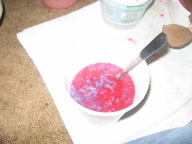
Soaked to Slurry (food processor time) |
Into the Processor 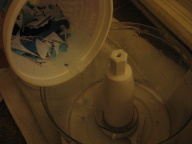 |
In the Food Processor  |
Blending 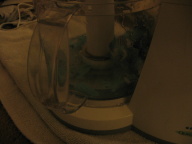 |
Pulp/Slurry 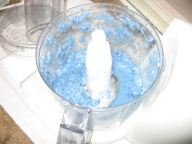 |
My food processor is kind of leaky, even with the top on tight minimal water,
so I blend on a towel. | .
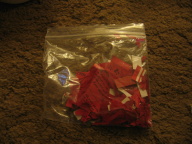
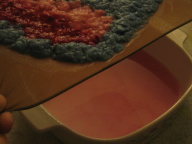
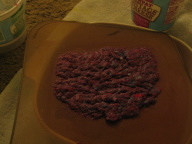
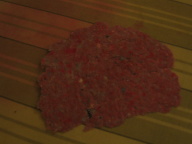
The Other Slurries: |
Red 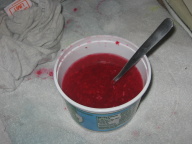 |
Pink 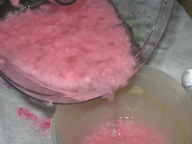 |
 |
 |
 |
 |
 |
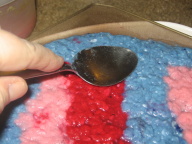 |
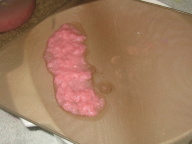
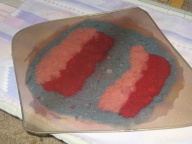
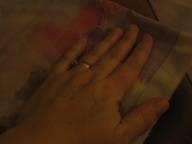
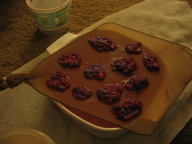
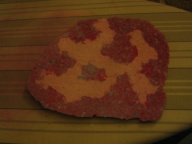
These pictures illustrate the way I make paper: 1) I place my pantyhose/hanger screen over a bowl for drainage of water. 2) I then spoon the slurry of my chosen color where I want it to be until the screen is full. 3) I let the slurry drain off some of the excess water into the bowl. 4) I then smooth the remaining pulp out with the spoon and squeeze more water out with it. (Mind you, this is NOT the official way to make paper with a deckle and frame... but my way can yield some interesting and
very customizable results.) |
|
 |
 |
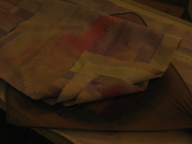
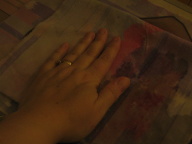
Squeezing Out Water 1) Place several layers of dry cotton cloth on the ironing board. 2) Lift the screen with the paper pulp on it (there should be little or no drippage). 3) Invert the pulp on the screen onto the cloth on the ironing board. (Again, this in not official, but it works for me... develop your own way!) |
 |
 |
 |
 |
 |
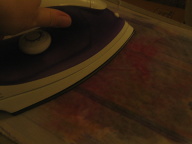
Get your iron heating up!! 1) Place several layers of cloth on top of the inverted screen and pulp. 2) Press out water several times (I repeat until I can't press anymore water out with my hand). 3) Once the last water can be pressed out by hand, the screen should be easily removed from the wet pulp sheet. (I use the hot iron to dry my cloths between pressings.) |
 |
 |
The Last Bit of Moisture 1) Once the screen is removed, I continue to press the water out of the paper with the hot iron. 2) I continue to use the iron to dry the cloths between pressings. 3) I frequently turn the paper between the cloth until the steam no longer rises and water no longer seeps onto the covering cloth. 4) Then I remove the cloth and press the paper very gently since you can accidentally tear holes in the paper. (I can create a piece of paper in an hour or so by this method.) |
 |
 |
 |
 |
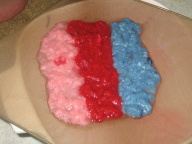
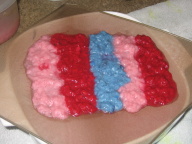
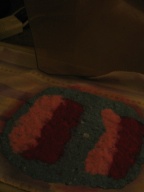
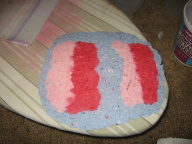
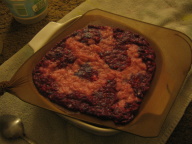
Papermaking is FUN!! I mixed the red and blue slurries I had left over. I blobbed the mix on the screen and filled in with pink and then edged it with the mix... Then I created a weird sheet of paper... I can only imagine the possibilites this might yield in future! |
 |
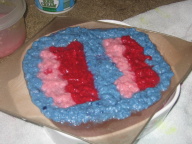
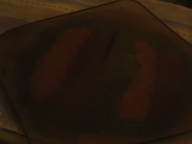
Vomit, Brain or Paper? Created with the mixed slurries... Not too bad, but the colors are somewhat muddied... |
 |
|
(c) 2006, Jennifer L. Schmidt. |
| -Index- -Yarns- -Heart- -Crafts- -Nexus--Nursing--Projects- -Family- -Me- -PaperMaking- |
| Leave a Note | See What Others Have Said |