Previous Page |
 Next Page | |
 | ||
Previous Page |
Next Page | |
| ||
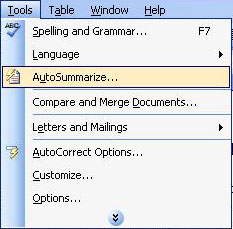
If you have a long document and want to include a summary with it, you can have Word create an automatic summary of the document for you. This is called the AutoSummarize feature. From within the open document, open the Tools menu and select AutoSummarize.
The AutoSummarize dialog box will appear.
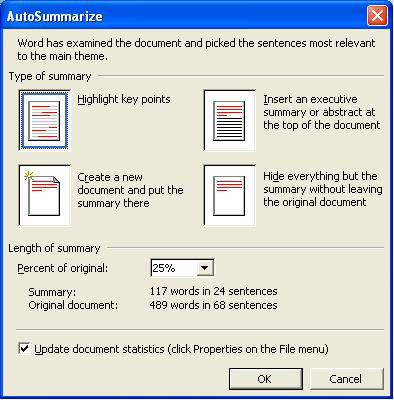
In the "Type of summary" section of the dialog box, click on the image that describes the way you want to display the summary. In the "Length of Summary" section, select the level of detail you want to include in the summary (percentage wise).
Click the OK button when you are ready to start the AutoSummarize feature. If you want to cancel the summary before it finishes, press the ESC key on the keyboard.
After the summary has been created, you should review it to make sure it covers the document's main points. If it doesn't, use the Undo feature (open the Edit menu and select Undo and repeat the AutoSummarize steps, using a higher percentage number. You can also change the summary yourself. (It should be noted that the summary created by AutoSummarize is considered a rough draft and will probably need to be edited.)
NOTE: For help with this feature, use Word Help (see the lesson called "Using Word Help").
Practice: To practice what was learned in this lesson, open Word and an existing document. Follow along with the lesson to use the AutoSummarize feature. Read the summary that has been created, then open the Edit menu and select Undo. Run AutoSummarize again, this time using a higher percentage number. Read the new summary and review how it compares to the the one previously created. When you have finished, close the document and Word, but do not save the changes (or save the document under a new name).
 Previous Page |
Next Page |