Previous Page |
 Next Page | |
 | ||
Previous Page |
Next Page | |
| ||
Lesson 20: Compare and Merge Documents
The Compare and Merge feature in Word can be used to compare two documents. Perhaps you have two documents with the same name, and you need to know if they are exactly the same or not. Or maybe several people have been working on different copies of the same document and you want to merge all of their changes into one document. Compare and Merge goes through each of two documents and merges them together into one document, then uses comments (see lesson called "Adding Comments & Tracking Changes") to identify the differences (track the changes) between the two.
The steps to use the Compare and Merge feature differ between older versions of Word and Word 2003. Click here to go to the instructions for Word 2003.
Instructions for Older Versions of Word:
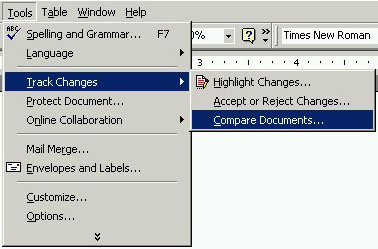
To Compare and Merge two documents in older versions of Word, first open one of the documents (the edited version, if possible). Next, open the Tools menu, go to the Track Changes submenu, and select Compare Documents....
A dialog box will open, allowing you to navigate to the second document (the original, if possible).
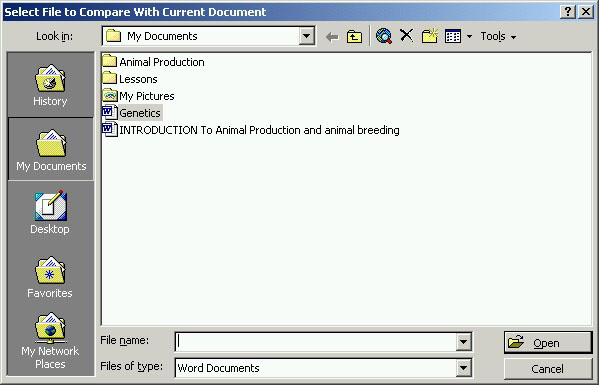
Click on the name of the file and then on the Open button.
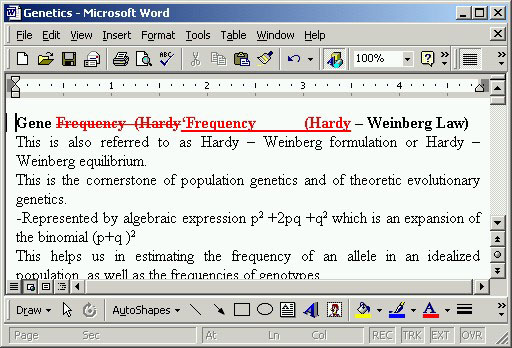
The two files will be merged together and the differences between the two files will be marked. Below is an example of a merged document.
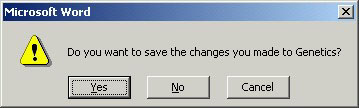
If you want to save this merged document, it is recommended you save it under a new name so that the original files are not changed. If you attempt to close this merged file without saving it, you will be prompted to save it.
If you want to print the marked changes, open the Print dialog box and in the "Print what" drop-down box, change it to Comments. If you want to print only the merged document, change it to Document.
To Compare and Merge two documents in Word 2003, first open one of the documents (the edited version, if possible). Next, open the Tools menu and select Compare and Merge Documents.

The Compare and Merge dialog box will appear, allowing you to search for the second document.
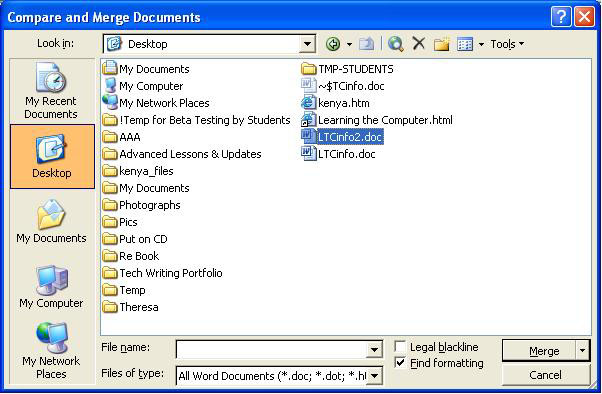
Navigate to the second document (the original, if possible) and left-click on it once to select it. Next, click on the arrow to the right of the Merge button to open the menu.
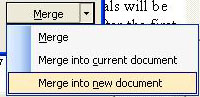
This menu will allow you to choose whether to merge into the first, currently open document, or into a new document. It is recommended that you merge into a new document so that you don't accidentally lose your original document in case you need it later.
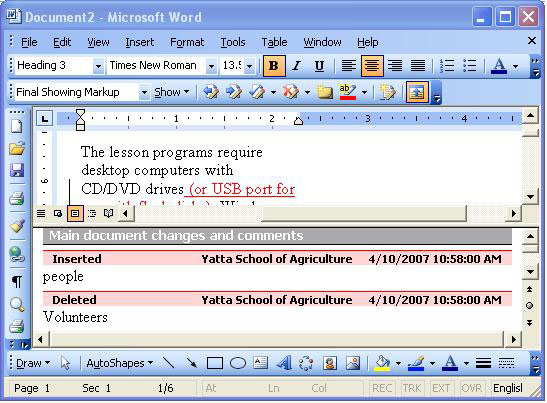
The differences between the two documents will be marked, depending on the type of change it is (deletions will be marked with lines pointing to comment balloons, for instance). (See lesson called "Adding Comments & Tracking Changes.") Below are some example merged documents.
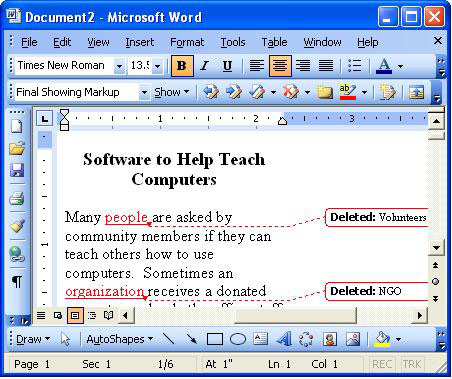
In the example above, the two words that were deleted are mentioned in the comment balloons and the two words that replaced them ("people" and "organization") are colored in red and underlined.
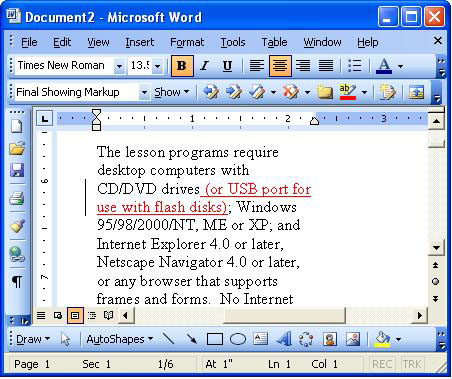
In the example above, the words that were inserted are colored red and underlined. Since no words were deleted there, there is no comment balloon.
Once the merge has been started, the Reviewing toolbar appears in the document window.

You can use this toolbar to accept or reject each change, insert your own comments, highlight changes, track changes, or open the reviewing pane (the name of each toolbar button will appear when the mouse pointer hovers over it - use Word Help for more information about these tasks). Below is an example of a merged document with the reviewing pane open.
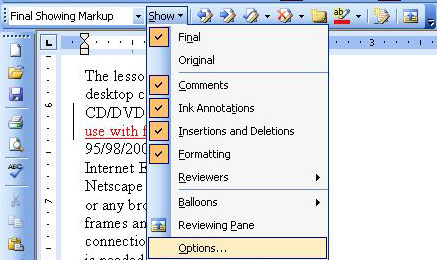
On the toolbar is the Show menu. With it, you can customize the document so that it shows what you want to see (comments, reviewing pane, etc.). You can also change the tracking options by selecting Options from the menu.
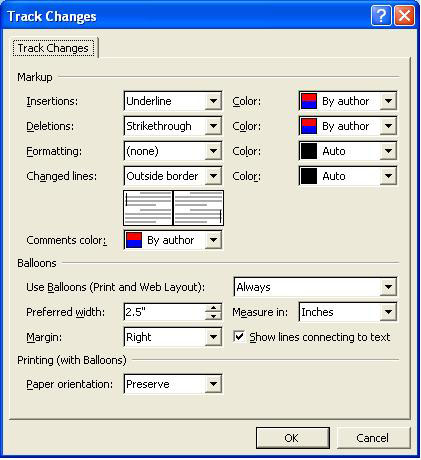
The Track Changes dialog box will open and you can change the way the change marks for insertions, deletions, formatting changes, etc. are shown in the merged document, along with the colors used.
If you want to print the document including all of the marks, open the Print dialog box (select Print from the File menu) and, in the "Print what" section, select Document showing markup from the drop-down list. If you want to print just the change marks, select List of markup. Finally, if you want to print just the document without any of the change marks, select Document.
When you are all finished with the document, make sure you save it if you want to access it again in the future. If you do not save it, you will have to merge the same two documents again in order to create it.
Practice: Practicing this lesson requires two pre-existing documents that are similar except for a few differences. If you do not have two such documents, you can create one and save it, then make a few changes and save it under another name. To practice this lesson, open the first document and follow the steps in the lesson above (depending on which version of Word you are using) to do a Merge and Compare of the two documents.
 Previous Page |
Next Page |