Previous Page |
 Next Page | |
 | ||
Previous Page |
Next Page | |
| ||
Step 19: Use zoom/magnify tools.
You can change the size or amount of text that shows in your document window by using the Zoom tools. (Another word for "zoom" is magnify.) This will either enlarge the document so that it fills more of the window, or it will make the document smaller so that you can see more of the document in the window.
The Zoom toolbar button is located on the Standard toolbar and looks like a magnifying glass:

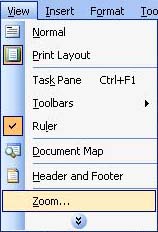
You can also use Zoom by opening the View menu and selecting Zoom.
Both of these methods will open the Zoom dialog box:
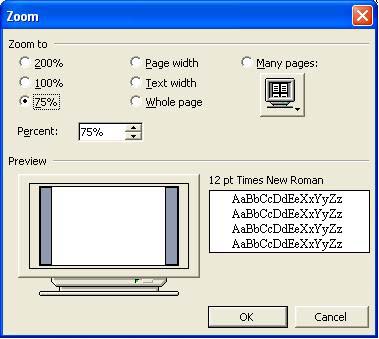
The normal size for a document is 100%. With the Zoom dialog box, you can increase or decrease the size. If the size you want is not one of the options, go to the Percent drop-down box and change the number. For example, you could change the number to 400 to have the document increase to 400% (or 4 times) of normal size, or change it to 50 to have the document show at 50% (half) of its normal size.
The dialog box also includes Page Width, Text Width and Whole Page options. Page Width will enlarge or minimize the size of the document so that the width of the page will fit inside the window. Text Width will show the width of the text in the document window. The Whole Page option will make the document small enough so that the whole page will fit inside the document window. The Many Pages option will show more than one page in the window (click on the button under the option to choose how many pages to show).
Practice: Open the View menu and select Zoom. Select different options (click the OK button after each one) and see how the document changes in the window after each one.
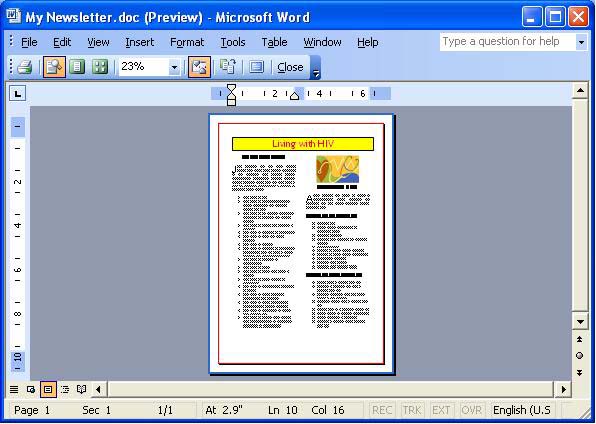
Print Preview is used to see how your document will look when it is printed. In Print Preview, you can display multiple pages of a document in a reduced size. Also with this view, you can see page breaks, hidden text, and other features, and you can make editing or formatting changes before you print the document.
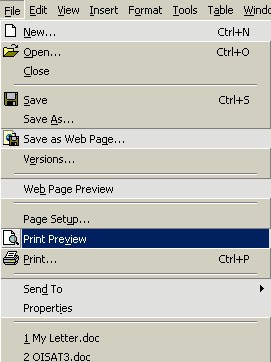
To open Print Preview, open the File menu and select Print Preview
The Print Preview window will open and show your document in a smaller size.
The various features of Print Preview will not be discussed in this lesson, but you can use Microsoft Word Help with the keywords Print Preview to learn more about it.
When you are done with the Print Preview window, click on the Close button on the toolbar. Do not use the Close ("X") button in the upper right-hand corner on the title bar because clicking on that button will close the whole Word application including your document.
Practice: Open the File menu and select Print Preview. Look at the window and each button and then click on the Close button on the toolbar. Do NOT click on the "X" in the upper right-hand corner of the title bar.
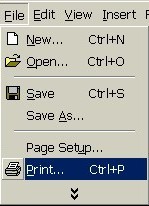
Step 21: Print the newsletter.
To print a Word document, you must have a printer connected to your computer. Open the File menu and select Print. (You can also click on the Print toolbar button, but doing so will not open the Print dialog box and will not allow you to choose any print options before you print. The Print toolbar button will only print one complete copy of the entire document.)
The Print dialog box will open, looking similar to this:
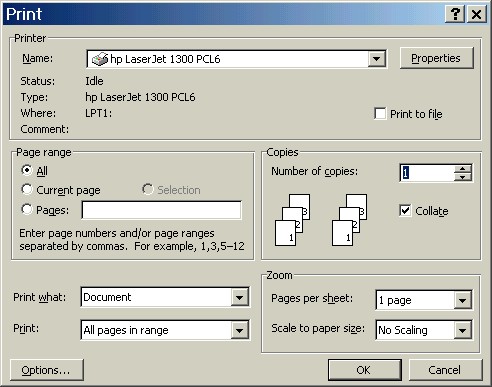
In the top section of the dialog box is where you tell it which printer to print to. In the Page Range section, choose whether to print the whole document, the page the cursor is currently on, or a range of pages (pages 1,3,5 for example). Change the number of copies if you wish more than one copy printed. (Collate means one whole document will be printed before another copy is printed. If the collate option is turned off and more than one copy is to be printed, all copies of each page will be printed before the next page is printed.) You can chose whether to print the entire document or just parts of it like comments and whether to print all of the pages, just the odd pages or just the even pages. You can also choose how many pages to print per sheet of paper and whether or not to make the page fit a certain size of paper.
If you want to change the type of paper or the paper orientation, you will need to do that in the Page Setup dialog box (see Step 3, "Change the Page Setup/Margins").
When you have finished choosing your printing options, click on the OK button.
Practice: If there is a printer connected to your computer, make sure it is turned on and follow the above steps to open the Print dialog box, look at the available options, and print one copy of your newsletter. If there is no printer connected to your computer, open the Print dialog box and look at the options, but do not make any changes; click on the Cancel button to close the dialog box without printing.
Step 22: Save and close the document and Word.
You should always save your document before closing Microsoft Word. However, if you forget to save and try to close the document anyway, Word will display a dialog box asking if you want to save your changes. Click on the Yes button if you want to save the changes or the No button if you do not.
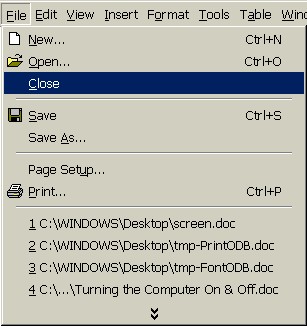
Close the Document But Keep Word Open:
To close only the document but keep the Word application open, open the File menu and select Close.
This will close only the current document, keeping Word open.
Another way to close just the current document while keeping the Word application open is to click on the Close (X) button for that document only (not the Close button for the Word application located on the Word title bar). The Close button for an open document is located on the Menu bar, not the Title bar.


Close Both the Document and Word:
To close all open documents and the Word application together, open the File menu and select Exit. This will close the entire application, along with any open documents.

Another way to close Word and all open documents is to click on the Close (X) button located on the Word title bar at the very top right-hand corner of the Word window.
Practice: First, save your document. Next, open the File menu and select Exit. Notice how the document and application are both closed together.
 Previous Page |
Next Page |