Previous Page |
 Next Page | |
 | ||
Previous Page |
Next Page | |
| ||
Step 15: Align text: justification.
We learned about paragraph text alignment in Step 6 of this lesson and have been using left alignment and center alignment so far. In Step 6 we also learned about justify alignment, which is when the text is lined up on both the left and right margins. We will now justify the two paragraphs in our newsletter.
If we have already typed the text (which, in this case, we have), we first select the text, then click on the appropriate toolbar button (in this case, the justify align toolbar button) or right-click over the cursor, select Paragraph from the shortcut menu and then change the alignment in the "Indents and Spacing" tab section, under the section called "General," to Justified.
Practice: For both complete paragraphs of text (not the lists or headlines), select the paragraph and then change the alignment to justified. To do this, either click on the justify align toolbar button or right-click over the selected text, select paragraph from the shortcut menu, go to the "Indents and Spacing" tab section and, under the General heading, change the alignment to justified. Again, you will need to do this to two paragraphs.
This is our newsletter now. See how the paragraphs are justified (lined up on both the left and right column margins)?
Drop Caps are used to make the first letter of the first word in a paragraph very large, which draws the attention of the person reading the document. (They are called Drop Caps because the letter is capitalized and dropped down two or more lines.) We are going to create Drop Caps for each of our two newsletter articles.
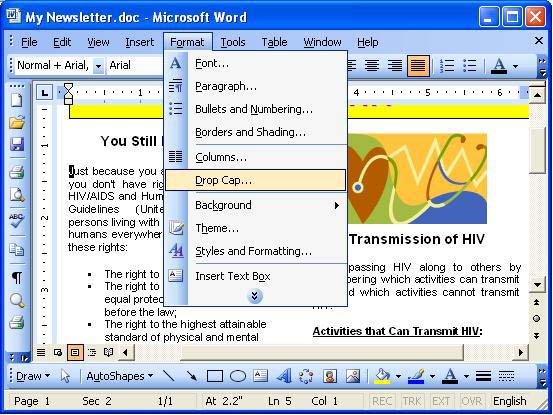
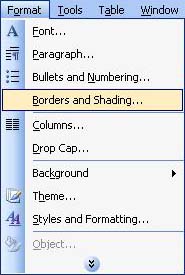
To create a Drop Cap, first select the letter you want to enlarge. In this case, it will be the first letter of the first word of each article. Next, open the Format menu and select Drop Cap.
The Drop Cap dialog box will open.
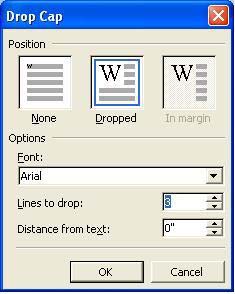
In the dialog box, select the style of Drop Cap you want (whether you want it to remain in line with the rest of the text, or be placed outside the left margin of the text). You can also change the font of the Drop Cap and the number of lines you want the Drop Cap to go down. Click on the OK button when you have made your choices.
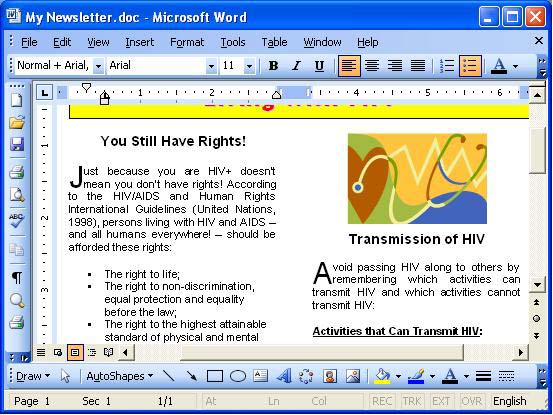
Practice: Create a Drop Cap for the first letter of each article: Select the letter, then open the Format menu and select Drop Cap. You can either keep the font the same or change it, but change the number of lines to drop to 2. Click OK. Make sure you do this for both articles. When you have finished, save your document.
Step 17: Create a page border.
You can put a border around your page to make it stand out or look nicer. To add a page border, open the Format menu and select Borders and Shading.
In the Borders and Shading dialog box, click on the tab that says "Page Border."
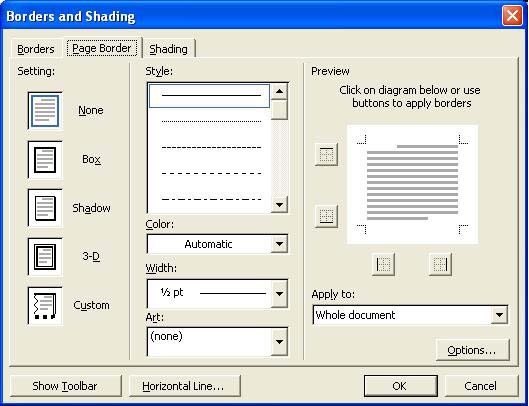
Click one of the settings on the left (Box, Shadow, or 3-D) and change the line style, color, width, etc., as you wish. If you only want lines on certain sides of the paper, click the diagram in the Preview box along the border where you want to add the line. (Note: Change the line style, color and width before using the Preview box diagram to add your border lines.) To apply the border to the entire document, select Whole document in the "Apply to" drop-down box.
Practice: Follow the above instructions to add a page border to your newsletter page. Choose your own border setting, style, color and width. Save your document.

Step 18: Spell check the newsletter.
Generally, people want to make a good impression when they go to the trouble of creating a newsletter. Misspelled words can make a good newsletter look bad. It's important to get into the habit of spell checking your work before you print.
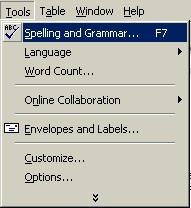
To spell check your document, open the Tools menu and select Spelling and Grammar.
If there are no misspelled words, there will be a message saying that the spelling and grammar check is complete.
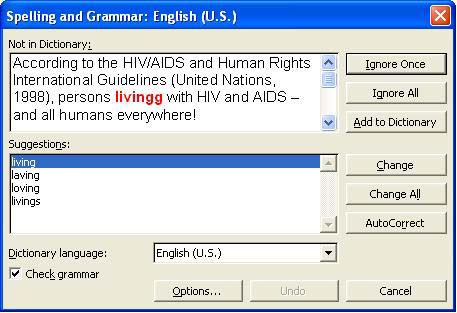
If there are one or more spelling errors in your document, the Spelling dialog box will appear.
(Note: If a dialog box appears with a Resume button on it, just click on the Resume button and the Spelling and Grammar dialog box will reappear.)
If the Suggestions box contains the correct spelling of the word you want to use, click on that word and then click the Change button and the spell checker will replace the misspelled word and continue on to the next misspelled word, if there is one. You can ignore that one instance of the misspelled word (click the Ignore button) or you can ignore all of the instances in the newsletter (click Ignore All). You can add the word to Word's dictionary for future use if you are sure the word is spelled correctly (click the Add button). The spell checker will continue until all of the misspelled words are found, or you can click on the Close button to stop the spell checker before it is finished.
Any instances of grammatical mistakes will also be shown if the Check Grammar option box is checked.
NOTE: While you are creating a document, misspelled words will have a red wavy line under them and grammatical errors will have a green wavy line under them. To correct spelling and grammatical errors while you are creating your document, right-click over the word with the red or green wavy line and select the corrected word or phrase from the shortcut menu, if one is shown.
Practice: Open the Tools menu and select Spelling and Grammar. If there is an immediate message saying that the spelling and grammar check is complete, it means there are no mistakes. If this is the case, go to any word in the newsletter and misspell it. Run the spelling and grammar check again and correct the mistake.
 Previous Page |
Next Page |