Previous Page |
 Next Page | |
 | ||
Previous Page |
Next Page | |
| ||
Step 11: Add bullets to lists.
Adding bullets to a list can make the list look very neat and orderly. The whole list is indented from the rest of the text and each separate item has a bullet before it.
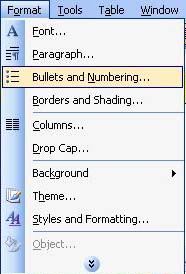
Lets add bullets to our list of Rights. Since our list has already been typed, we need to highlight it. Then, we open the Format menu and select Bullets and Numbering.
The Bullets and Number dialog box will appear.
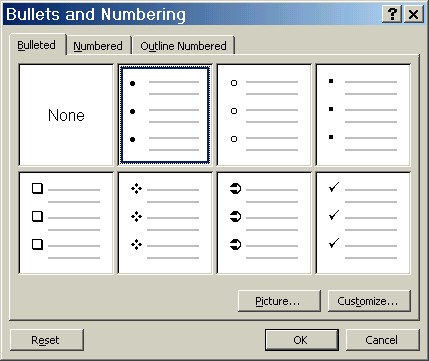
Click on the Bulleted tab and then on one of the bullet designs. (You can customize your bullets by selecting a new style, but that will not be covered in this lesson.) When you have made your selection, click on the OK button. Each of the items on your list will be indented from the left margin and have a bullet in front of it. To add new bulleted items, place the cursor at the end of one of the items and press Enter. A new bullet will appear and you can type the next item.
Practice: Highlight the whole list that starts with "The right to life" and ends with "or punishment". Open the Format menu and select Bullets and Numbering. In the Bullets and Numbering dialog box, click on the Bulleted tab if it is not already showing. Select one of the bullet styles and click OK. Notice how the list is now indented, there are no extra lines between the list items and each item has a bullet before it. Save the changes to your document.
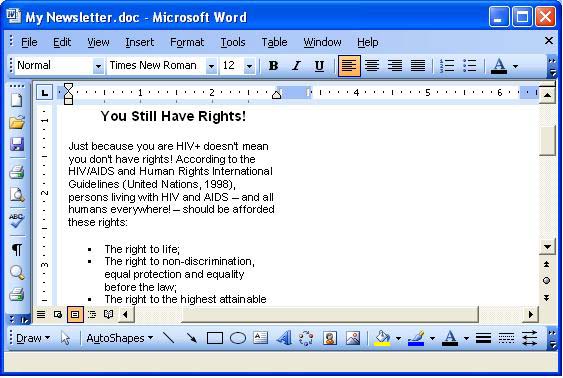
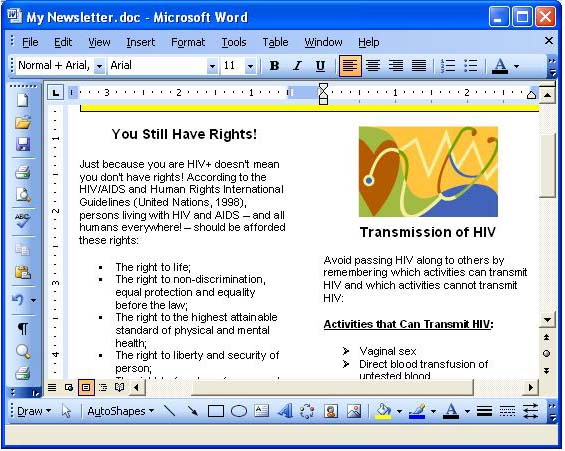
Here is a sample of our newsletter now:
Step 12: Insert a column, section or page break.
Sometimes you want to start a new page or section of your document - or, in this case, a new column. You could do this by pressing the Enter key several times until the cursor is on the new page, section or column. But if you use this method and then go back later to add or delete text, for example, you would also have to change all of those empty lines you inserted for space. There is a better method: Insert a column, section or page break.
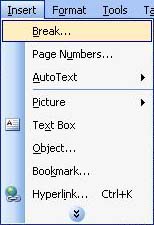
To insert a break, first left-click once where you want the break to begin. Then, open the Insert menu and select break.
The Break dialog box will appear.
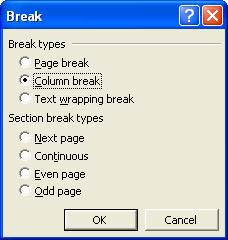
Click on the option for the type of break you want. A Page break will set the cursor on the next page and a column break will start you in the next column. (Text wrapping breaks are used mostly in web pages and will not be covered in this lesson). A Section break is used to separate different sections of a document, such as chapters in a book. Section breaks are also used when you need to change the page settings or add columns for only part of a document, not the whole document. In the Section break section of the dialog box, the Next Page option will place the cursor on the next page, the Continuous option will start the cursor on the next line, and the Even Page and Odd Page options will place the cursor on the next even or odd page.
Right now, since we're near the end of the first column of our newsletter, we want to place a column break so that we can start at the top of the next column.
To do this, we will click on the option for Column Break and click on the OKbutton.
Practice: Place the cursor 1-2 lines below the last line of text (left-click once 1-2 lines below the text). Open the Insert menu and select Break. Select the option for Column Break. The cursor should now be at the top of the second column. If necessary, press Enter until the cursor is on the same line as the headline for the first article. Save your document.
Step 13: Insert a picture or Clip Art.
Let's add a picture to this spot on our newsletter. A picture or image is also known as a graphic.
Insert a Graphic:
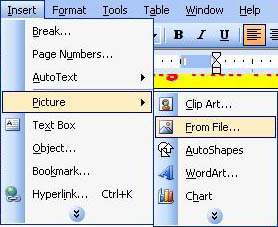
To insert a graphic, open the Insert menu and go to the Picture submenu. On the submenu are options similar to the ones shown in the picture below.
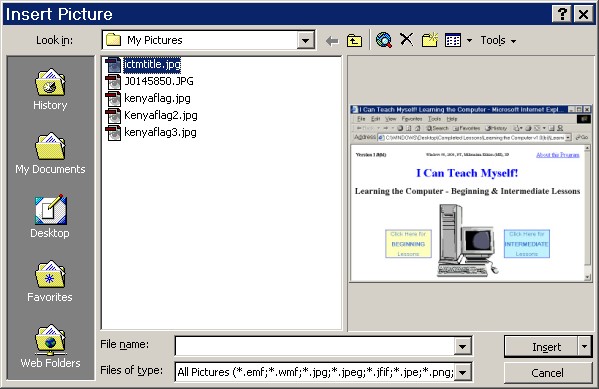
If the picture you want to insert is located in a file, click on the From File option. The Insert Picture dialog box will appear and you can use it to navigate to the location of your picture file. Click on the name of the file and then click the Insert button:
Clip Art are pictures that Microsoft has included with their software applications. If you want to add a clip art picture to your document, open the Insert menu, go to the Picture submenu, and select Clip Art.
Older Versions of Word:
The Insert Clip Art dialog box will appear, showing category names and looking similar to the picture below.
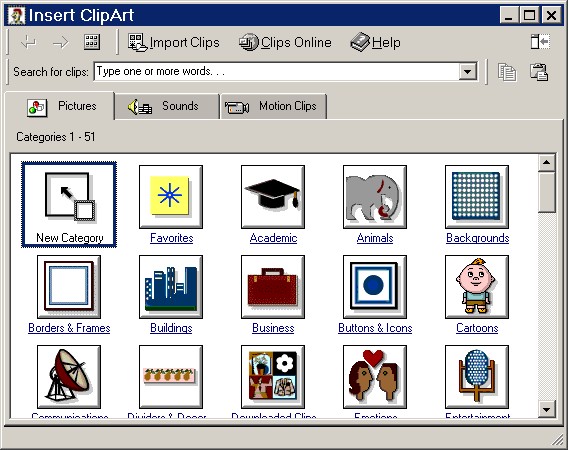
Click on a category name to view the clip art pictures available in that category, or type a keyword (a word that describes the type of picture you are looking for) in the box where it says "Search for clips" and then press Enter.
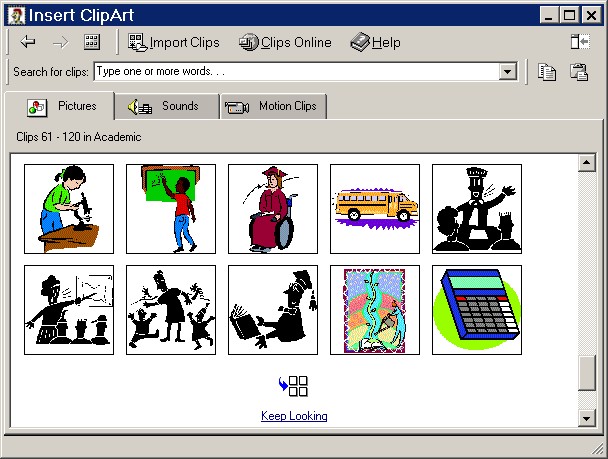
The picture above shows some of the pictures available in the Academic category of clip art. If you want to see more pictures, click where it says Keep Looking. To select a clip art picture, right-click over the picture and select Insert from the shortcut menu.

Close the Insert Clip Art dialog box by clicking on the X in the upper right-hand corner of the window.
Word 2003:
In Word 2003, the Clip Art task pane will appear on the right side of the window. Type a keyword describing the type of picture you are looking for into the text box under the words "Search for:" and click on the Go button.
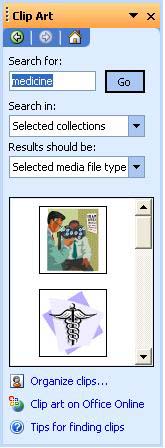
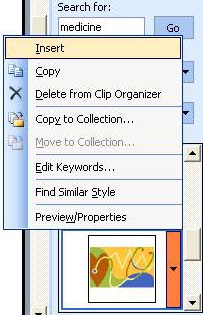
Scroll through the list of pictures. Insert a picture by clicking on the arrow that appears on the right side of the picture when you place your mouse over it, and select Insert from the menu.
Move a Graphic:
Some graphics can be moved in a document and some cannot. To move a graphic in a document, left-click over it once, hold down the left mouse button, drag the mouse to where you want to put the picture, then release the left mouse button. If the graphic does not move when you do this, you can move it by deleting it and then re-inserting it in the new location, or by using Cut & Paste.
Resize a Graphic:
When you left-click over a graphic, several small boxes appear around the border of the graphic. These are called sizing handles. Move the mouse pointer over a sizing handle until the pointer turns into an arrow. While the pointer is an arrow, you can hold down the left mouse button and move the mouse in one of the directions the arrow shows to resize the graphic so that it fits better on the page.
Delete a Graphic:
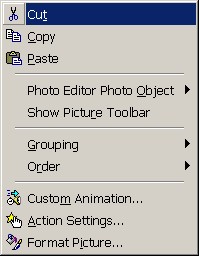
To delete a graphic, first left-click over it to select it. Then you can either press the Delete key on the keyboard, or you can right-click over the picture and select Cut on the shortcut menu.
Practice: Make sure the cursor is in the second column, on the same line as the headline for the first article (You Still Have Rights!). Open the Insert menu, go to the Picture submenu and select Clip Art. Depending on your version of Microsoft Word, use the instructions above to find a clip art picture in the category (or keyword) of Medicine. After you have found one you like, insert it into the document. Close the dialog box or task pane. Left-click once on the Clip Art picture and then click on the center alignment button on the toolbar. [Or, left-click once to the left of the picture (not over the picture), then right-click and select Paragraph from the shortcut menu and change the alignment to Centered.] Left-click once to the right of the picture (not on the picture) and press Enter twice. Save your document.
Now we are going to repeat some of the above steps to add our second article. For your Practice, just follow these instructions so that you can get more experience with what you have learned so far. If you cannot remember how to do something, go back to that step to review it.
Add Another Headline:
Place the cursor two lines below the picture you just inserted and type Transmission of HIV, then press Enter twice. The headline should be centered in the column but if it is not, center it. Next, go back and select the headline, then change the font name, style and size to match the first headline. (Tip: If you cannot remember the font name, style and size of the first headline, left-click on the first headline and either look at the font information in the toolbar or open the Font dialog box, then close it and go back to your second headline.)
Change the Alignment:
Place the cursor two lines below the headline and align the text on the left. To do this, either click on the left alignment toolbar button or right-click at that spot, select Paragraph from the shortcut menu and change the alignment to left.
Copy & Paste Text:
Insert the following text by copying it and pasting it into the document two lines under the headline (select the text and use the right-click shortcut menu).
|
Avoid passing HIV along to others by remembering which activities can transmit HIV and which activities cannot transmit HIV: Activities that Can Transmit HIV: Vaginal sex Direct blood transfusion of untested blood Sharing needles Contact with blood of an infected person Breastfeeding Mother to infant during delivery Mother to infant during pregnancy Exchange of blood Contact with semen Contact with vaginal fluids Activities that Cannot Transmit HIV: Being near a person with HIV Sharing a drinking cup with a person with HIV Kissing a person with HIV when blood is not present Shaking hands with a person with HIV Proper use of a condom during sex Using toilets in a public washroom Being bitten by a mosquito Sharing a vehicle with a person with HIV |
Check the Font:
Check to see that the font name, style and size of the second article text is the same as that used in the first article. If it is not, select the new text and change the font so that it matches the first article's text.
Use Bold and Underline:
If the two headings (Activities that Can Transmit HIV and Activities that Cannot Transmit HIV are not already bold and underlined, apply bold and underline to them. Use either the bold and underline toolbar buttons or the Font dialog box.
Add Bullets to the Lists:
As you can see, there are two lists (one for Activities that Can Transmit HIV and one for Activities that Cannot Transmit HIV). Select each list separately (just the items on the list, not the list headings) and add bullets using the Bullets and Numbering dialog box. Make sure both lists have bullets next to each item.
Practice: Follow the above instructions. Save your document.
And here is another picture of part of our newsletter:
 Previous Page |
Next Page |