Previous Page |
 Next Page | |
 | ||
Previous Page |
Next Page | |
| ||
Step 6: Change the font style/size/color and align the text.
Since this is our headline, let's make it look nicer.
Change the Font Style, Size and Color:
To change the font style, size and color, open the Format menu and select Font.
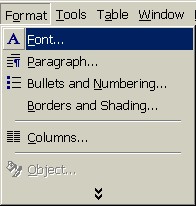
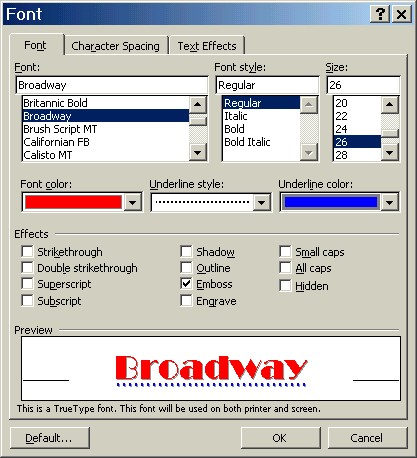
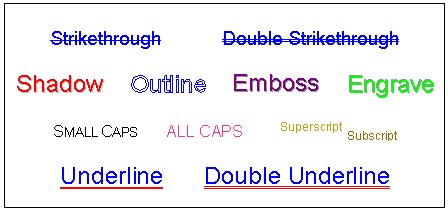
This will bring up the Font dialog box. With the Font dialog box, you can change font features such as name, size, bold, italics, underline and color. In addition, there are several special features you can add to your font to make it look interesting. The Preview Box at the bottom of the Font dialog box shows how the font might look in your document. You can either change the font features first and then type, or select and highlight specific text to change and use the Font dialog box to change it.
Again, as with all dialog boxes, you will need to click OK or Cancel before the computer will let you continue to work in the document.
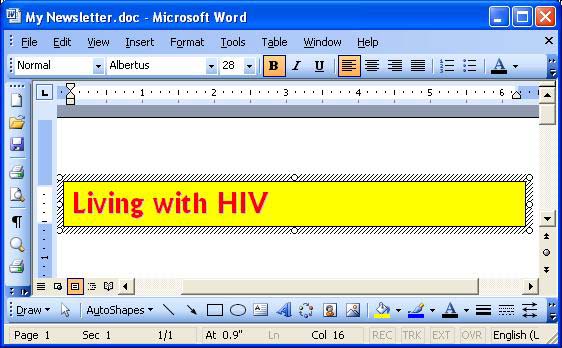
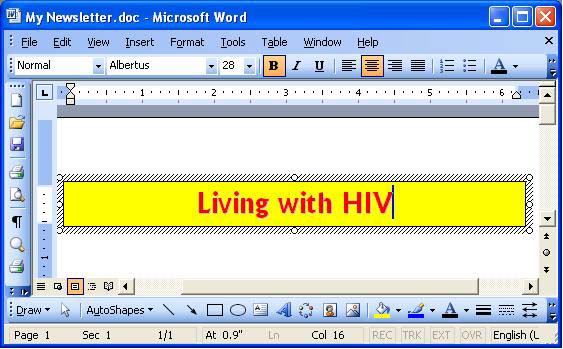
For our headline, "Living with HIV," we will change the font to Albertus, the font style to bold, the size to 28, the font color to red, and we will add the Shadow effect, clicking OK to apply our changes. However, you can make your own font choices.
Our newsletter example now looks like this:
Practice:
Follow the above instructions, making your own choices as to font style, size, color, etc. (Your computer may not have the Albertus font style, for example). When you have finished making your changes, save your document.
Align the Text:
Text alignment (also known as paragraph alignment) is the way the text appears in the document in relation to the left and right margins. The four alignment choices are left, right, center and justified.
|
Left alignment is the default. The button on the toolbar for left paragraph alignment looks like this:
 Left Align A paragraph of text aligned to the left would look like this:
 Text Aligned to the Left Notice how the left side of the text is even but the right side is not? |
|
Right alignment aligns text to the right margin. The toolbar button for right paragraph alignment looks like this:
 Right Align Text aligned to the right would look like this:
 Text Aligned to the Right Notice that now the text is lined up on the right side, but uneven on the left. |
|
If you want to center text on a page, use center alignment. The center alignment toolbar button is this one:
 Center Align Text centered in a document would look like this:
 Text Centered on the Page |
|
Justification is when the text is lined up evenly on both the left and right margins. This is the justify toolbar button:
 Justify Align Justified text looks like this:
 Justified Text Notice how the lines of text are even on both the left and right sides? That means they are justified. You need two or more lines of text in order to use justification, however. |
We want to center our headline, so first we select (highlight) our headline and then we click on the center alignment toolbar button. (If you cannot find the center alignment toolbar button, see the lesson called "Display/Hide Toolbars and Add/Remove Toolbar Buttons." Alternatively, you can select the headline, right-click over it, select Paragraph from the shortcut menu and in the General Alignment drop-down box in the "Indents and Spacing" tab section, select Centered. Or, you can left-click in the text box once, open the Format menu, select Paragraph and then change the General Alignment to Centered.)
This is our newsletter so far:
Practice:
Follow the above instructions to center align your headline. Save the changes to your document.
Step 7: Format the text box: text wrapping layout.
When you insert a text box, picture or other type of drawing object, you can choose how the text wraps around (or over) the object. Text wrapping as a subject is beyond the scope of this lesson, but you can use Microsoft Word Help (keyword: wrap text) to learn more about it.
However, for this lesson project, we need to have the text wrap around our text box. To do this we again need the Format Text Box dialog box, but this time we will use the Layout tab section of the text box. To open the Format Text Box dialog box, either:
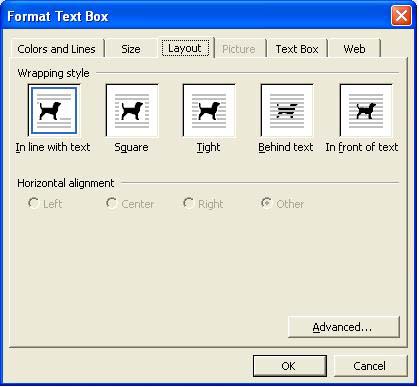
Click on the Layout tab. For the purposes of this lesson, we need the first wrapping style, In line with text, so we click on that first picture. After clicking on the text wrapping style, click on the OK button.
Practice: Use one of the methods listed above to open the Format Text Box dialog box, select the first text wrapping style (In line with text), and click on the OK button. Save your document.
 Previous Page |
Next Page |