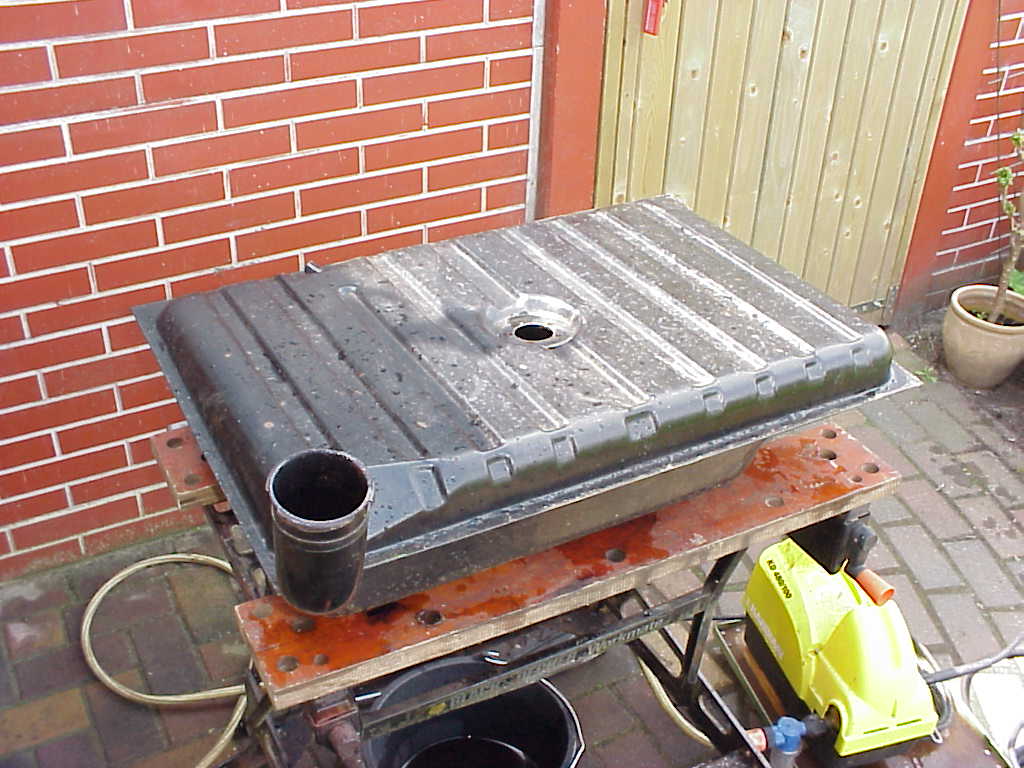
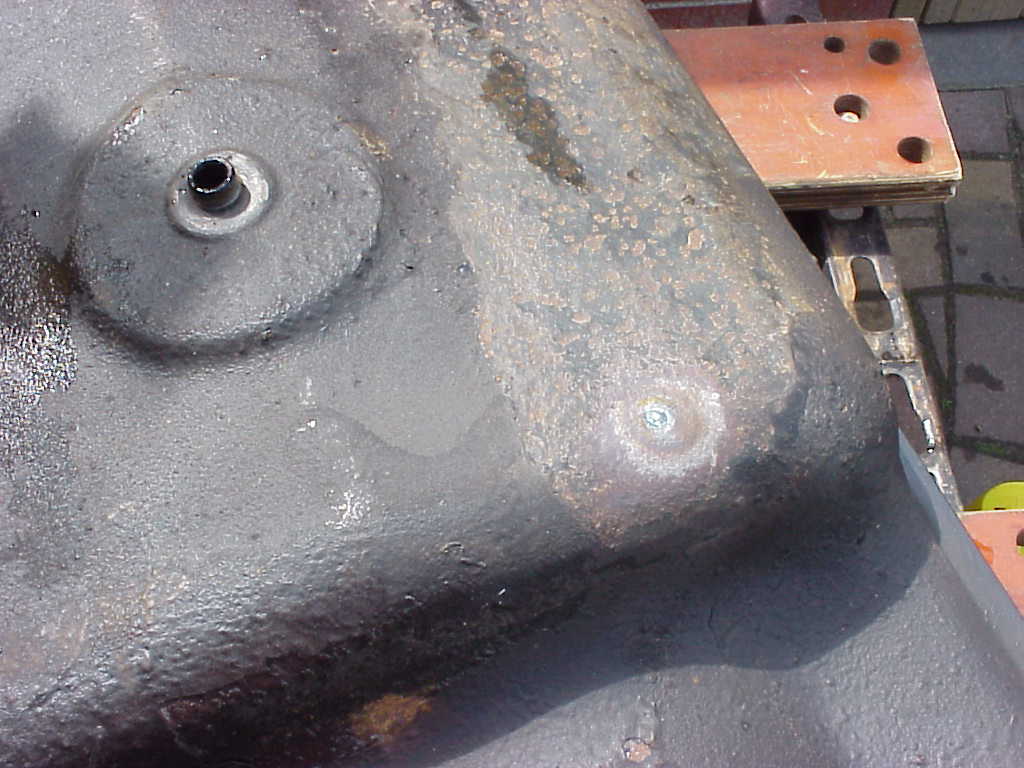
The problem started when I tried to get a 1967 type 3 VW, which had been standing in a backyard for many years, back on the road. Both the engine and the car's body were in a fairly good condition, however the engine did not start. A short examination showed me the reason why: no fuel supply to the carburettor. Although the fuel pump was working fine, no fuel was running through the fuel pump suction line. Looking in the Fuel tank through the filler pipe and the level transmitter hole, it became clear to me that something had to be done with the cars fuel tank and fuel lines. Although the outside of the tank was in a reasonable good condition (no visible leaks or heavy rusted areas), the inside of the tank was half filled with gasoline in a very poor condition. It must have been standing there for several years because all the volatile components of the gasoline were evaporated, leaving only the heavy components behind. See figure 1 where the tank has already been removed from the car.
The first step was to drain-off this gasoline, by simply disconnecting the hose connection at the tank outlet, at least that was what I thought! Unfortunately, after the small hose was disconnected......nothing happened! The tank outlet filter and the fuel lines were fully plugged by a kind of debris that years ago must have been liquid fuel. After removing the tank outlet filter and punching through the debris in the tank outlet using a small screwdriver, the fuel could be drained-off in a separate container.
A visual inspection of the tank interiors through the level transmitter hole showed a lot of large rust particles, scale rusted areas and deposits. It seemed to me that the fuel had solved the tank inside coating, leaving behind a layer of debris cladding. I decided to put some handfuls of small stones into the tank in order to loosen the rust and deposits by turning and shaking the stone filled tank up and down several times. This method really worked: a lot of rust came out through the filler pipe together with the stones, so I repeated this procedure several times.
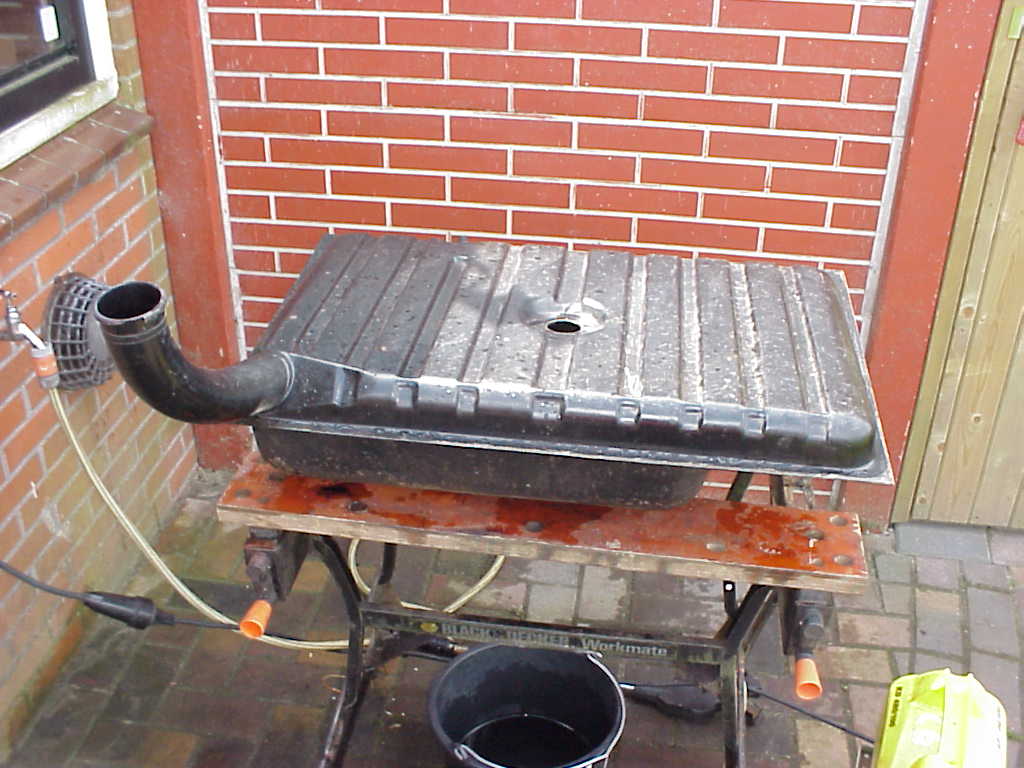
However, not all the rust and debris could be removed in this way, and I decided to use chemicals to treat the tank interior, see figure 2.
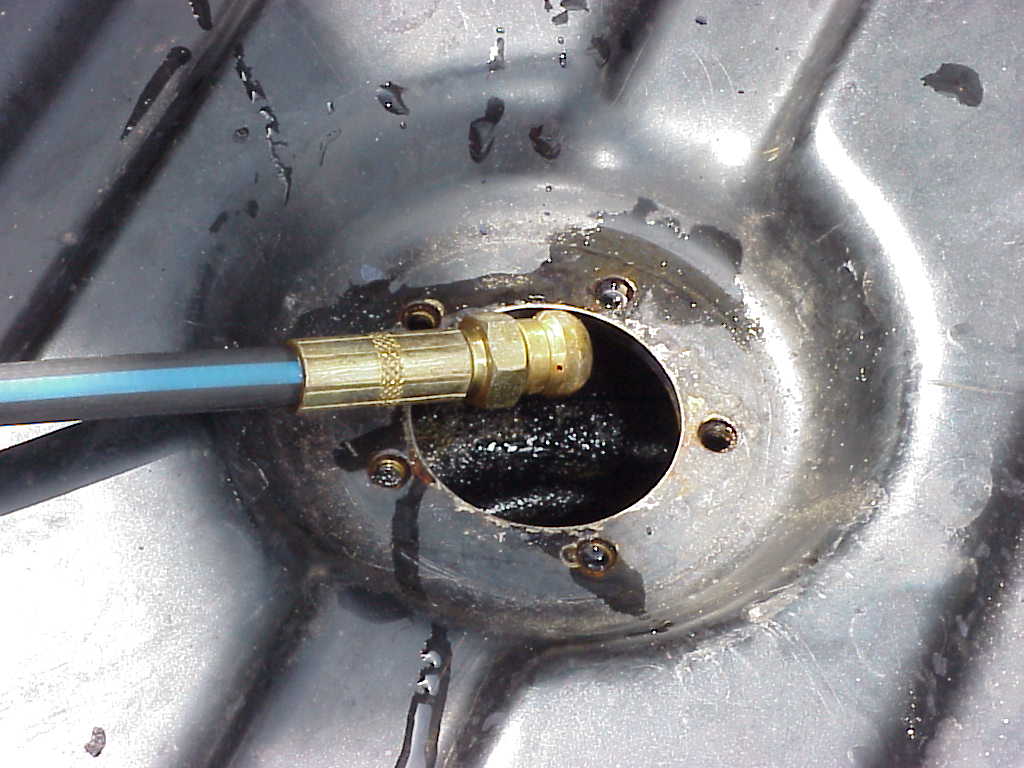
First I poured in about one litre of Hyper Clean, turned the tank up and upside down for wetting the whole inside, and let it stand overnight. Hyper Clean is a cold degreasing solvent commonly used for cleaning greasy engines, and is used with water. After draining off the Hyper Clean, I used a high-pressure water cleaner with a special sewage cleaning nozzle to flush and clean the inside of the tank, see figure 3a and 3b.
This type of cleaning nozzle is normally used to clean and unplug the inside of sewer channels. The jet of water is directed backwards, making the nozzle "pulling" itself into the sewer channel. This type of cleaner proved to be ideal for cleaning the tank interior, because when entered through the filler pipe, the powerful water jets "pulled" the nozzle in and effectively cleaned both the bottom and the top inside part of the tank.
After flushing with the high pressure cleaner, a small hole in the tank bottom was discovered. Apparently, the rust "eater" found its way through the thin tank wall. Because of this thin wall thickness, the hole was repaired using a TIG welder see figure 4a and 4b. Of course welding was done after all flammable components were carefully removed from the tank! Please refer to the article Welding Safety for more safety instructions. For more information on TIG welding please refer to the article about TIG-welding.
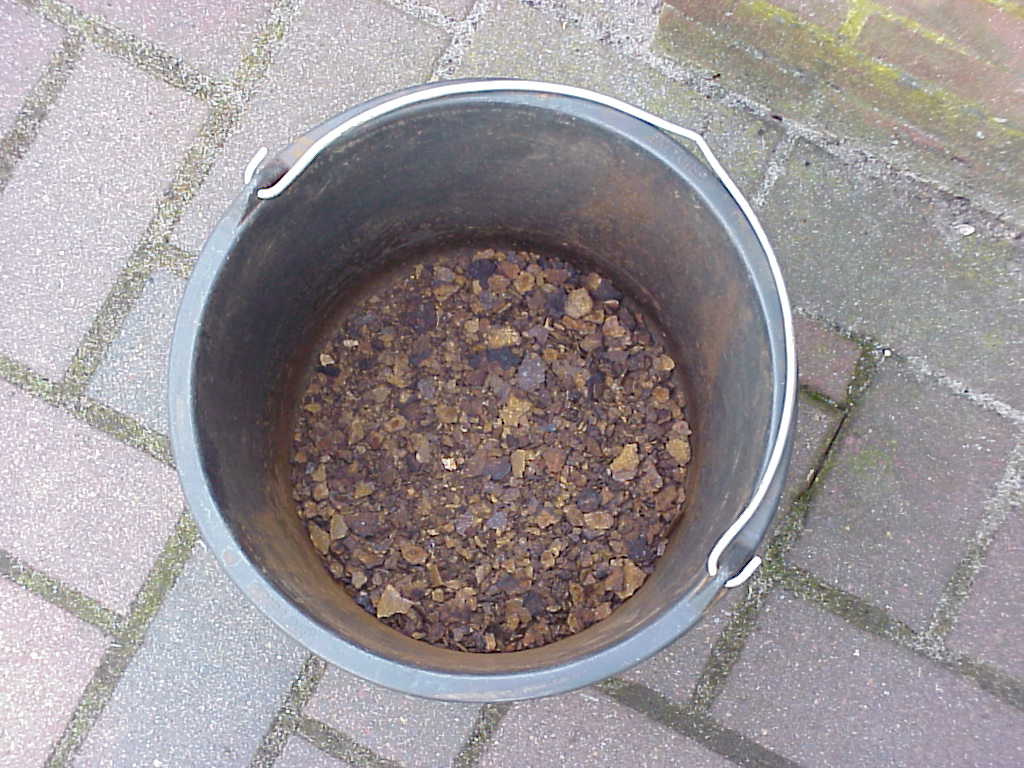
The result of all the cleaning and degreasing activities can be seen in figure 5. Almost a quarter of a bucket full of scale rust, debris and deposits were removed from the tank interior.
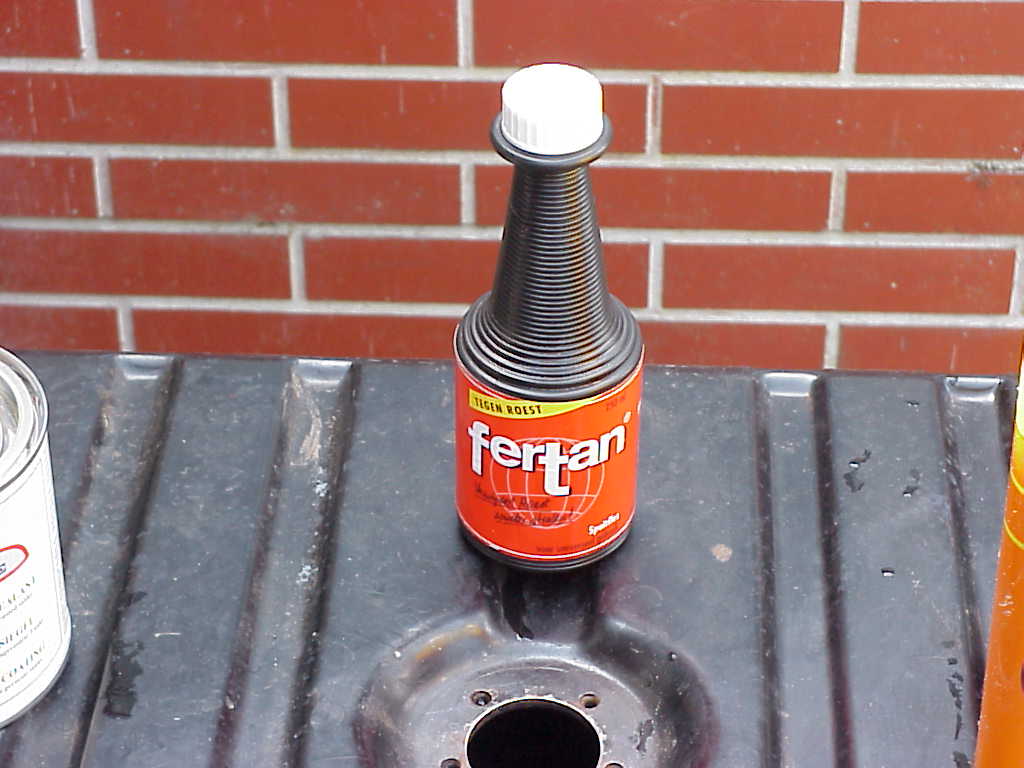
The next step was to protect the cleaned inner metal surfaces from rusting again. This was done in a two-step way. First I used Fertran, a so-called "rust solvent" or "rust converter", see figure 6.
Fertran comes in a small bottle as a black liquid containing Phosphoric Acid (chemical formula H3PO4) and converts rust (chemical formula Fe2O3) into black Magnetite (chemical formula Fe3O4). Magnetite has much better properties than rust, and can be used as a basic layer for further coating. I poured in approximately 0,2 litres of Fertran with some water, turned the tank up and upside down several times for fully wetting the whole inside surface, and let it stand overnight. After approximately 48 hours, following the users instructions, I drained off the Fertran, flushed the tank with a lot of water several times and afterwards let it fully dry.
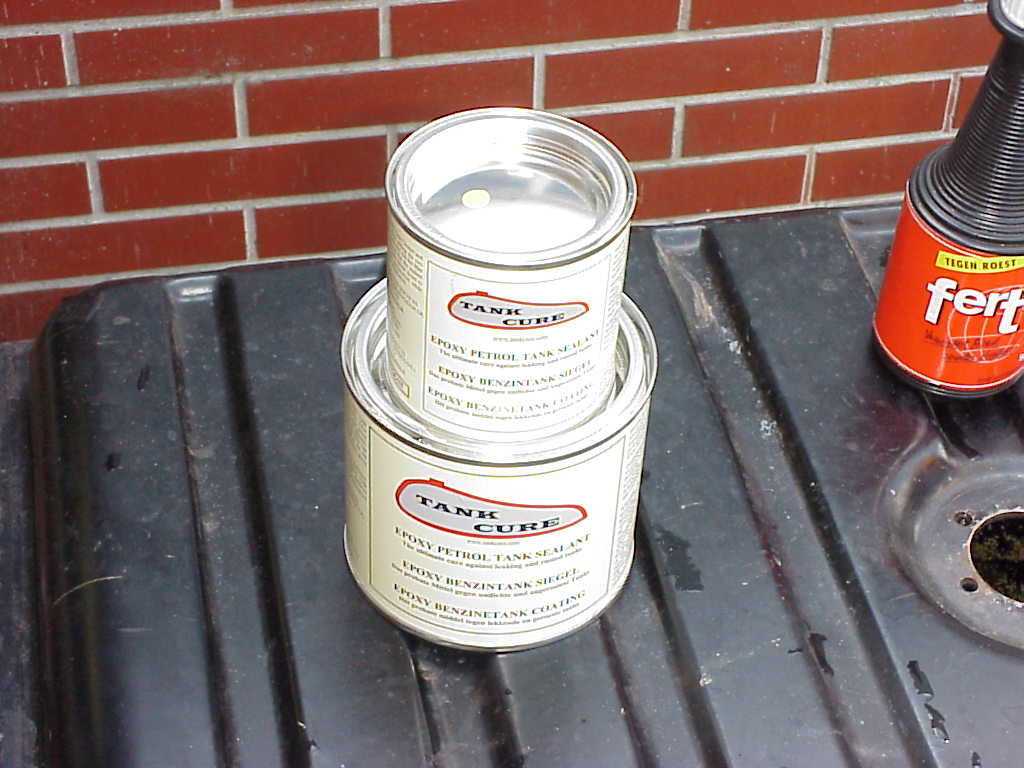
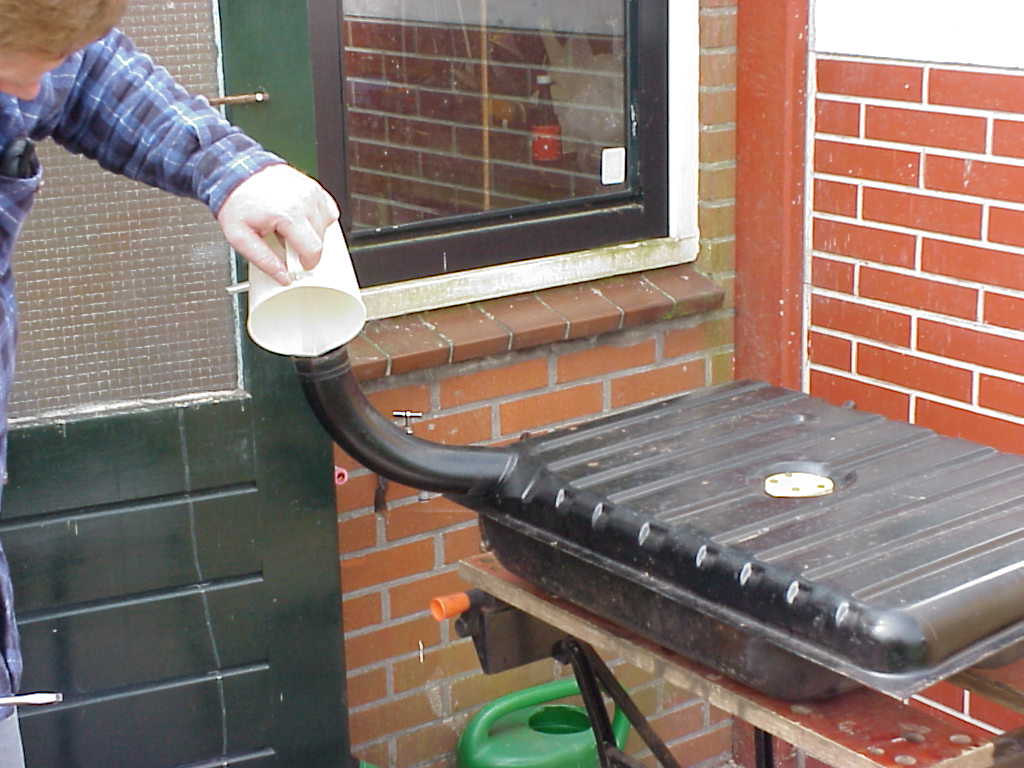
After a couple of days the tank had fully dried out and the tank interior was coated using a tank sealer called Tank Cure. Tank Cure is an epoxy based fuel and oil resistant coating, and comes in two separate cans as a two-component tank sealer and coating, see figure 7.
After mixing the two components thoroughly, the transparent liquid mixture of Tank Cure was poured into the tank, see figures 8 and 9. The ambient temperature is important for the drying process of the tank sealer, and a minimum temperature of 18 oC is recommended. The filler pipe, the level transmitter hole and the tank outlet were closed (see figure 8), and the tank was turned up and upside down for fully wetting/coating the whole inside surface. After approximately half an hour the plug in the tank outlet was removed and a the excess of liquid tank sealant was drained off. After 5 days of drying, the coating was fully hardened, and the tank was ready for use.
(c) Ir. Alfred Westenbroek