#1 #2 #3


|
|
||||||||||||||||||||||||||||||||||||||||||||||||||||
| Previous Pages #1 #2 #3 |
|||||||||||||||||||||||||||||||||||||||||||||||||||||
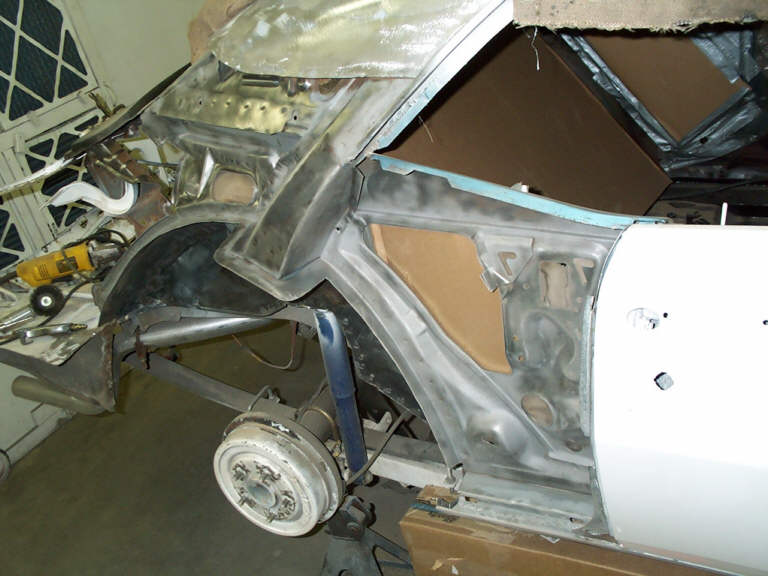
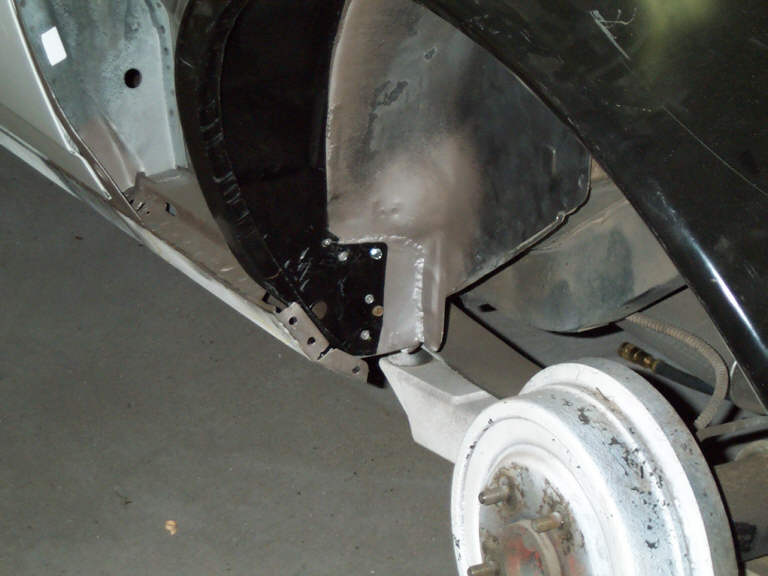
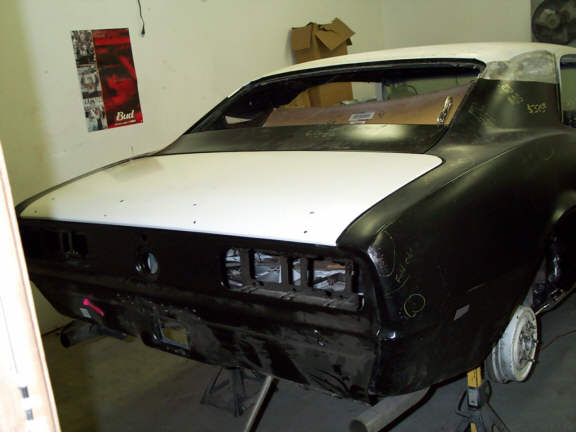
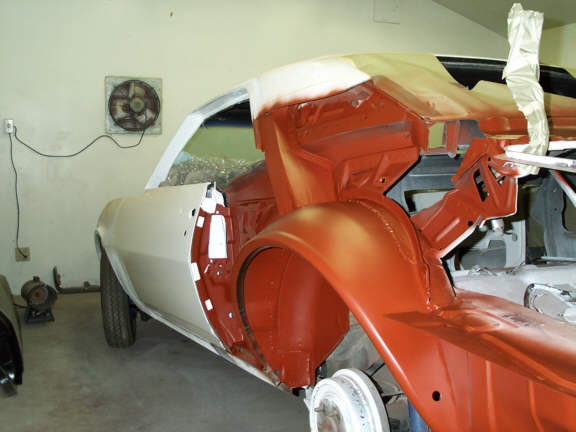
| With the help of the sandblaster I finished cleaning up the passenger side. A friend asked about the overspray on the shocks. Don't worry, they are some cheap ones I put on for fabrication purposes. I have plans for improvements to the rear suspension. Right now it isn't bad though, I was able to get a 60ft of 1.79 as is. | |||||||||||||||||||||||||||||||||||||||||||||||||||||
|
|||||||||||||||||||||||||||||||||||||||||||||||||||||
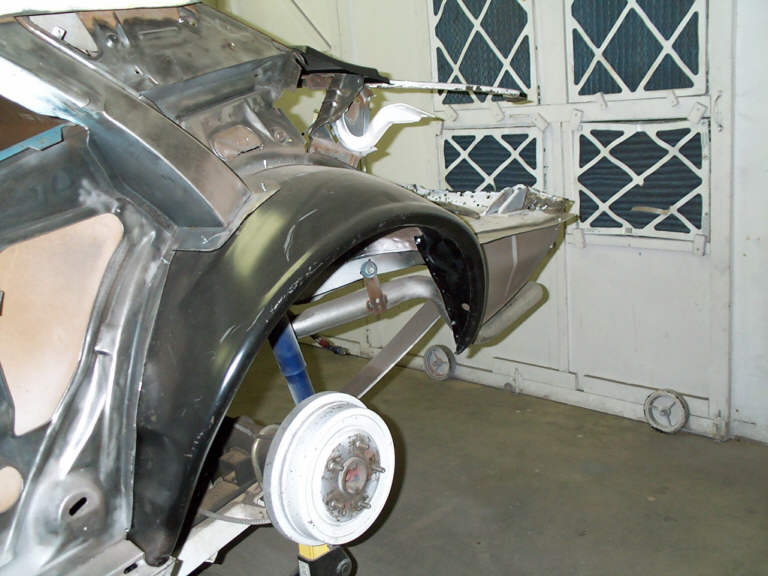
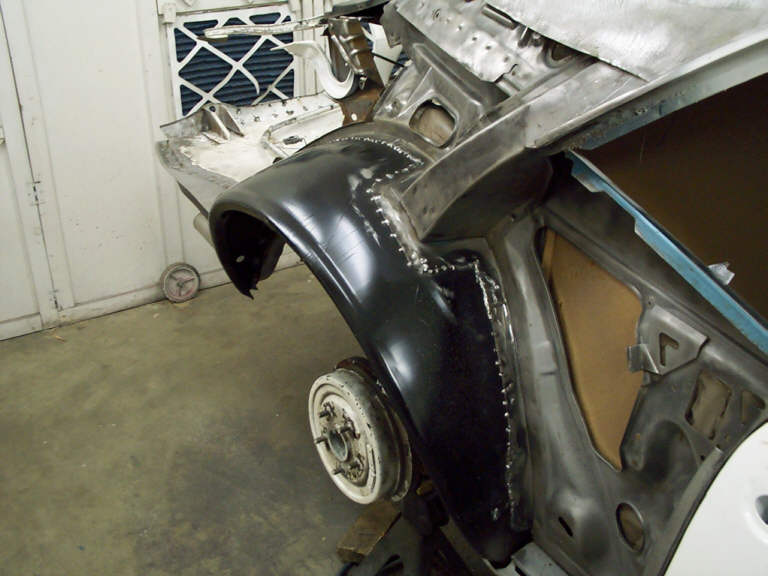
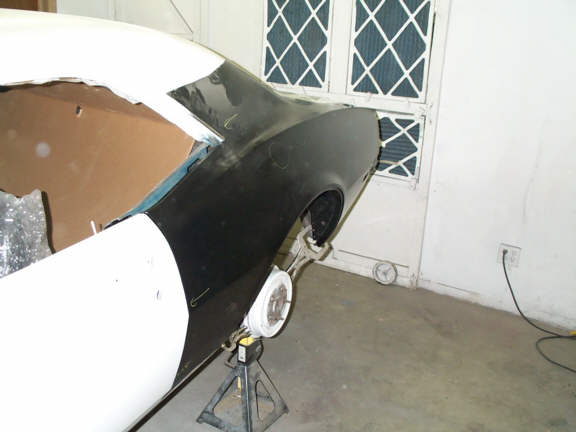
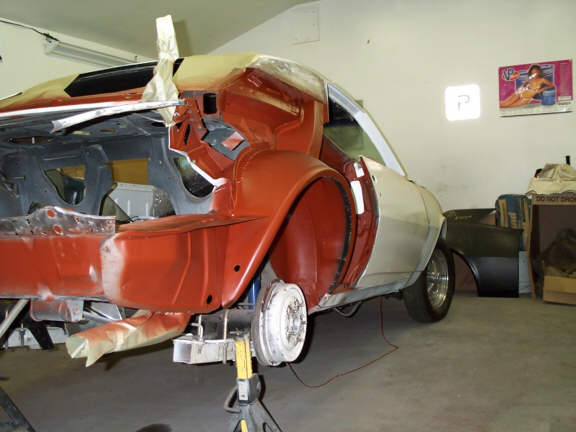
| Meanwhile, Robert has fit up the Outer wheel house and lower rear panel on the driver side. When we get the new quarter from Classic Industries he can verify fit and then start welding. | |||||||||||||||||||||||||||||||||||||||||||||||||||||
|
|||||||||||||||||||||||||||||||||||||||||||||||||||||
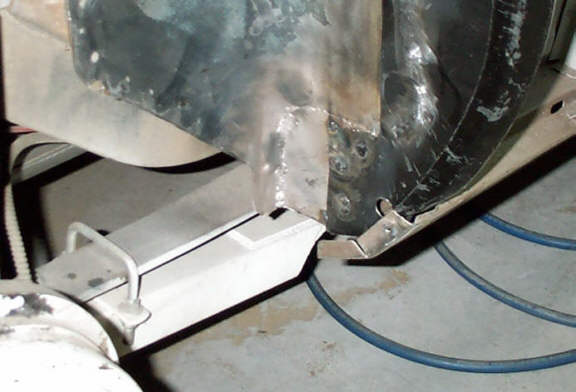
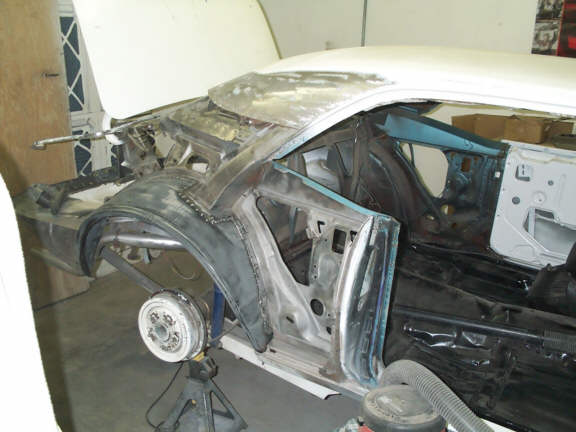
| After a bit of confusion, I finally received the replacement quarter panel from Classic Industries. While we were waiting, Robert cut out and replaced the bad metal on the front of the inner wheel house that was rusted out. | |||||||||||||||||||||||||||||||||||||||||||||||||||||
|
|||||||||||||||||||||||||||||||||||||||||||||||||||||
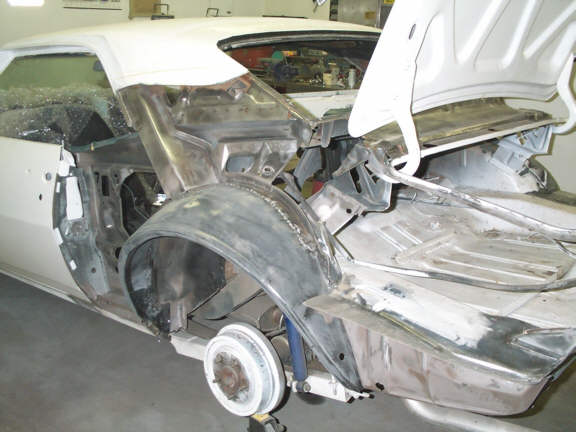
| After installing the new metal, Robert coated it with weld through primer. Sheet metal screws were installed to temporarily hold the metal in place until it gets welded. The drivers side was held up the for check fit on the quarter panel. | |||||||||||||||||||||||||||||||||||||||||||||||||||||
|
|||||||||||||||||||||||||||||||||||||||||||||||||||||
| The passenger side panels have been welded in place, since we had the NOS quarter panel to verify fit. | |||||||||||||||||||||||||||||||||||||||||||||||||||||
|
|||||||||||||||||||||||||||||||||||||||||||||||||||||
| Here is another view of the outer wheel house spot welded in. Now it's time for me to get busy cleaning up the trunk panel while Robert does the fit up of the drivers side sheet metal. | |||||||||||||||||||||||||||||||||||||||||||||||||||||
|
|||||||||||||||||||||||||||||||||||||||||||||||||||||
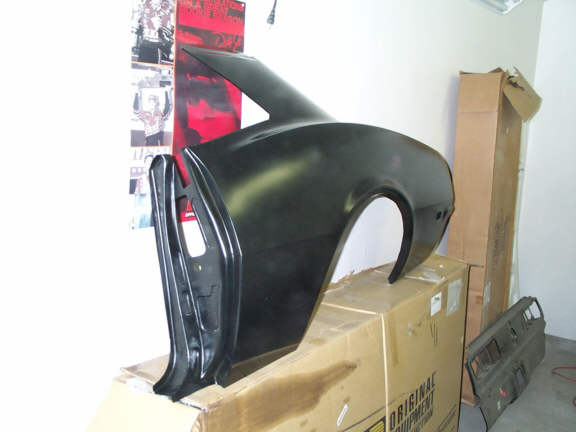
| Here is the new drivers side quarter panel, ready for fit up. | |||||||||||||||||||||||||||||||||||||||||||||||||||||
|
|||||||||||||||||||||||||||||||||||||||||||||||||||||
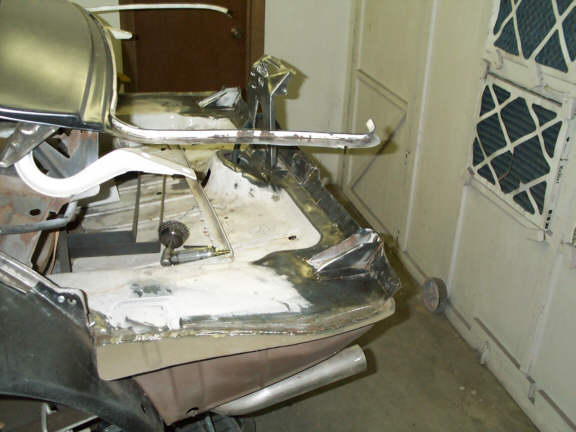
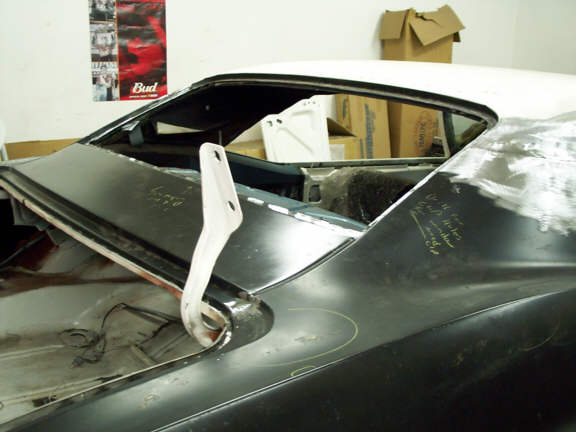
| Robert had me clean up the metal at the back where the rear panel will be welded in. I still have some blasting to do to finish the job. You can still see some rust around the trunk hinge. | |||||||||||||||||||||||||||||||||||||||||||||||||||||
|
|||||||||||||||||||||||||||||||||||||||||||||||||||||
| Robert hung the new metal for a trial fit. After checking the gaps, he marked areas that will have to be notched or tweaked to maintain proper spacing and alignment. | |||||||||||||||||||||||||||||||||||||||||||||||||||||
|
|||||||||||||||||||||||||||||||||||||||||||||||||||||
| While the NOS panel fit was nice, the GM Restoration panel had similar gaps at rear of the window and door jamb as the panel we sent back. However, this panel has enough metal at the window that Robert will be able to roll it down to fill the gap. Then he will have to pull the wheel well area outward slightly to straighten the door jamb. While Robert tweaks the body panels, I will finish cleaning up the metal in the trunk and hinge areas. | |||||||||||||||||||||||||||||||||||||||||||||||||||||
|
|||||||||||||||||||||||||||||||||||||||||||||||||||||
| Robert finished the blasting and prepped the inside surfaces for the corroless treatment to prevent future rust. I brought over the big shop vac and cleaned all of the sand from the trunk and floor board. | |||||||||||||||||||||||||||||||||||||||||||||||||||||
|
|||||||||||||||||||||||||||||||||||||||||||||||||||||
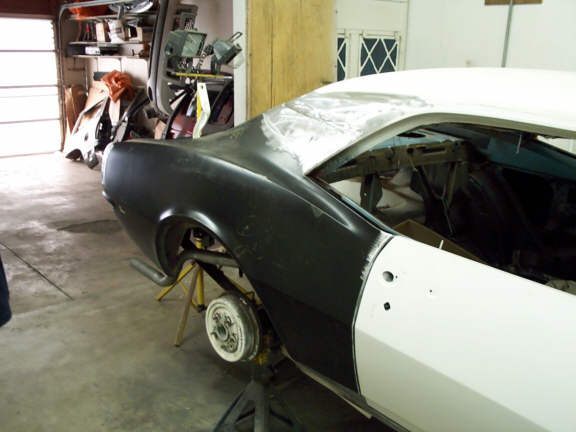
| This picture shows the welded in outer wheel house on the drivers side. | |||||||||||||||||||||||||||||||||||||||||||||||||||||
|
|||||||||||||||||||||||||||||||||||||||||||||||||||||
| Robert coated the inside metal surfaces with Corroless to stabilize it and prevent future rust. | |||||||||||||||||||||||||||||||||||||||||||||||||||||
|
|||||||||||||||||||||||||||||||||||||||||||||||||||||
| After a little more work in the trunk area, and the application of some seam sealer, we will be ready for quarter panel installation. | |||||||||||||||||||||||||||||||||||||||||||||||||||||
|
|||||||||||||||||||||||||||||||||||||||||||||||||||||
| Robert has the sheet metal hung and welded. It's starting to look like a Camaro again! Time for a little tweaking and blending. | |||||||||||||||||||||||||||||||||||||||||||||||||||||
|
|||||||||||||||||||||||||||||||||||||||||||||||||||||
|
|||||||||||||||||||||||||||||||||||||||||||||||||||||
| Robert marked the areas that would need a little bit of work before primer. | |||||||||||||||||||||||||||||||||||||||||||||||||||||
|
|||||||||||||||||||||||||||||||||||||||||||||||||||||
| The new wheel houses have been welded, seam sealed and undercoated. | |||||||||||||||||||||||||||||||||||||||||||||||||||||
|
|||||||||||||||||||||||||||||||||||||||||||||||||||||
|
|||||||||||||||||||||||||||||||||||||||||||||||||||||
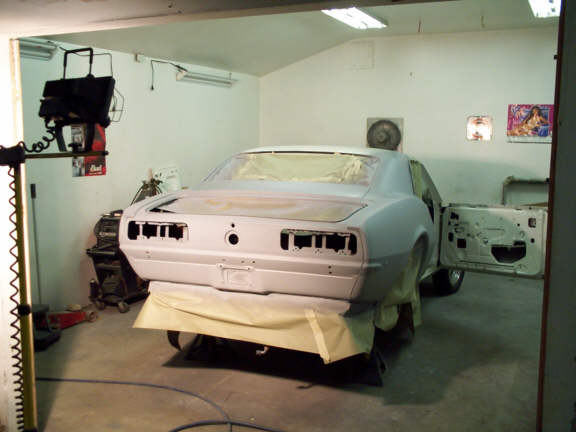
| Robert shot a coat of etching primer on the new metal. | |||||||||||||||||||||||||||||||||||||||||||||||||||||
|
|||||||||||||||||||||||||||||||||||||||||||||||||||||
|
|||||||||||||||||||||||||||||||||||||||||||||||||||||
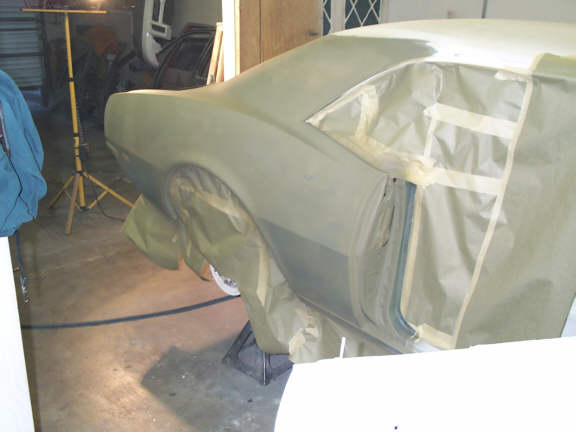
| Then Robert and I each went over the etching primer with sanding primer. | |||||||||||||||||||||||||||||||||||||||||||||||||||||
|
|||||||||||||||||||||||||||||||||||||||||||||||||||||
|
|||||||||||||||||||||||||||||||||||||||||||||||||||||
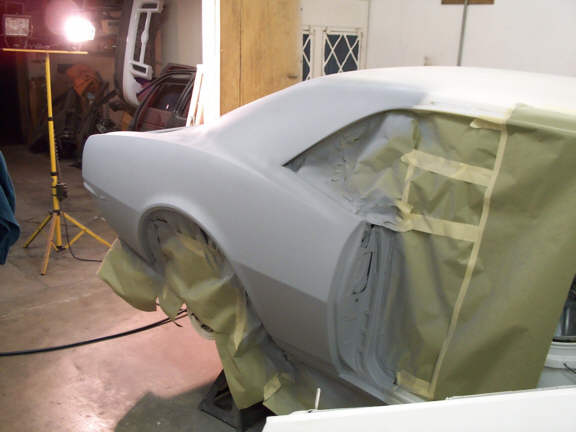
| Now it's ready for me to block sand. Robert put a thin guidecoat on to help me find the low areas. | |||||||||||||||||||||||||||||||||||||||||||||||||||||
|
|||||||||||||||||||||||||||||||||||||||||||||||||||||
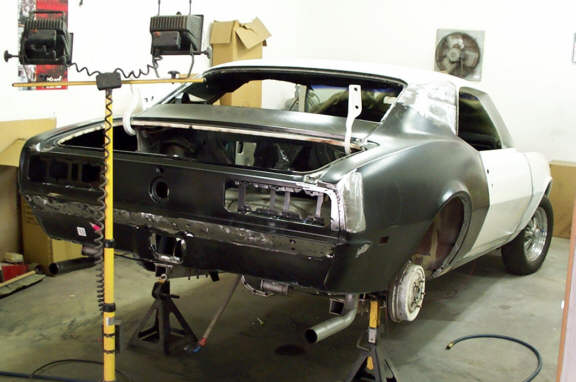
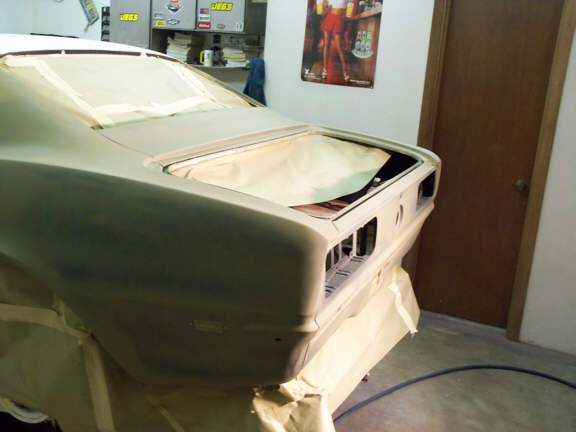
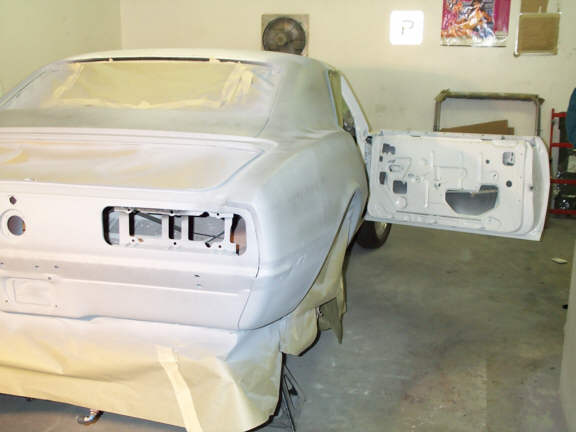
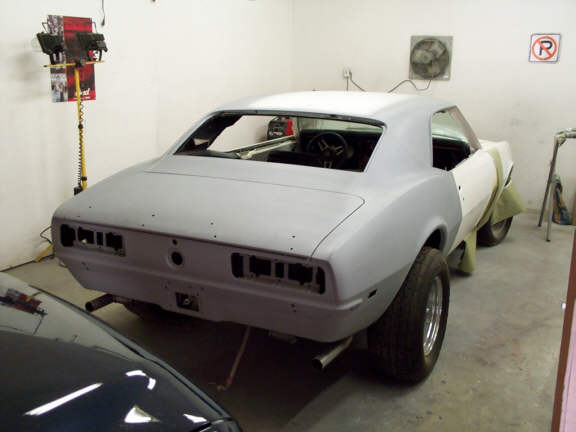
| Here is the new back sheet metal installed and blocked. Robert did a nice job. Now I need to finish up inside the trunk, do a little work on the passenger door, and block out the rest of the car and then it will be time to paint it. | |||||||||||||||||||||||||||||||||||||||||||||||||||||
|
|||||||||||||||||||||||||||||||||||||||||||||||||||||
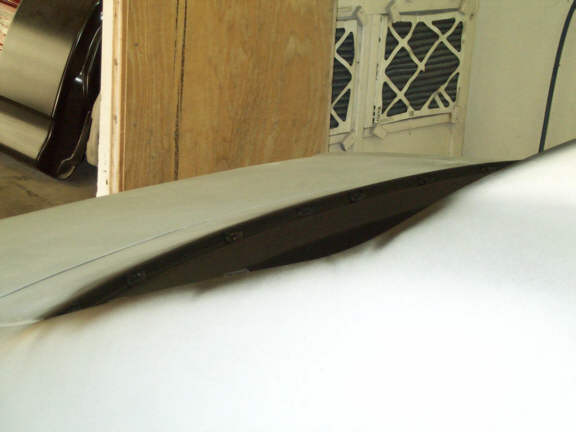
| Robert has installed the clips that retain the molding aroung the rear window. I need to do a little work on the spoiler to get it prepped. | |||||||||||||||||||||||||||||||||||||||||||||||||||||
| Click Here! | |||||||||||||||||||||||||||||||||||||||||||||||||||||