
#1 #2


Click Here
|
||||||||||||||||||||||||||||||||||||||||||||||
|
||||||||||||||||||||||||||||||||||||||||||||||
| Previous Pages #1 #2 |
||||||||||||||||||||||||||||||||||||||||||||||
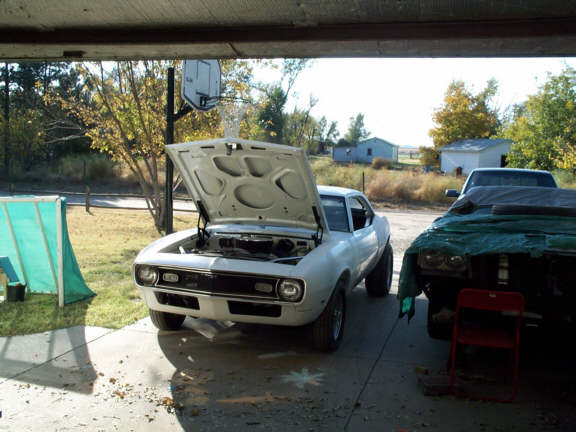
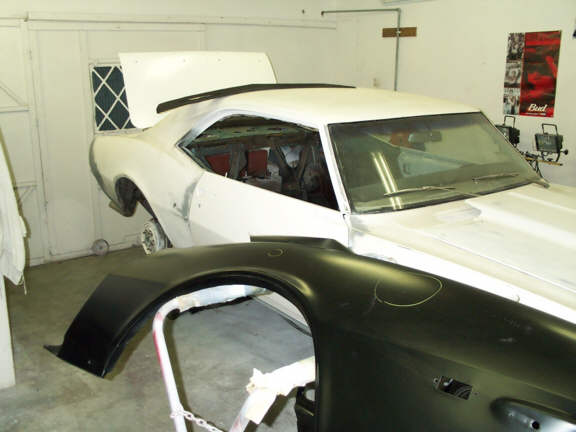
| The doors are back on and partially aligned. Next up comes rear quarter panels to replace the rusted and heavily bondo-ed originals. | ||||||||||||||||||||||||||||||||||||||||||||||
|
||||||||||||||||||||||||||||||||||||||||||||||
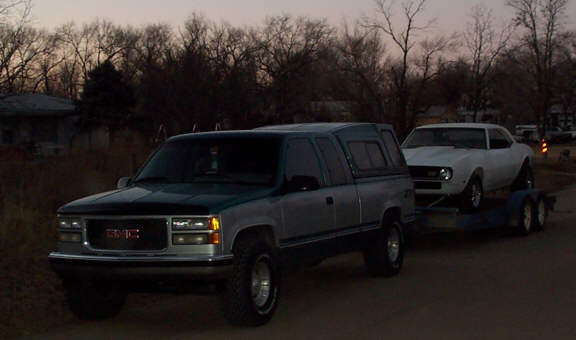
| Here is the Camaro loaded on the trailer. Robert finished painting his truck, so it's time to move the Camaro to his garage to install new metal and free up some space here to work on the Buick (above). | ||||||||||||||||||||||||||||||||||||||||||||||
|
||||||||||||||||||||||||||||||||||||||||||||||
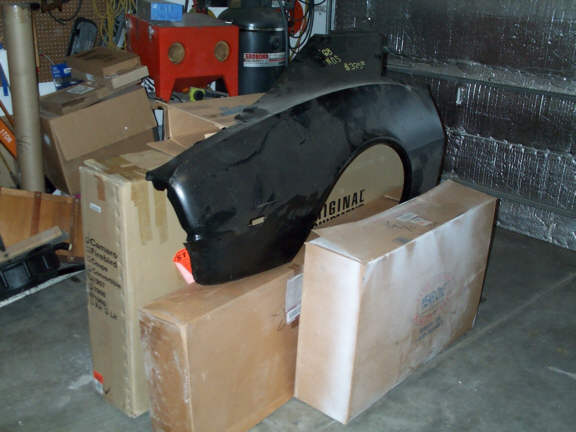
| Here are the new quarter panels, outer wheel housings, upper and lower rear body panels. | ||||||||||||||||||||||||||||||||||||||||||||||
|
||||||||||||||||||||||||||||||||||||||||||||||
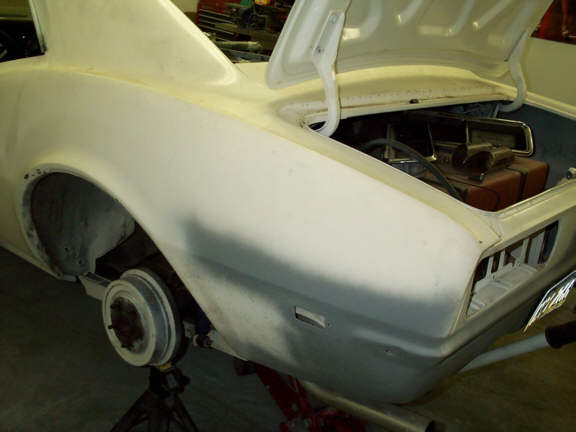
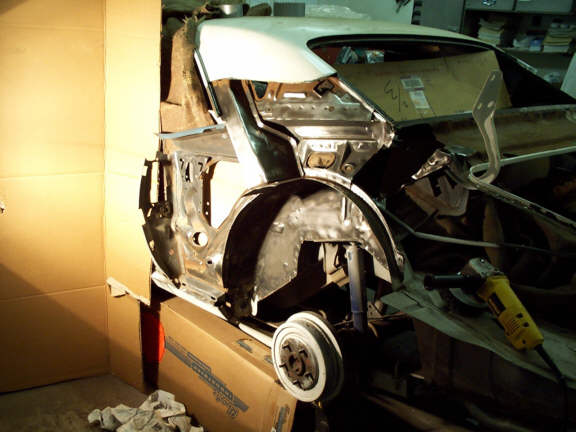
| First, we pulled the wheels off of the rear to make room to work. We also pulled the back glass and tail lights. I have a back glass from an air con car that I will put back in once the metal is replaced. Now I need to pull the fuel cell to make it safe to weld and grind. | ||||||||||||||||||||||||||||||||||||||||||||||
|
||||||||||||||||||||||||||||||||||||||||||||||
| Robert looked over the new panels and circled some flaws he wants to work out before installation. There was one small ding from shipping. | ||||||||||||||||||||||||||||||||||||||||||||||
|
||||||||||||||||||||||||||||||||||||||||||||||
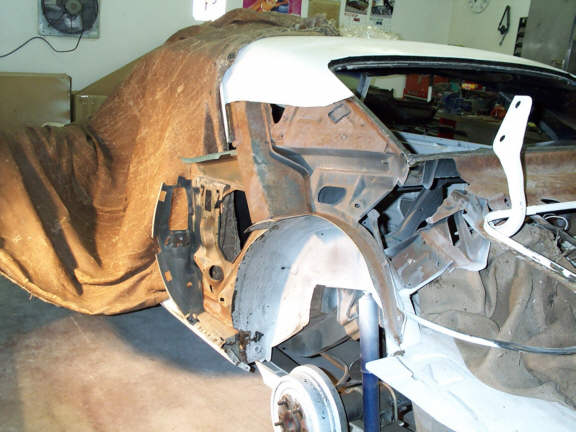
| Robert got busy Sunday with the air chisel. The quarters are gone now and you can see some hidden rust underneath that will need to be cleaned up. | ||||||||||||||||||||||||||||||||||||||||||||||
|
||||||||||||||||||||||||||||||||||||||||||||||
| It seems like no matter how much rust you think there is, there always seems to be a little more. | ||||||||||||||||||||||||||||||||||||||||||||||
|
||||||||||||||||||||||||||||||||||||||||||||||
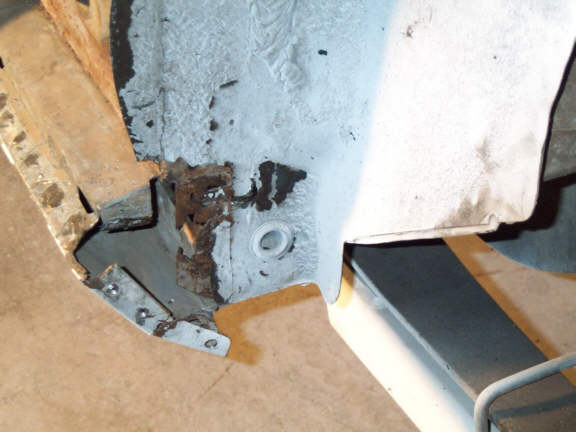
| Damage to the lower trunk and inner rear valance panels show where the car was previously dented and repaired. The rear inner valance can probably be straightened, but the rusty lower trunk side panels will need to be replaced. | ||||||||||||||||||||||||||||||||||||||||||||||
|
||||||||||||||||||||||||||||||||||||||||||||||
|
||||||||||||||||||||||||||||||||||||||||||||||
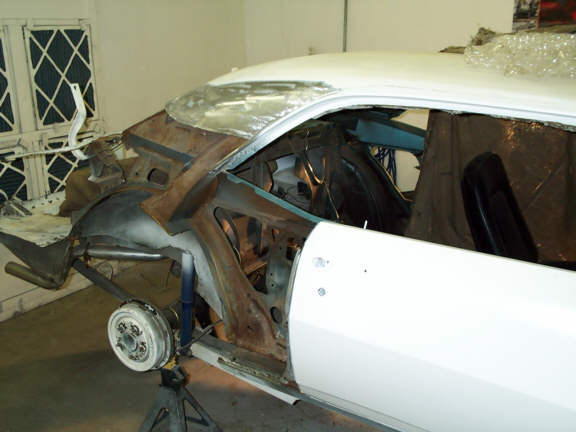
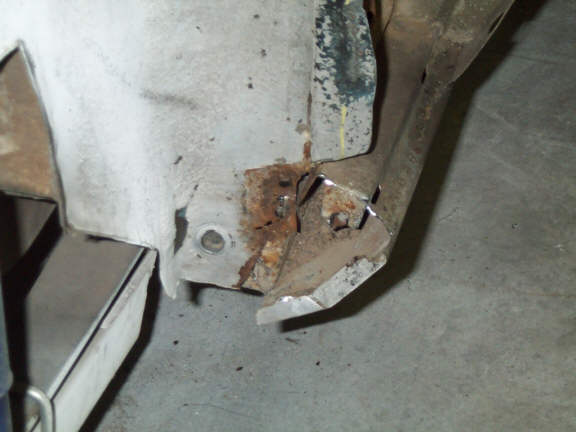
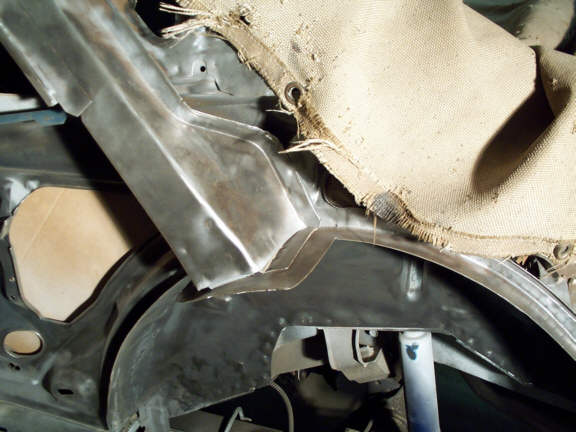
| Both inner wheel housings are rusted through at the front. Since it is a small area we can weld in some new metal instead of replacing the whole panel. This area will have to be sand blasted to make sure all of the rust is removed. | ||||||||||||||||||||||||||||||||||||||||||||||
|
||||||||||||||||||||||||||||||||||||||||||||||
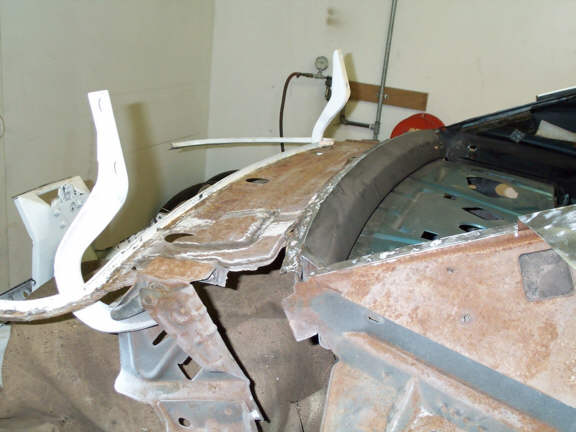
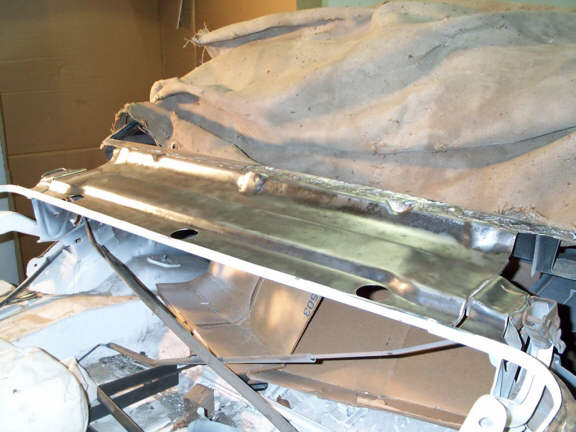
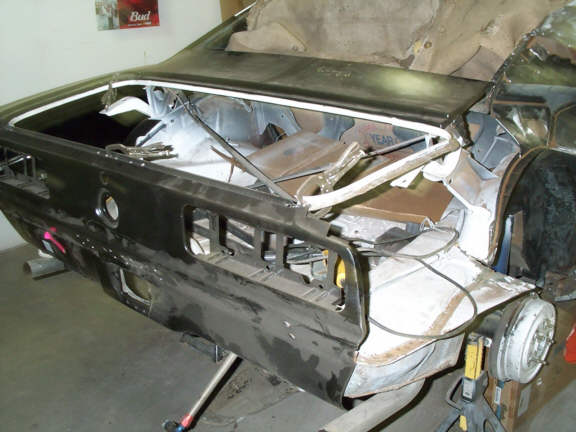
| The upper rear body panels was rusted through at the bottom edge of the rear window. This panel (which has been removed) and some of the metal underneath will need to be replaced. Looks like I need to get busy grinding. | ||||||||||||||||||||||||||||||||||||||||||||||
|
||||||||||||||||||||||||||||||||||||||||||||||
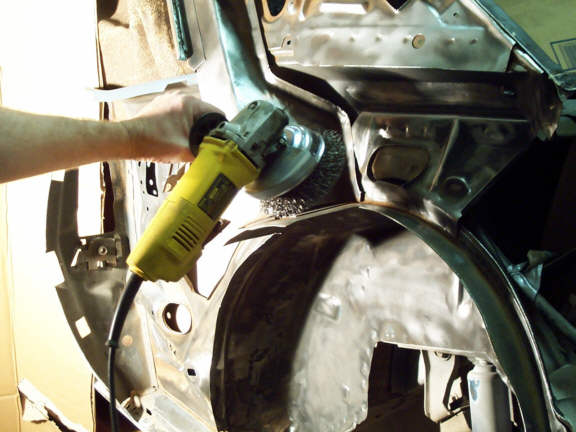
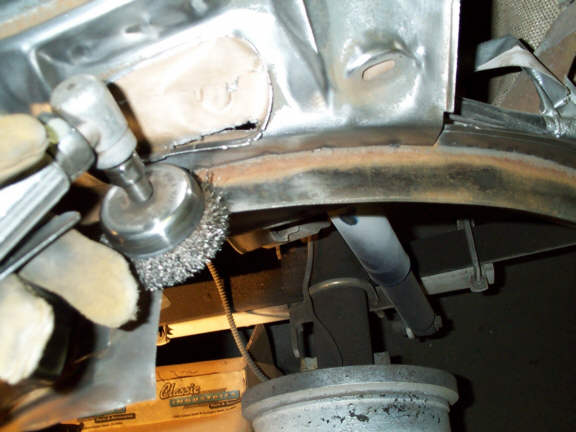
| This 5" wire brush works well with the Dewalt grinder for fast rust removal. This takes it off fast. You definitely want to wear eye protection, a dust mask and leather gloves with this. Not only will the wires remove your skin, but the grinder can kick your hands towards the sharp metal edges. | ||||||||||||||||||||||||||||||||||||||||||||||
|
||||||||||||||||||||||||||||||||||||||||||||||
| Here is the drivers side after a few minutes with the 5" wire brush. This puts a lot of stuff in the air so its a good Idea to contain as much as you can. | ||||||||||||||||||||||||||||||||||||||||||||||
|
||||||||||||||||||||||||||||||||||||||||||||||
| Next I used this air 90 with a 3" wire brush to get to the smaller areas. | ||||||||||||||||||||||||||||||||||||||||||||||
|
||||||||||||||||||||||||||||||||||||||||||||||
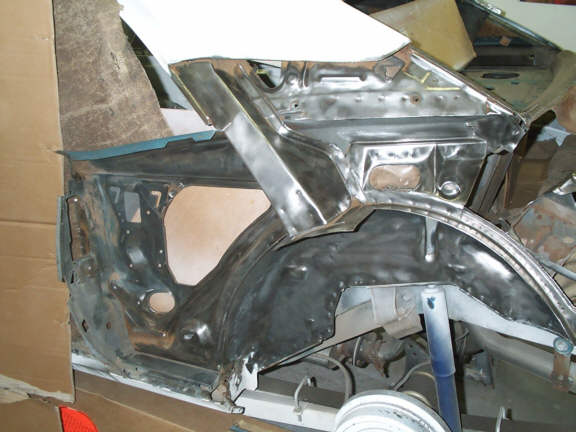
| After a couple of hours, the drivers side was close to being finished. I had to stop here to give my arms a break, and it was time for a cold Bud. | ||||||||||||||||||||||||||||||||||||||||||||||
|
||||||||||||||||||||||||||||||||||||||||||||||
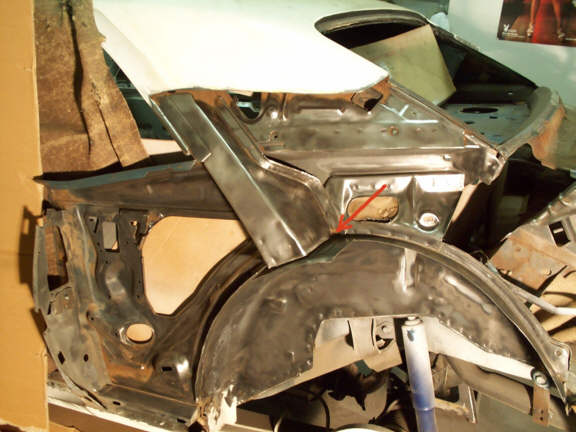
| Next I will have to finish the front part with the wire brush, then sandblast all of the hard to reach areas, like the one shown here with an arrow. | ||||||||||||||||||||||||||||||||||||||||||||||
|
||||||||||||||||||||||||||||||||||||||||||||||
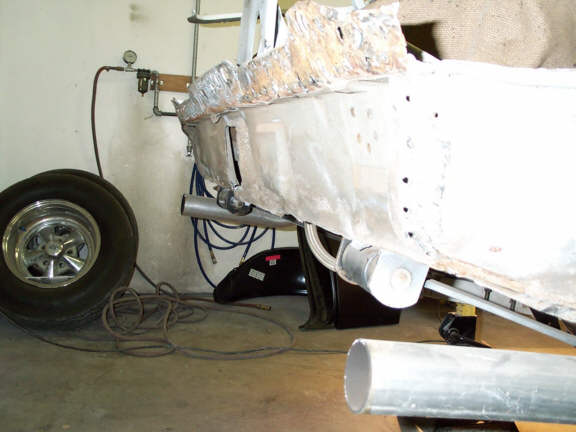
| The sandblaster took out all of the rust in the tight places. It makes a mess but it is the only way to finish the job. | ||||||||||||||||||||||||||||||||||||||||||||||
|
||||||||||||||||||||||||||||||||||||||||||||||
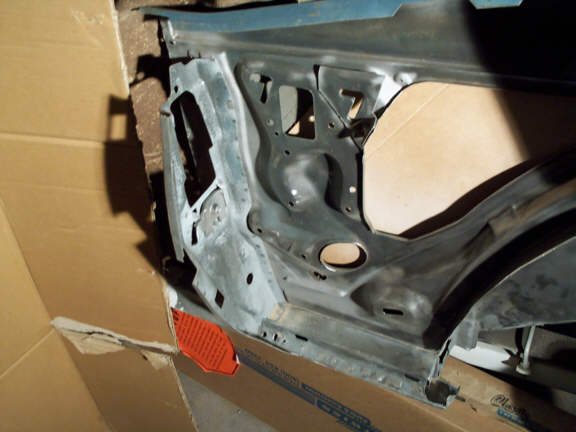
| The sandblaster also worked well in the tight areas of the rear door jamb. This part was cut off of the right quarter that I bought. It is a good panel though since it is an original NOS GM piece. On the left side I bought a GM Restoration panel which has this piece intact. | ||||||||||||||||||||||||||||||||||||||||||||||
|
||||||||||||||||||||||||||||||||||||||||||||||
|
||||||||||||||||||||||||||||||||||||||||||||||
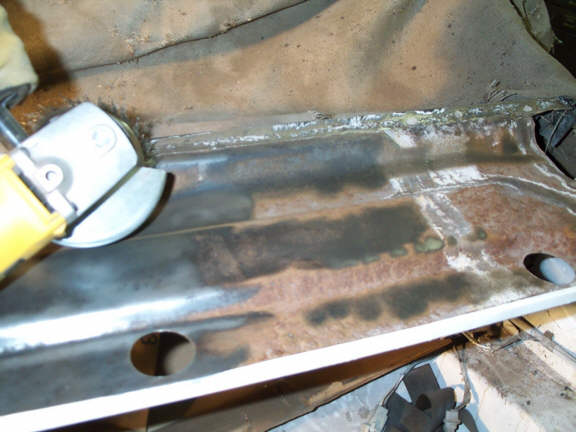
| Here I am using the wire brush on the Dewalt grinder again to clean up the metal below the upper rear body panel. | ||||||||||||||||||||||||||||||||||||||||||||||
|
||||||||||||||||||||||||||||||||||||||||||||||
| The wire brush did a nice job on this piece. Now I need to do the right side and the trunk area. | ||||||||||||||||||||||||||||||||||||||||||||||
|
||||||||||||||||||||||||||||||||||||||||||||||
| While Robert worked on the fit of the new panels, I used the big wire brush to take off the rust on the passenger side. Most of it is gone now and I just need to finish up with the small grinder and sandblaster. | ||||||||||||||||||||||||||||||||||||||||||||||
|
||||||||||||||||||||||||||||||||||||||||||||||
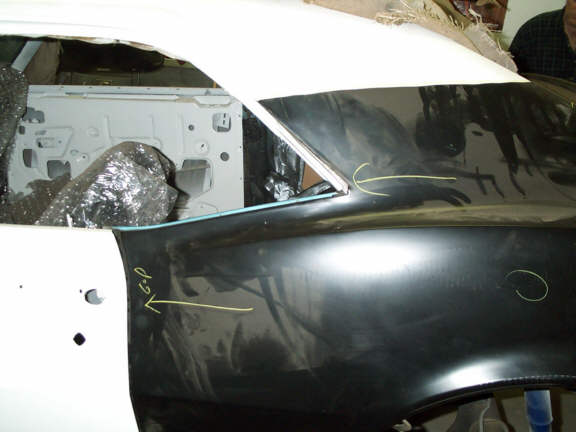
| Meanwhile, Robert clamped the new sheet metal into place to check the fit. Doing this revealed a problem with the OER GM Restoration Left Quarter. | ||||||||||||||||||||||||||||||||||||||||||||||
|
||||||||||||||||||||||||||||||||||||||||||||||
| If you look at the gaps on this panel, with the panel pushed all the way forward, the door gap is tilted to the right at the top. You might be able to correct for this except that the window gap is tilted to the left at the top. These panels are "guaranteed to fit or your mony back", so I guess we will get to test their guarantee. Click Here |
||||||||||||||||||||||||||||||||||||||||||||||