|
|
|
|
|
|
|
|
|
|
|
|
|
|
|
|
|
|
|
|
|
|
|
|
|
|
|
|
|
|
|
|
|
|
|
|
|
|
|
|
|
|
|
|
|
|
|
|
 |
|
 |
|
 |
|
 |
|
|
|
|
|
 |
|
|
|
|
|
|
 |
|
|
|
|
|
|
|
|
 |
|
|
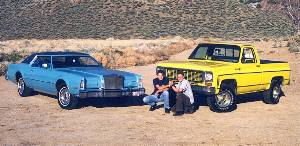
My bro' and me up by our house. There's his '75 Lincoln. It's lowered, has hydraulics, and is powered by a 460. My truck's only got a 350, but I've added headers, dual 2 1/2" exhaust (hence the RMBLBEE plate, which finally got here by the time this shot was taken), a Weiand intake, and a homemade cold air system. The best off-road enhancement, though, is the Rochester carb- it runs very well at extreme angles. Pics of engine to come soon. |
|
|
|
 |
|
|
|
|
|
|
|
 |
|
|
Me with my pride and joy. I normally dress a little nicer than this, but I am really that geeky. This pic was taken in March. I'm not too fond of this shot, as it makes my truck look like a lowrider. A lift is definitely in the works. |
|
|
|
|
|
 |
|
|
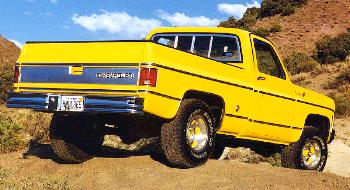
I went out taking pictures one day, and this whole batch turned out really good. Nice rear shot. You can see the new bumper and re-furbished tailgate panel as well. This was before I got a flat tire, used my Hi-Lift jack without a wheel chock, and everyhting went horribly wrong. The truck came crashing down, the Hi-Lift that was holding the bumper smashed forward and dented the center of the tailgate, and I got super-freaking-mad. But, it didn't cost too much to fix it as good as new. All my dad could say was, "You gotta keep using that damn handi-man jack, don't you?". Remember, always block the wheels! |
|
|
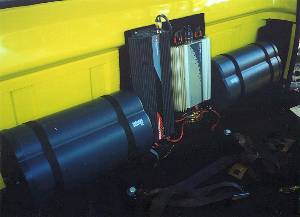
The stereo: Two Alpine 6x9's and two Alpine 6 1/2's powered by a 4 channel Sony amp, two 8" Bazooka bass tubes powered by a 2 channel U.S. Acoustics amp, a Sony 10-Disc Changer, all controlled by a Sony 6120 cassette head unit.
I got sick of the Sanyo cassette deck, Jensen amp, and two 6 1/2s in the door, so I got cracking on my new stereo. I don't have a pic of the doors yet, but I worked some real magic on those. My dillema: where to mount the 6x9's? I didn't want to cut holes through my fresh paint, so I mounted them higher up, in the panels themselves. I had to fabricate a mounting plate for each side, and find a way to mount the speakers without screws. In total, three days of fabrication was all it took. When I get a pic, it will show everything more clearly.
This pic is outdated, as it doesn't show the CD changer, which is now mounted on the right side, above the bass tube. I built an extension out and mounted it vertically. The rack for the amps was hand built by myself to conform to the curve behind the seat. The speaker boxes for the 6 1/2's were also built by me, but aren't visible -they're on the extreme edges, nestled in the alcove on each side. Good thing I took woodshop in middle school. Actually, it isn't hard to make it look great with a little adhesive and carpet magic. You just gotta be patient. Everything is mounted to a panel that can be removed later. Close-up shot of the amps to come soon. With my limited space, things worked out good, except that I lost a couple inches of seat travel. Hey, you gotta make sacrifices! |
|
|
 |
|
|
|
View of the stereo (sans CD changer) with the seat out. |
|
|
|
|
 |
|
|
|
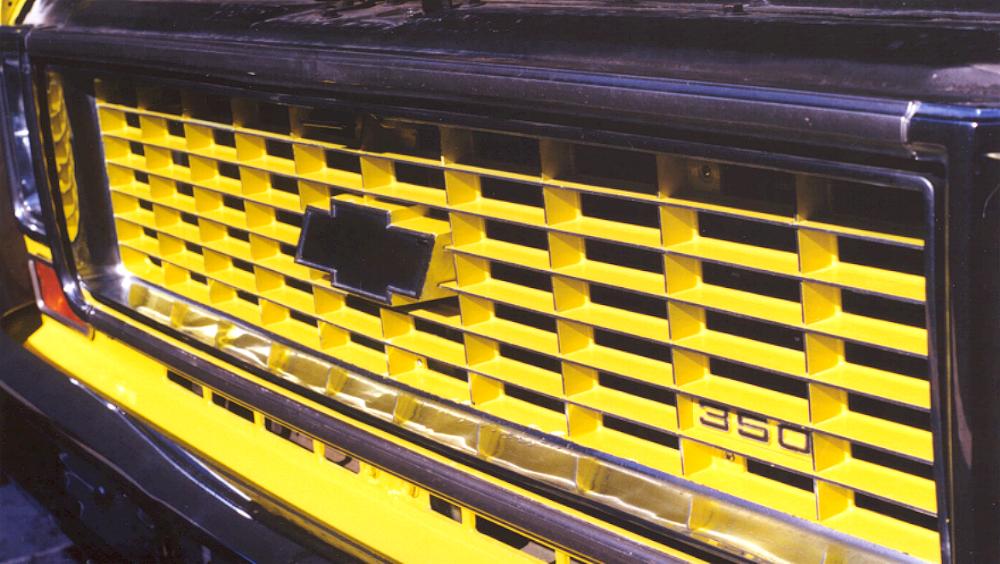
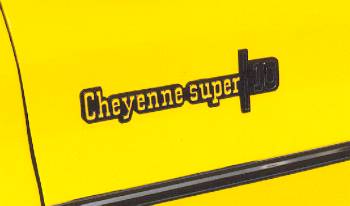
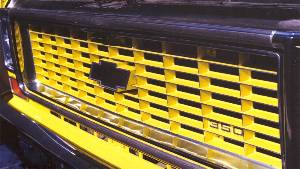
Here's a detail of the emblem with the same color matched paint as the wheels. Also, the grill slots are painted, as seen here. I did these the same way as the wheels. |
|
|
|
|
|
 |
|
|
|
 |
|
|
|
|
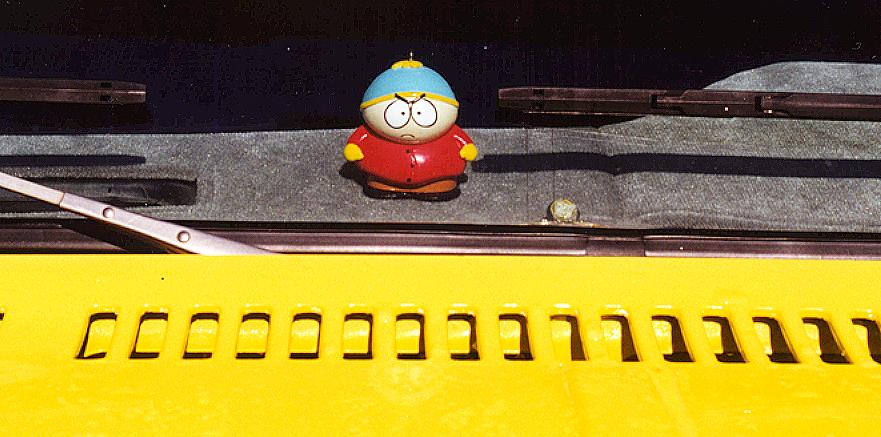
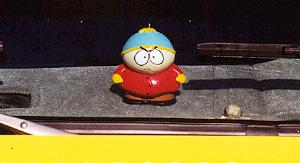
Here's the Cartman I have on my dashboard.
As Cartman would say, "Kick ass!" |
|
|
|
 |
|
|
|
 |
|
|
|
|
 |
|
|
|
|
|
 |
|
|
|
|
|
|
 |
|
|
|
|
|
|
|
|
|
|
|
|
|
|