Always disconnect the battery before working on the electrical system!!!
In this section you will be running the wires from the engine compartment to the console of the car and from the console to the trunk. I chose to remove the ashtray and use that space to mount all the gauges. This allows you to use the power from the cigarette lighter. If you would like the use of you cigarette lighter for cell phone power or smoking you can add a relay and pull power from that. Consult the wiring diagrams from the Greasecar manual for exact terminal locations on each device. Pictures and a description of how to make the panel can be seen on the Veggie Control Panel page.
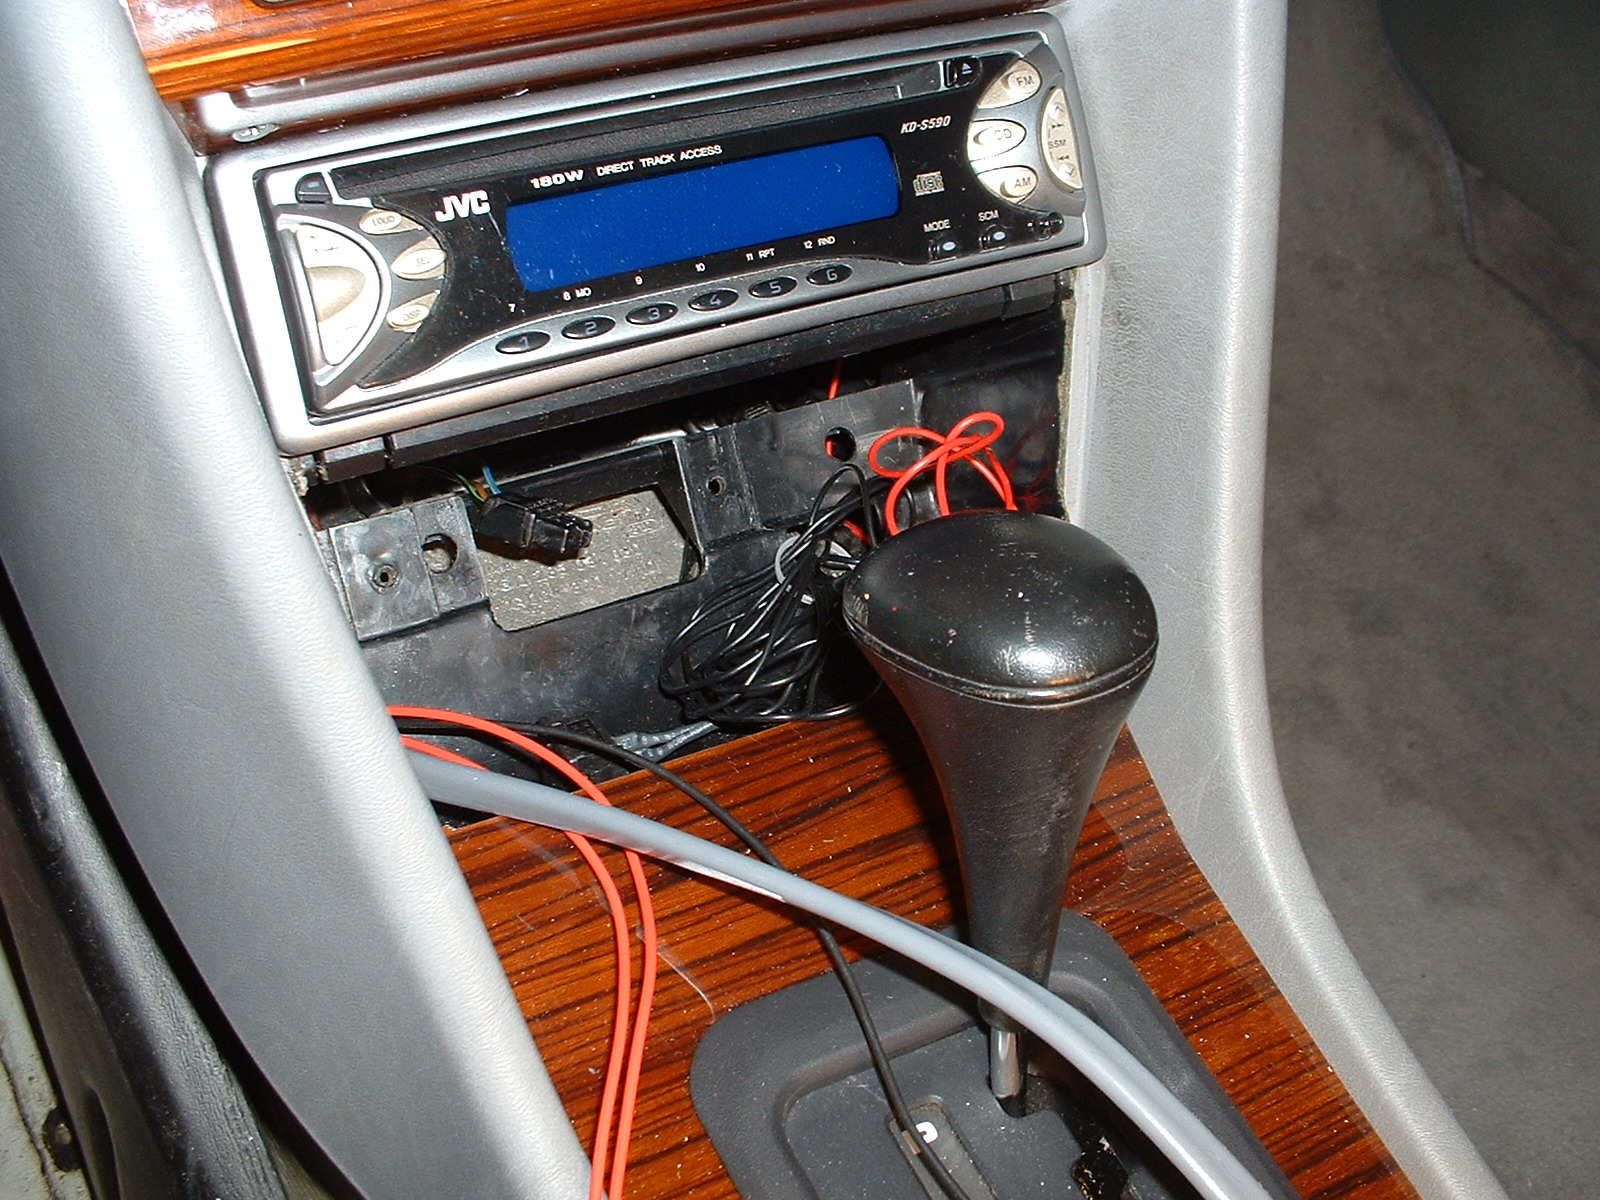
1. Remove ash tray by first removing the trim around the shifter
2. Remove the carpet in center console under the armrest by pulling up on edge of the carpet. This exposes a screw on the wood panel with the window controls.
3. Unscrew and remove wood panel by pulling up from the back..
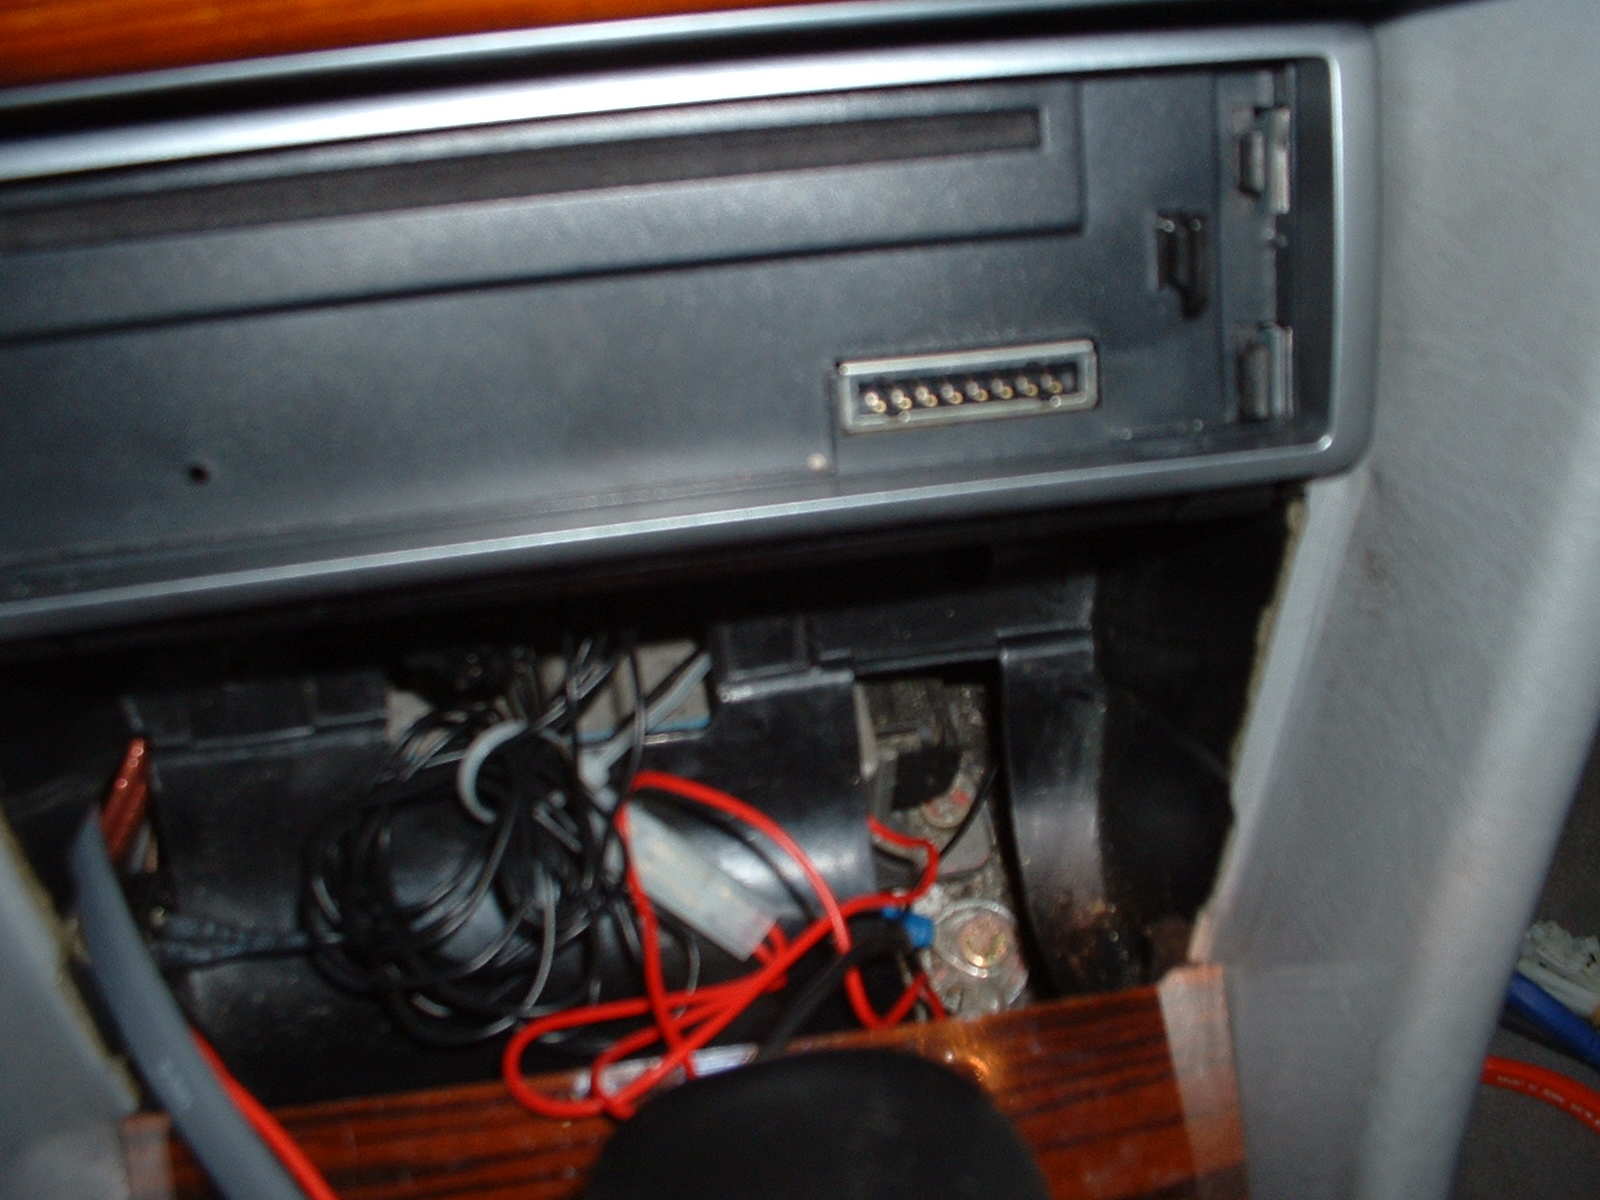
4. Open the ashtray and remove inner ash tray piece.
5. Remove two screws at the back of the ashtray.
6. Remove assembly and unplug.
7. Use the voltmeter to figure out which wire has power and use your own ground if you want. (Discussed later)
8. Remove driver side floor carpeting by pulling up and out.
9. Remove door step covers for the front and back driver side door by pulling or prying up. They are not held by any screws. They are hard to pull up but easy to reinstall.
10. Remove plastic side panel with foot rest on the left side. Remove the two nuts holding it in place. I had to trim the bottom to make room for other wires because I was wiring speakers as well. If there is not enough room for your wire you can cut it as well.
11. Remove the plastic cover directly under the steering wheel. There is one screw near the center console and one plastic retainer directly under the steering wheel all the way at the bottom.
12. Remove the driver side console carpet. There is one visible screw and two tabs under the plastic center console. Mercedes has a special tool to remove the tabs. I used a long flat screw driver. You can feel where the two tabs are located with your hands. Slip the screwdriver between the center console plastic and the rug and it will slide out easily. If you pull too hard you will break the tabs. I broke the tabs but it still stays in place.
13. Remove the bottom plastic cover under the seatbelt located between the two driver side doors.
14. If they are not already removed then remove the rear seat bench, backrest and trunk carpet.
Power
I used the power from the cigarette lighter for the selector switch and the veggie tank level gauge. Use a voltmeter to determine which wire has power. Pull the wire out of the connector and use.
Ground
Used and existing ground point under the ashtray for fuel selector switch and veggie tank level gauge. See Dash Ground picture below. Remove ground bolt, install a ring connector with wire attached and reinstall bolt. You can splice the wire to provide a ground for whatever you may need in this area.
Solenoid Valve Wiring
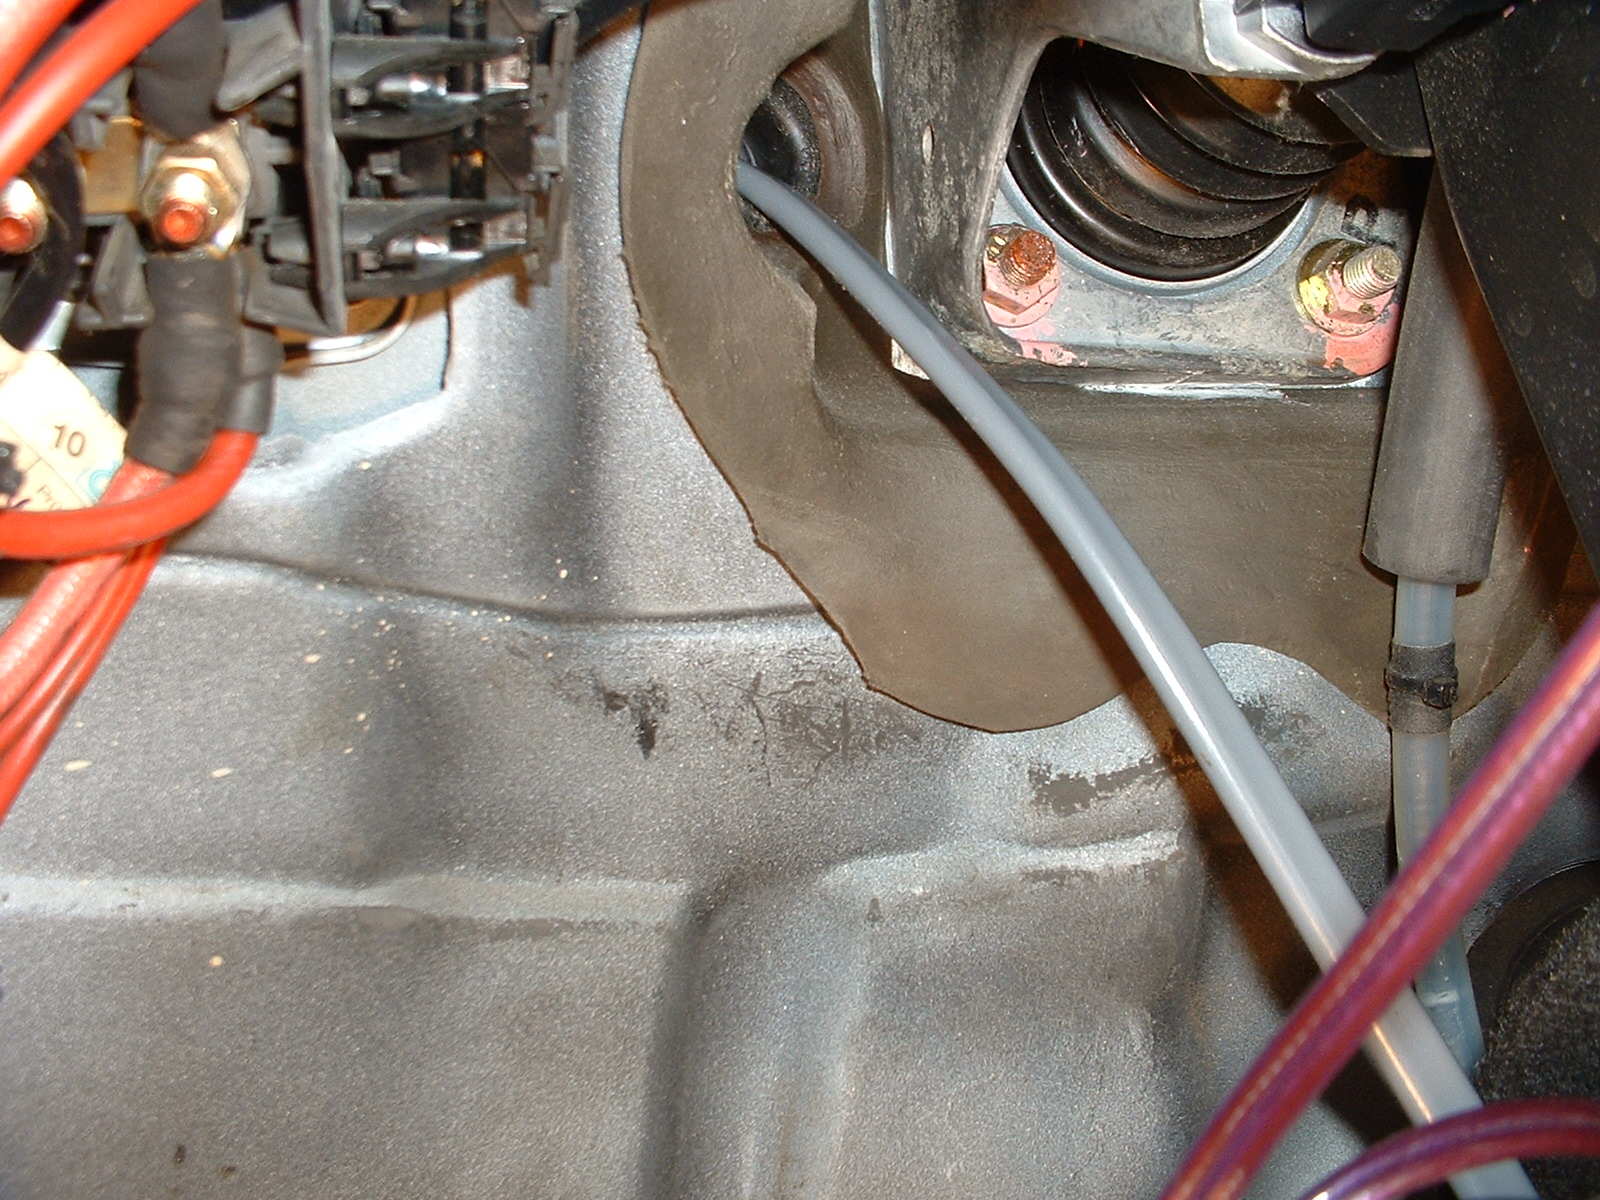
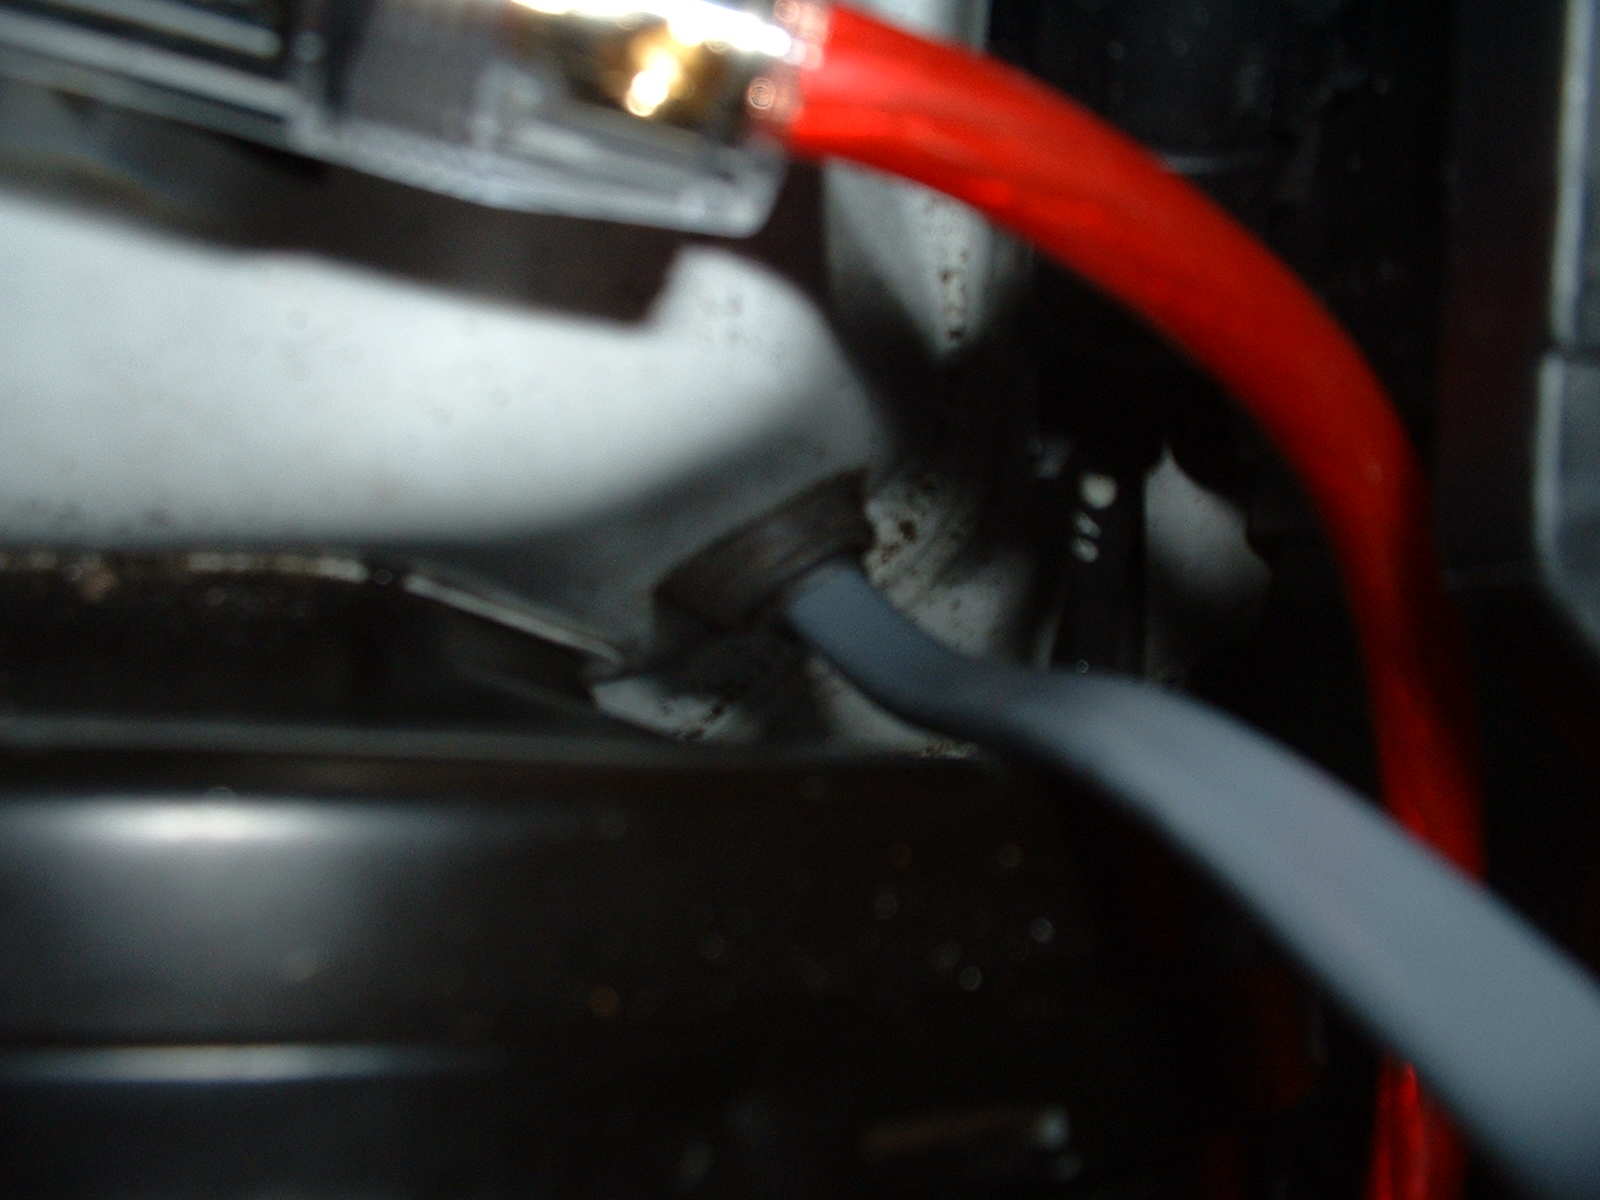
1. Locate the grommet behind the brake cylinder in the engine compartment. It can be seen from the inside of the car by looking to the left of the steering column on the fire wall. See Grommet Inside View picture below.
2. Push the Greasecar.com multi wire braid from the inside of the vehicle through the grommet. Use needle nose pliers to pull through from the other side. Route through the fuse box wall to connect with the solenoids.
3. Follow Greasecar.com instructions for wiring.
4. Then solder or crimp the two ground wires from the valves and connect to the most convenient place you can find under the hood. There are many places to pull a ground from. I connected to one over by the battery.
5. Route braid wire on the interior along the existing wire behind the pedals, along the side and out through the ashtray opening. See Pedal Wire Routing picture below. Consult Greasecar.com instructions for wiring.
Wiring for the Level Sensor
1. Connect the power terminal on the veggie gauge to the cigarette power.
2. Connect ground to point described above.
3. Run one wire for the level sensor from the appropriate terminal on the veggie gauge back to the trunk.
Note: The carpet along the door can be removed by prying up the little white tabs. This should allow you to route the wiring under the carpet or even in the cable routing tray if you want to take the extra time to fish it through.
4. Follow existing cable routing under the dash as much as possible. This will allow you to zip tie the new wires to the existing wires.
5. Connect the wire from the gauge to the appropriate terminal on the sending unit.
6. Connect the second terminal on the sending unit to a ground. The ground can be wired to any convenient location inside the trunk. I connected mine over by the antenna by adding a nut and bolt to an existing hole. Remember to scratch off the paint to get a good connection. The other option is to run a ground wire from the front of the car.