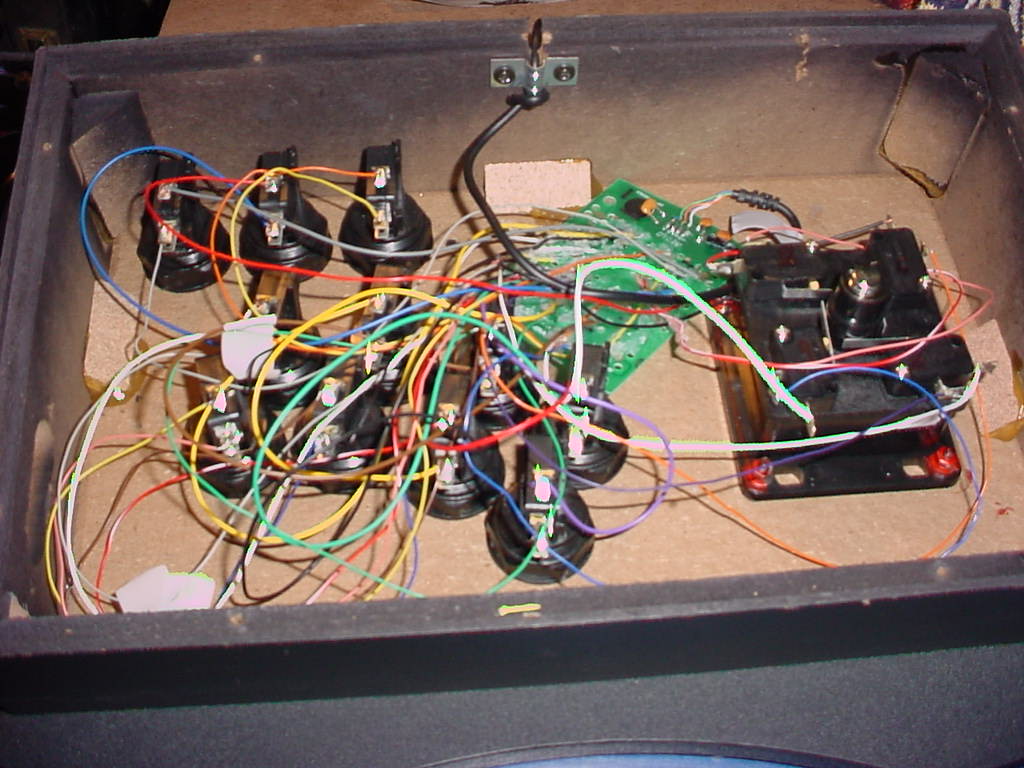
I skipped that part and ended up tracing each wire individually, wiring them to whatever buttons were handy in no particular order.
It wasn't really laziness as it caused numerous easily forseeable problems, and after poring over it for another hour I still had to desolder and switch out two wires because two buttons were producing a 4 on the screen.
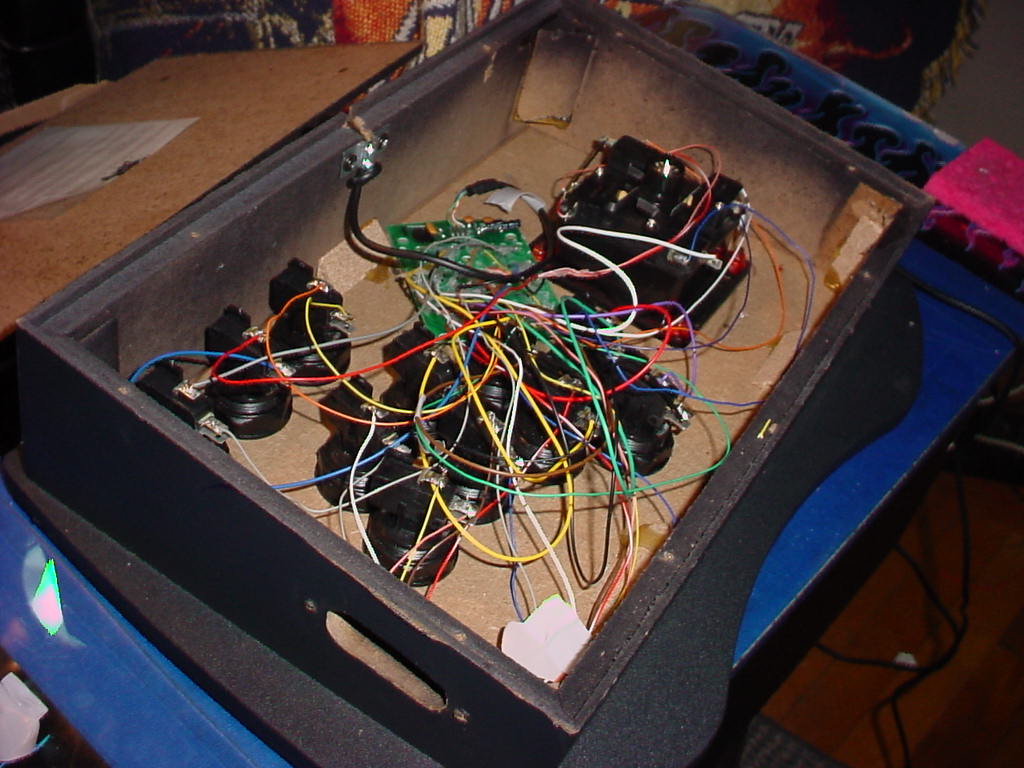
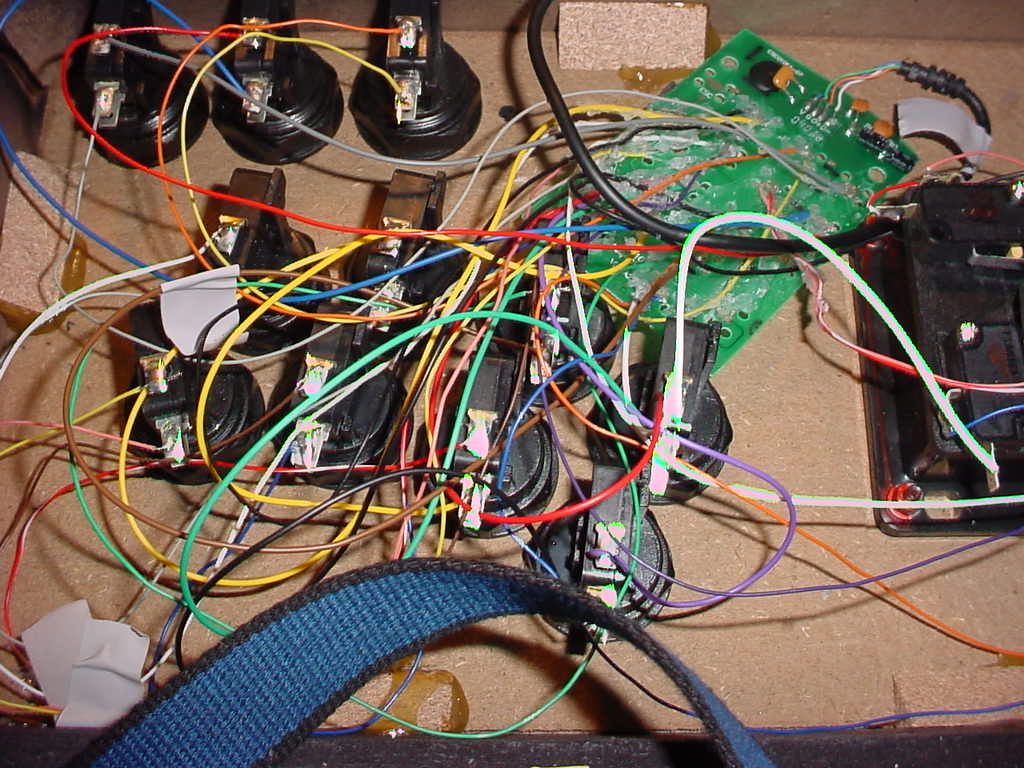
To complicate matters I had spooged a bunch of sealant on the connections to insulate them and keep the wires from pulling off, which wouldn't have been a problem if I had bothered to tag them, which I didn't so I ended up picking through a mess of wires and silicone smelling of vinegar, getting it all over the place.
More a combination a complete lack of planning and of it being 4 AM.
The jumbled unlovely mess I ended up with seemed destined to fail.