 |
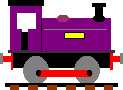
| GALT LOCOMOTIVES The Home of the Little Purple Engine |
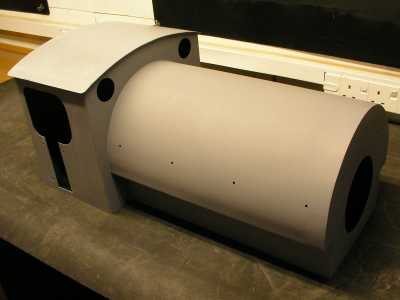
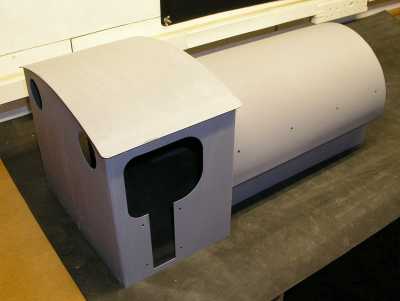
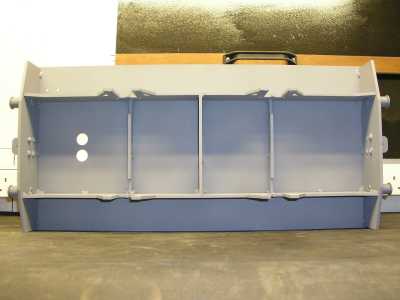
| Priming the Metalwork |
| I was recommended to use Zinc Ooxide primer as a means of adding additional protection to the metalwork to stop it going rusty and because it is supposed to be harder wearing than ordinary primer on its own. The first stage in the primer process was to spray all of the metal surfaces with the Zinc Oxide primer, followed by ordinary metal primer, both of which I purchased from my local Halfords. The following pictures show the result of spraying both primers, with the Zinc Oxide primer on the left and the ordinary metal primer on the right. Although not particularly clear in these picture the Zinc Oxide primer is a darker grey. |
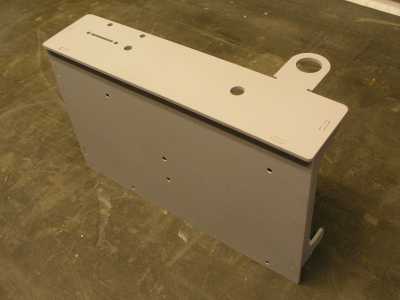
| The pictures shown below are of the panel to mount the controller and controls on. The actual arrangement is slightly different to that shown on the Ride On Railways website or instruction manual. Not shown in the picture is the support bracket on which the battery On/Off switch is mounted. On the inside of the panel, shown in the right hand picture, I left an unpainted rectangular area. This is where a substantial aluminium heat sink to dissipate the heat from the controller at full load is going to be mounted. 4QD do supply the heat sink but it is not part of the kit configured set up for Ride On Railways locomotives. |
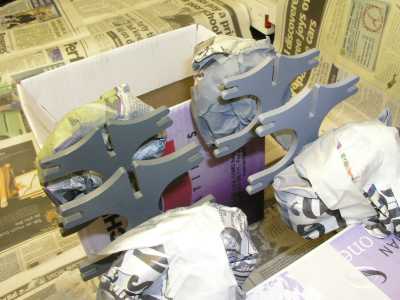
| The motor mounts, were mounted on to the axles when the wheels were pressed on, and in this configuration difficult to paint as you are trying to avoid getting paint on the axle and wheels. The picture shown on the left is of both axles with the wheels and axels covered in paper and masking tape, so only the motor mounts could be painted. Because the motor mounts are top heavy it�s not practical to try and paint them in one go. I actually did it in three passes and ended up with a good even coating. |
| Rubbing Down |
 |
 |
 |
 |
 |
 |
 |
| After priming the metalwork the next stage was to rub down the surfaces in preparation for painting. Again as this was something I has never done before I took some advice from a colleague who regularly does this sort of thing. With a rubber sanding block, or any other block should do, I wrapped round it a 1200 grit sheet of wet and dry, which I sprayed liberally with water and added a spot of shampoo. |
| Suggestions If you want a good primed surface finish, only make a couple of rubbing motions across the item being prepared and then clean off the wet and dry with water, then reapply the shampoo. Especially on the body, only use the wet and dry a couple of times and then use a fresh piece. |
| On the body and chassis I made light wiping motions, starting at the left and stopping at the right. With just a few wipes with the wet and dry I had a very smooth surface. In some places where dust had settled while the paint was drying or where spots of paint had come out of the spray nozzle, I had to rub with a bit more pressure, but it came out quite good. Once finished I was then able to see were my spraying had not been that even or where it had missed completely. In these places, I just applied a very quick dusting of paint, allowed it to dry and then rubbed it down. |
| Page last updated on : |
| 29/01/2006 |
| Copyright (c) GALT Locomotives 2006, all rights reserved |
| Suggestions Before you rush off and order the heat sink, 4QD provide on their website the recommended dimensions and mounting hole positions. Luckily I had an aluminium off-cut, which fitted the requirements. |