


|
|||||
|
|
|
|
|
|
"Let your soul stand cool and composed before a million universes." |
Banner / Sig
Step 1 Now create a new document in Photoshop with these attributes:    Now drag your gradient across your image holding down Shift to get a straight line. You should end up with something like the following:  Step 5 Looks pretty nice, huh? Now, we're going to use our Text tool:  and type in some text, whatever you want it to be. Mine now looks like this: and type in some text, whatever you want it to be. Mine now looks like this: Step 6 now take your pencil tool:  (maybe underneath your paintbrush tool) and draw some techy lines around your text. Mine looks like so (I overdid it but I'm good at that): (maybe underneath your paintbrush tool) and draw some techy lines around your text. Mine looks like so (I overdid it but I'm good at that): Step 7 Now, make a new layer, and go Ctrl+A to select everything, and go Edit > Fill and use these settings: Use: Pattern Custom Pattern: White Grid Mode: Normal Opacity: 100% In your pattern menu select a white grid kind of pattern - if you don't have it you can make it with this tutorial here. Step 8 Select your Eraser Tool (shown in the image below) and click on the brushes tab at the top-leftish of your screen. Use these settings:  Now erase to your hearts' content on the grid layer, until you get something like I have below (dont erase over the text, we will fix that in a second):  Step 9 Now, on your grid layer, change its layer opacity (in the layers pallette) to 50%. Now you're pretty much done. I added a couple more things...like I made another layer, pasted the star image again and resized it to very small and then placed it in the middle of the larger star image on our sig. Then I made a nice little lens flare effect right on top in the middle of the smaller star in its own layer. Then I merged all layers except the text layer - one layer with everything on it except my text, then the text layer on top - and used these colorizing settings (Ctrl+U) CHECK COLORIZE FIRST!: Hue: 187 Saturation: 23 Lightness: 0 Here is my final image:  |
 on your layers pallette. And select your Gradient tool, maybe hidden underneath your Paint bucket tool:
  . Now use these settings on the top tool options bar:
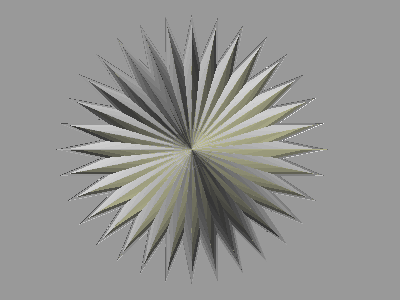