


 |
|||||
 |
 |
 |
 |
 |
|
"Let your soul stand cool and composed before a million universes." |
Banner / Sig
Step 1 First, make sure you are in ALL view or front view, or some view as long as long as you have front view on your screen. 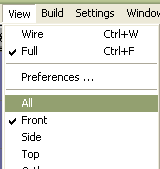 Step 2 Now, add a sphere by clicking here  . Your resulting screen should look something like the following: . Your resulting screen should look something like the following: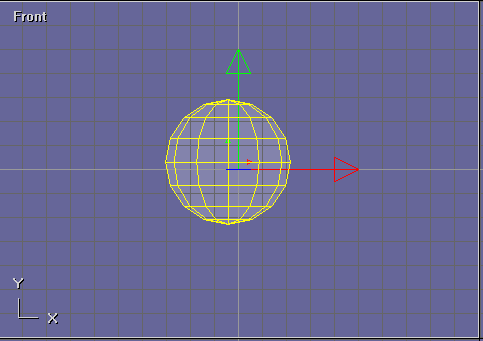 Step 3 Now double-click on your sphere, and set its attributes to these: 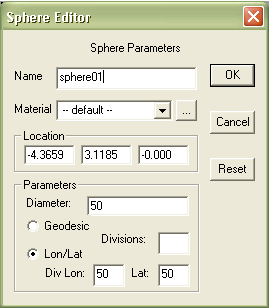 Your resluting screen should look something like this: 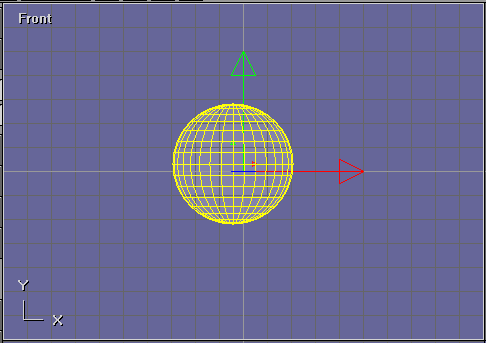 Step 4 Now, select your sphere, and go Build>Convert to Mesh: 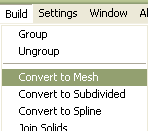 Step 5 Now for the cool part, go to Build> Subdivide Faces: 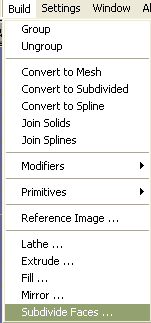 Enter this value...: 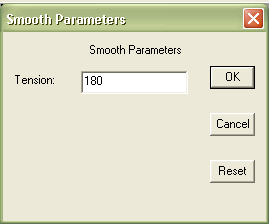 Your screen should now look like this. Step 6 Select your top view "window", and go to File> Render Preview like so: 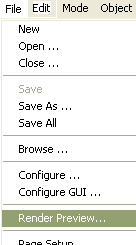 Leave the values at their defaults, which should be these: 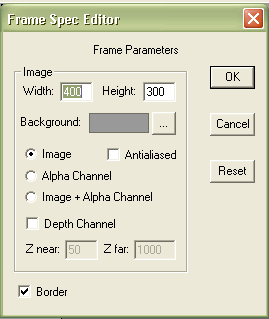 Your image should look something like this: 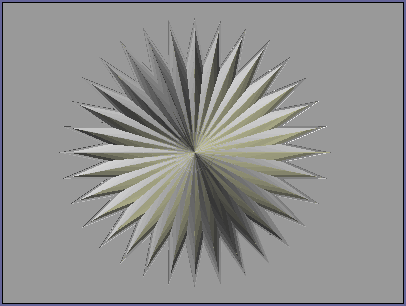 Now, on the lefthand menu, click on Save:  . Now you should get a dialogue box, click on the 3 little dots (1.), then go to the file where you want to save the file (2.), now name your file star (3.), and the file type as a JPEG (4.). . Now you should get a dialogue box, click on the 3 little dots (1.), then go to the file where you want to save the file (2.), now name your file star (3.), and the file type as a JPEG (4.).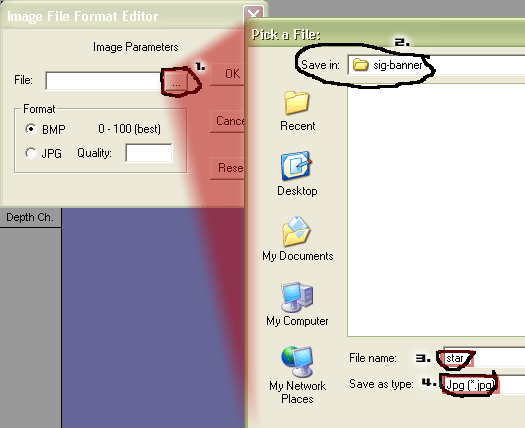 Hope you enjoyed the tutorial so far. Click here to go to Part II of this tutorial. |