|
-Index-A |
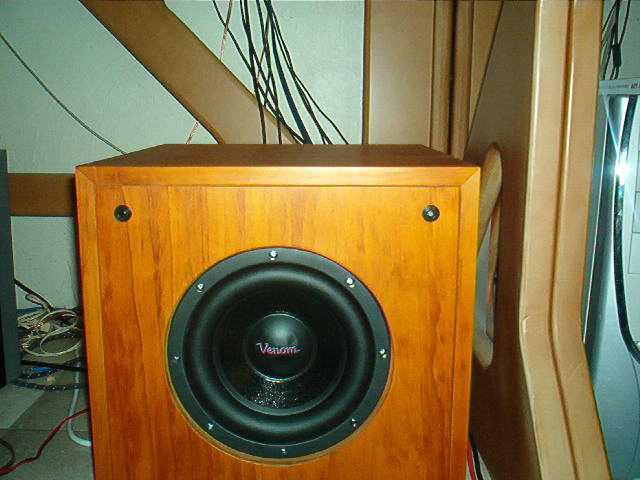
Venom DIY subwoofer. | |
|
|
Creator:
Michael (with help from dad, Rob) TOTAL COST:
$74.45
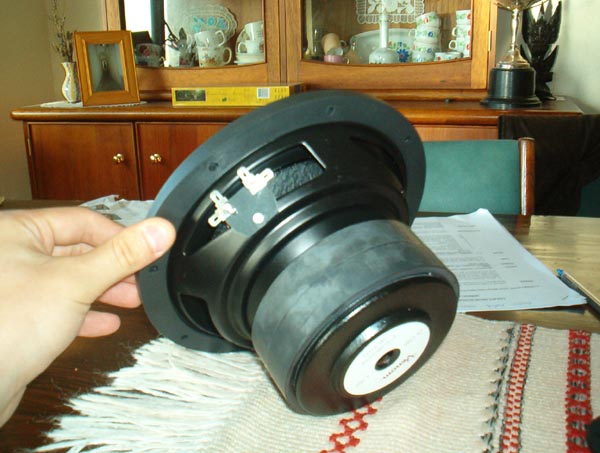
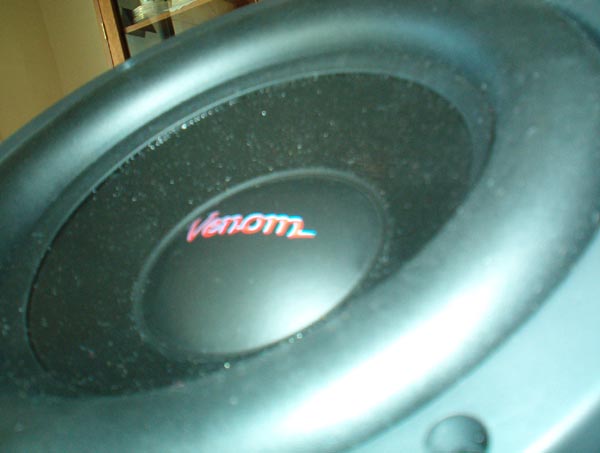
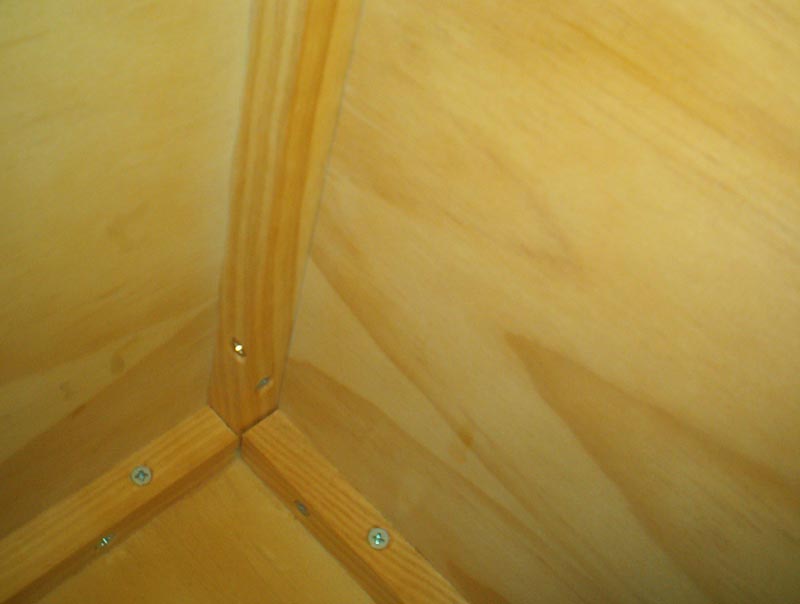
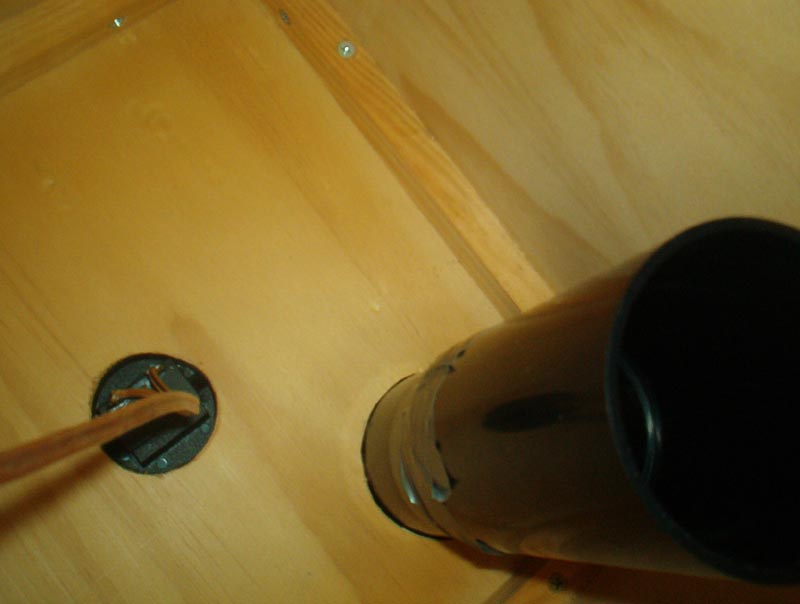
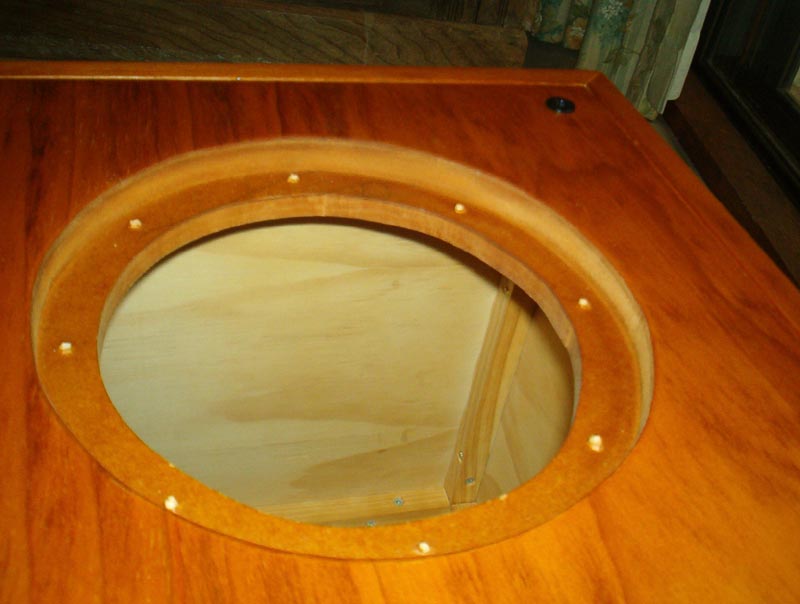
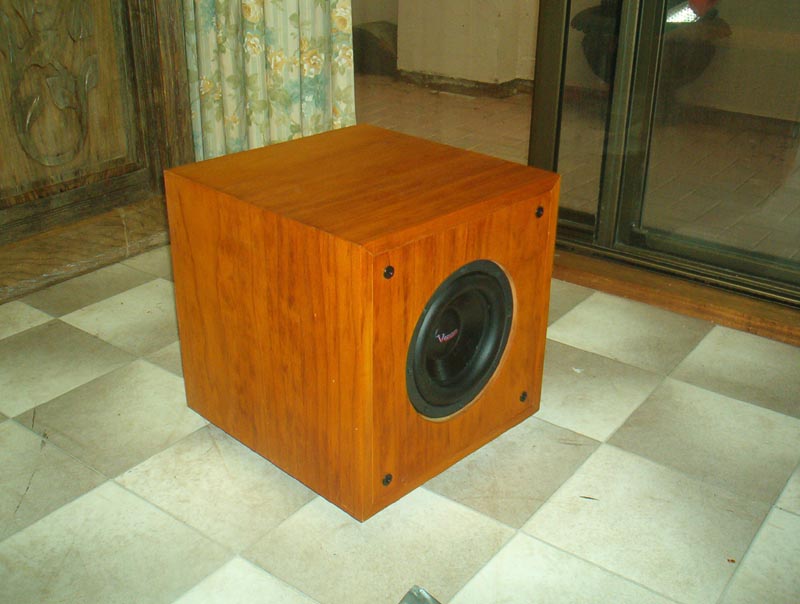
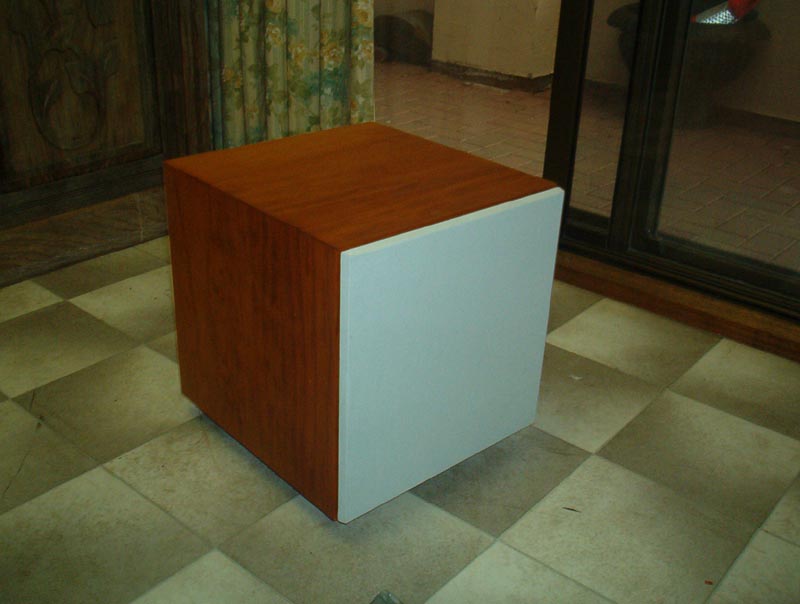
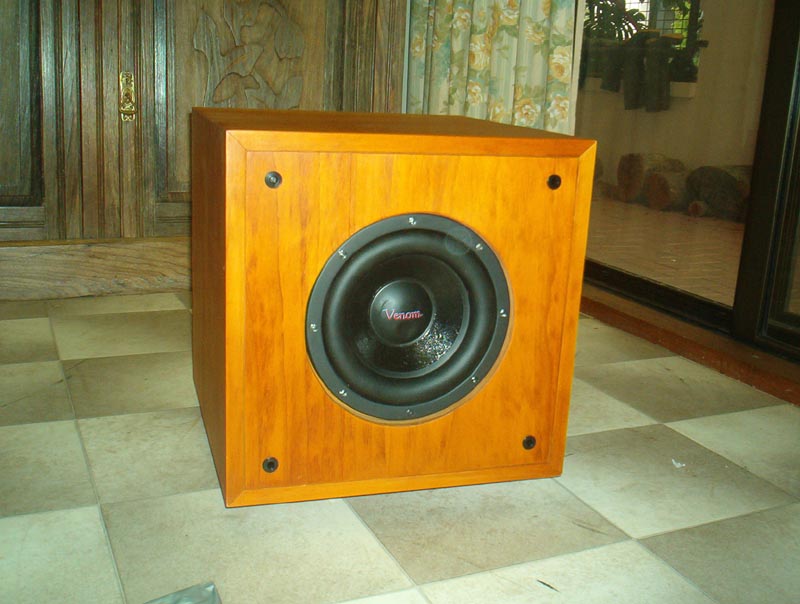
Project Summary: This project was one on a budget that was very tight, more of an experiment and an exercise than a practical subwoofer. I am impressed for the price I paid as it sounds like a comercial sub costing 5 to 10 times the amount. It has a lot of thump for music and HT but not at High SPL. I use it with bookshelves that cost more than 20 times the cost and it cant keep up with them at high volume but it helps add that bit of extra thump that I desired. For the Price it is fantastic, but at the end of the day it is just a small budget subwoofer. Introduction: I built a DIY subwoofer using the Venom 8" 4ohm subwoofer driver. I intended on building this subwoofer as more of an exercise, so as to get practice for when I build my planned 12inch higher-powered subwoofer at the end of this year, this sub was also on a very tight budget. It is going to be a passive subwoofer powered by one 70watt channel of my amplifier so I was not expecting 'High' performance. My goals for this project were as follows a) Response down to 30Hz b) Small enclosure size, less than 50litres c) Punchy bass for music and movies d) No bump in response like car audio woofers e) Nice aesthetic appearance to impress friends and give the impression of much more expensive subwoofers My listening room is 3.5m x 5.5m, this is not exactly the perfect listening room but it does alright as I am no audiophile. I listen to all kinds of music from rock to alternative to hip hop, I also like music that has lots of nice low bass. As far as movies go I like action movies and comedies, but for this I will not go into comedies as they have no bass of any interest. My favourite movies are Lord of the Rings, matrix, aliens, and other such titles. I love when there is big bass in movies that makes the floor room shake. Design I designed this enclosure size and tuning using WinISD (a free speaker simulator). My first alignment design was for a 70ltr enclosure tuned to 26Hz, this appeared to be very good, I then proceeded to ask some questions on the diysubwoofers forum, there Adrian Mack told me the troubles of building an enclosure so large and tuning so far below tuning, he pointed out that in that alignment I would have an excursion limited power handling of like 15watts. He told me that my best option would be to use a 30L box tuned to 35Hz, so I went ahead and designed and built it (with a lot of help from my dad's 40 years of technical experience). Construction I used 17 mm veneered MDF for all sides of the enclosure, with an extra 12mm piece of MDF behind the front baffle (joined with screws and PVA), the driver screws into this 12mm MDF and is then flush with the 17mm, the edge is indented a bit but the surround is flush, this was done so that when the grill cloth goes on the surround will not 'touch' the cloth when at high excursion. The sides are joined using PVA glue and 1" x 1" pieces of wood in the edges screwed and glued to both sides for extra strength and added construction ease. The top 2 edges are joined using 45-degree angles so that the wood grain across the sides to top does not stop. Conclusion I am pretty impressed with how it sounds considering the price. It does not produce high SPL, but was cleaner and the bass was more extended than I was expecting. I really did underestimate how this little sub would perform. If you have a spare $80 in your wallet and have no sub but a small amp to power one, and a spare half a day, this would be a rewarding project. If I was to go back and do anything differently it would be to not spend as long on the finish as this woofer looks much nicer than many store bought subs, but only sounds half as good. It would have been much quicker to build a dodgy plain MDF enclosure. But as I said before this was a project not to quench my bass needs but to make sure I could build a subwoofer and do a nice finish. Now I know that I can I will concentrate on saving for a high quality subwoofer driver and plate amplifier. In hindsight this project has given me a lot of insight into the world of DIY speaker building, and I do think it was worth the time and cost, plus I am impressed with the results. Objectives were all met for this project and some were surpassed very well. I'm happy, so on to the next project. A 12" peerless subwoofer.
Here are some pictures of my DIY Venom subwoofer.
|