|
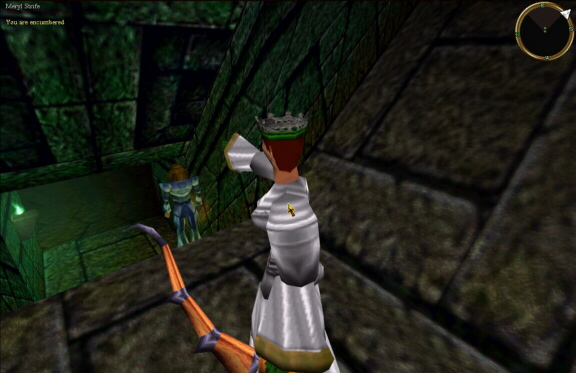
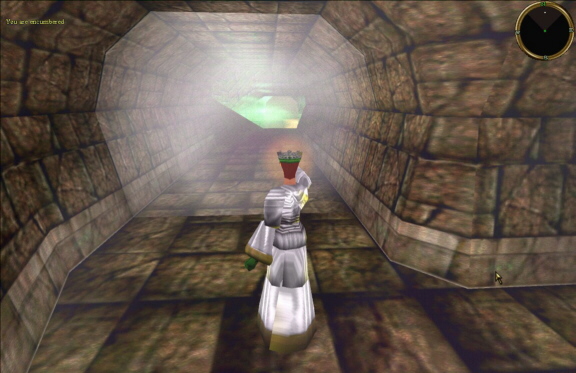
Right about where you see Zero Ryoko standing wil be some friendly Nightmare Wisps waiting to freeze your skin off. Take care of them promptly. Only a few will show up right at this spot, more are beyond the hallway. Oh, and don't forget the annoying Sewer Rats. A bunch of those will come running once you reach the bottom of the slope seen in this pic. Note: Right where Meryl is standing is a trigger to open the door going back up. If anyone gets stranded behind the door, just walk on this switch. Careful though, oftentimes a few extra Relic Bones get through. |
 |
|
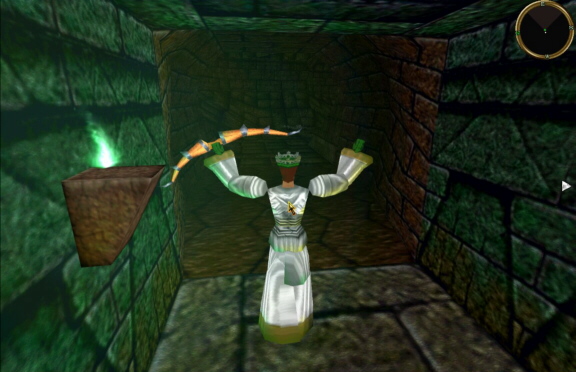
Here is a closer view of the base of the slope. This is where the Rats and Wisps will try and gang rape your party. Just deal with them as the vermin they are. |
 |
|
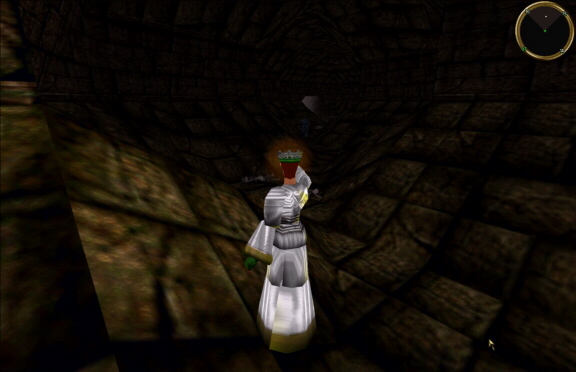
Down this hallway may be a few leftover Wisps. They'll be hard to see, so be careful. Deal with them quickly. At the very end of the hallway you'll see another pathway with two Vapor Golems sitting just inside, along with 2 Lag Beasts. |
 |
|
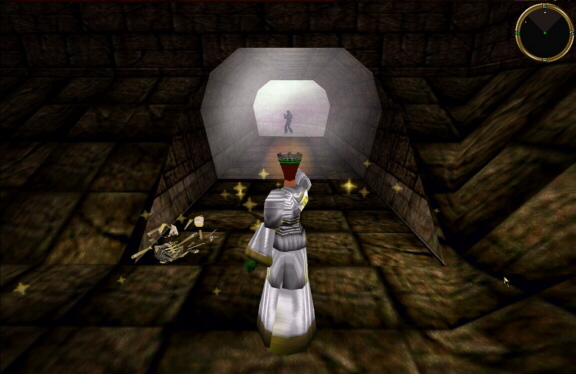
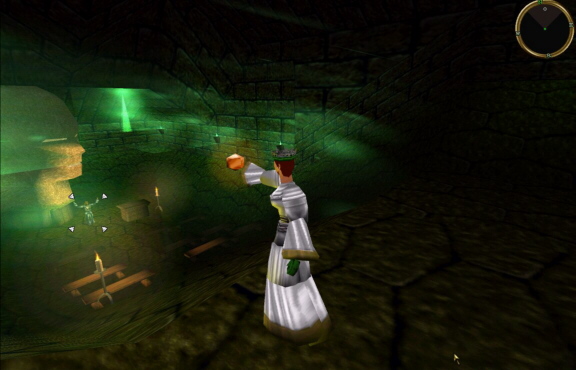
This is the pathway mentioned in Step #26 with the Lag Beasts and Vapor Golems. The Lag Beasts are of no worry, just kill them off. The first Vapor Golem will be somewhat near the entrance to this passage. Deal with it quickly. Note: Right about where you see the shadowy figure of Zero Ryoko is a mana blight trap. Attempt to jump over it. |
 |
|
Curve around the pathway untill you see an opening, but don't go in yet! Right in front of Meryl in this picture will be a Vapor Golem. Kill it quickly, but beware....attacking the Vapor Golem will trigger a Plasma Golem to come running. Kill it as quickly as possible. Remember, don't run much further into the hallway as you see Meryl in this pic. If you do, a swarm of Relic Bones will attack. |
 |
|
Run up just a tad bit further than you see Meryl in this picture. This will trigger the Relic Bones to come running. Run back to the spot seen in Step #28 and finish them off. Now your ready for the Lady............... |
 |
|
The Lady will be standing just about where you see Zero Ryoko standing in this picture....if she hasn't moved that is. Along with the lady will be a few Dark Revenants, but ignore them! Once the Lady dies....all other monsters except for the hellfires will dissapear. (creature spawn stops) KILL THE LADY QUICKLY!
On the Lady's corpse will be a Key to the Lady's chest, and the Staff of Aerfalle. Both are not givable, so only have the desired player(s) pick them up. (Staff is flagged to drop on death, the key is not) |
 |
|
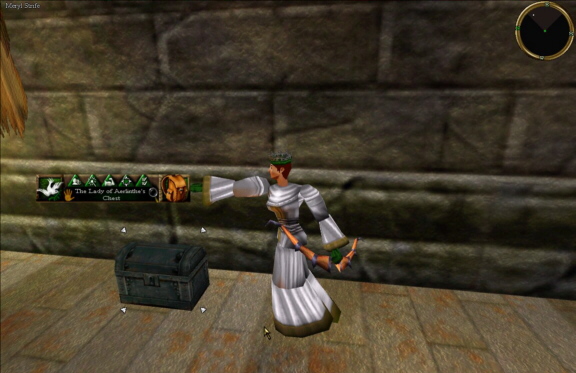
Run all the way back up and to the room with the second lever and two Firestorms. In this room is The Lady of Aerlinthe's Chest. (same room as in step #22a) Inside this chest will be a LOT of loot, along with the Ashbane, Aerfalle's Pallium, and Aerlinthe Recall Scroll. All the items are not giveable. The Pallium is flagged to drop on death, the Ashbanes drops just like normal loot, and the scroll cannot be transferred in any way. Take the scroll to be translated at the library, and you will automatically learn the spell. CONGRATS! |
 |