Painting with Watercolor
Tools
Techniques
Brushes
What is watercolor?
Just as it sounds, watercolor painting is an art form that creates artistic representations using pigments that are water-soluble.
This just means that by watering down a concentrated pigment you can make the colors as vibrant or dull as you would like.
| Paper | 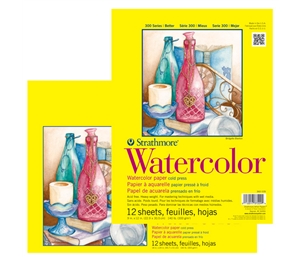 |
For beginners, pads are the most cost-efficient solution. Paper also comes in different weights (90lb, 140lb and 300lb) and different textures (rough, cold press and hot press). The weight number is the weight of 500 20″ x 30″ sheets of paper, the higher the number, the thicker the paper.
The surface of your paper will have direct consequences on your results. Rough watercolor paper will add texture to your washes because the paint will settle in the little wells of the paper, and hot press paper, with its very slick surface, tends to make colors appear brighter, so they will also be easier to lift off. Cold press paper is in between rough and hot press. |
| Paint | 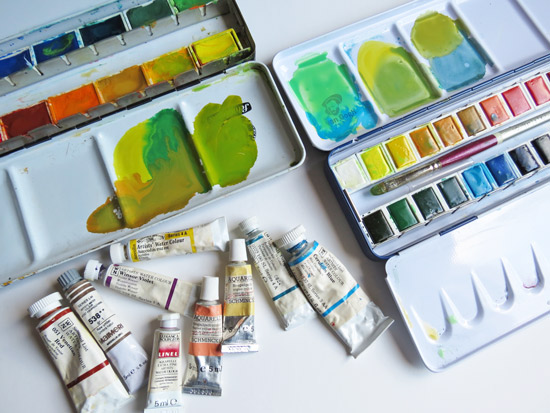 |
Watercolor paint comes in two forms: pan or tube. Pans are usually compact and great for traveling, but make it more difficult to gather enough paint for a very large washes. With tubes, you can take as much or as little paint as you need on your palette. |
| Brushes | 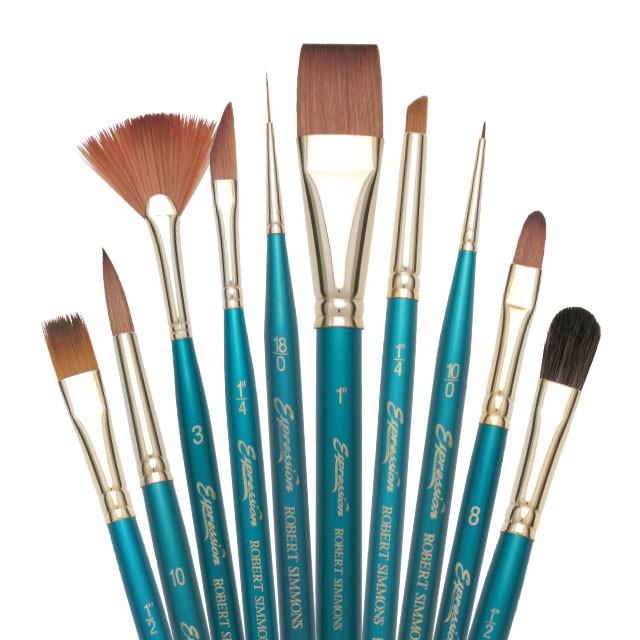 |
Watercolor brushes come in different shapes and sizes. They can be natural or synthetic. To start, you do not need many brushes, just a small round brush (#4,5 or 6), an angled flat and a big flat (2″ or more) for washes. An old, stiff brush can also be very useful to lift off paint to correct a mistake or lighten an area. Brush types are explained in further detail at the bottom of the page. |
| Board | 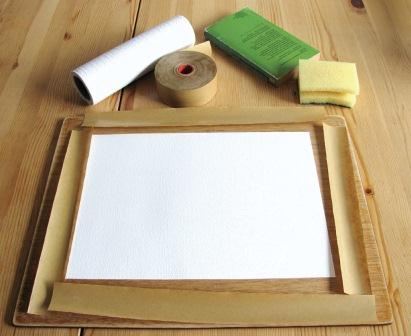 |
Paper lighter than 300lb will need to be stretched, because it will buckle with water if not. You can buy stretchers or staple your paper on foam board, wood, etc. |
| Palette | 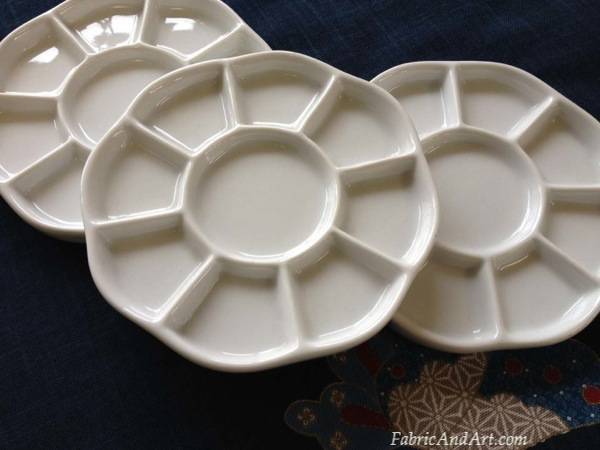 |
They come in many different sizes and shapes. The traditional Chinese flower shaped porcelain palettes hold the paint and the butcher tray for mixing. Most palettes have wells for the paint and a flat mixing area. |
 |
||
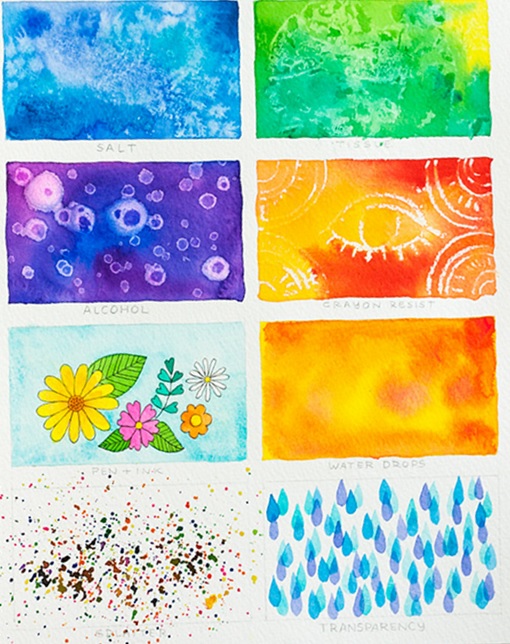
| Salt |
To use the salt first choose one or two colors and paint the area completely. While the paint is still wet, sprinkle the salt on yur paper. Let the paint dry completely and then flake away the salt. Note that the wetter your painted area, the more your salt will spread. Try letting the paint dry just enough to have a sheen on the surface. |
|
| Tissue |
Ball up a piece of tissue paper and place it on top of the wet paint. Being careful to cover the entire area, gently press down onto the paper with the palms of your hand. Allow to dry just a little before removing the tissue, but wait to late and the tissue will stick. |
|
| Alcohol |
While the paint is still wet, dip a Q-tip into rubbing alcohol and drop it onto the wet paint. For best results let the alcohol drip from the Q-tip (rather than touching the q-tip to the paper). |
|
| Crayon |
You can use a crayon to create a ‘wax resist’ technique. First draw your design with a white crayon making sure to press firmly onto the paper. |
|
| Pen and Ink |
Another favorite technique of mine. Using a fine-tip permanent pen, draw or doodle your design.Then, fill in color as you would a coloring book. Remember to switch to a smaller round brush to paint in small areas. |
|
| Water drops |
Apply your color wash. Then load your brush with water (or another color) and let the paint drip onto the wash while it’s still wet. You can gently shake your brush down towards the paper to help the dripping along. |
|
| Splatter |
This technique is a lot of fun, but makes quite a mess. I suggest covering any areas of your paper that you don’t want to be splattered. Load your brush with paint then hold it over the top of your paper. With the other hand, tap your brush and watch the paint splatter onto your paper. Rinse your brush, choose your next color and splatter away. |
|
| Transparency |
Because watercolors have a transparent quality you can create beautiful layers and density in your work. To play with transparency, it’s best to start from light to more saturated color. I chose to paint some drop shapes. Using your first, lighter color cover the area with shapes. Let dry completely, then choose a slightly darker or more saturated color and paint more shapes, overlapping first layer. You can repeat this process as many times as you like. |
|
| Brush Shapes | ||||
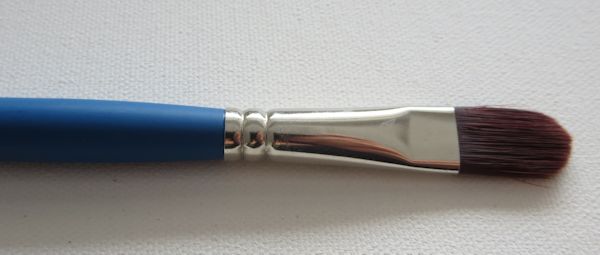
| Round | 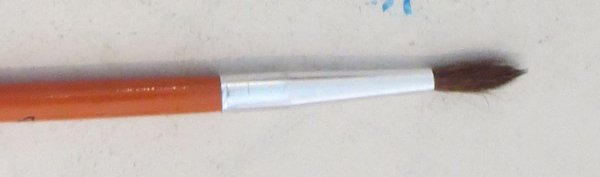 |
Round brushes are the most popular for watercolorists because of their versatility. They have a round ferrule (the metallic part that holds the head of the brush) and a rounded point when wet, which can create fine or thick lines, making round brushes good for painting wide areas as well as tiny details. |
||
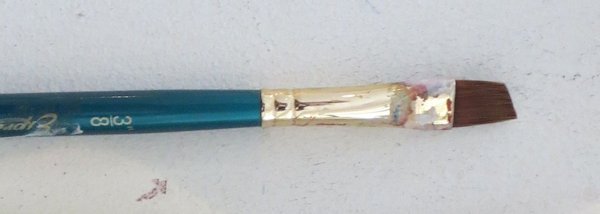
| Flat | 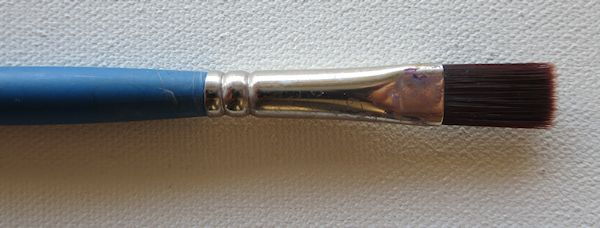 |
A flat brush has a flat ferrule and a straight edge and is usually square, but it can also be a rectangular shape. Most strokes done with a flat brush will have a straight edge. It is possible to use the edge to paint smaller areas so they can work well with large washes as well as details. There are three common types of flat brushes:

|
||
| Wash Brushes | ||||
| Mop | 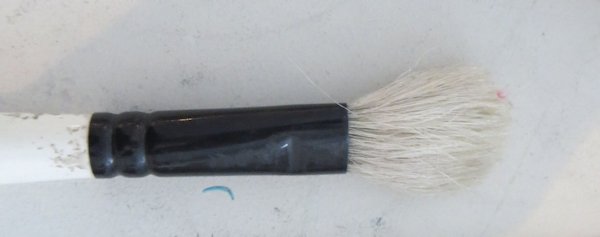 |
Mop brushes have lots of soft hair that will hold a large quantity of water and are good for painting washes. |
||
| Hake | 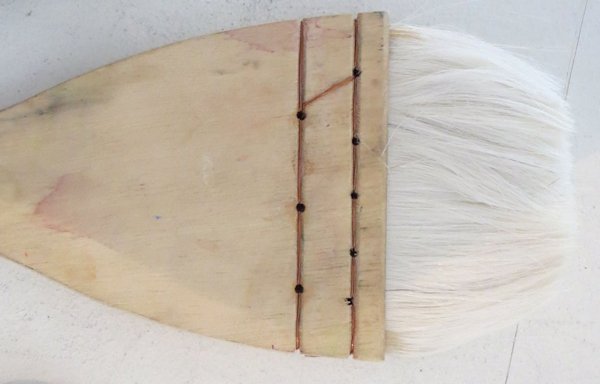 |
Hake brushes are made in Japan with goat hair; they are soft and good for big washes. |
||
| Detail Brushes | ||||
| Spotters | 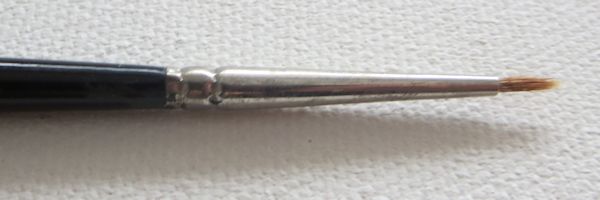 |
Good for painting details, because they have a very short hair length, the brush won’t bend while painting details. |
||
| Riggers | 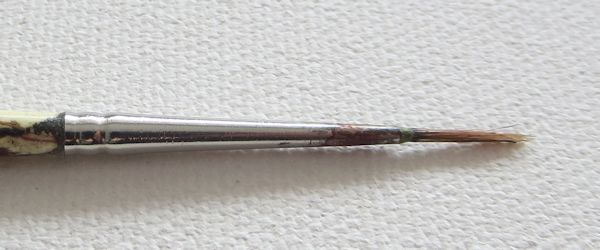 |
The rigger brush was originally used for lettering and works great for thin lines. |
||
| Sizes | ||||
|
The most common sizes of watercolor brushes range from from #0000 to #24 (about 3/4″), but you can find sizes up to a #50; the smaller the number, the smaller the size of the brush. |
||||
Tools
Techniques
Brushes