Step 2. Editing the evox.ini file so you can Network/FTP into
your XBOX.
Open up the evox.ini file.
Go to the section that says:
_______________
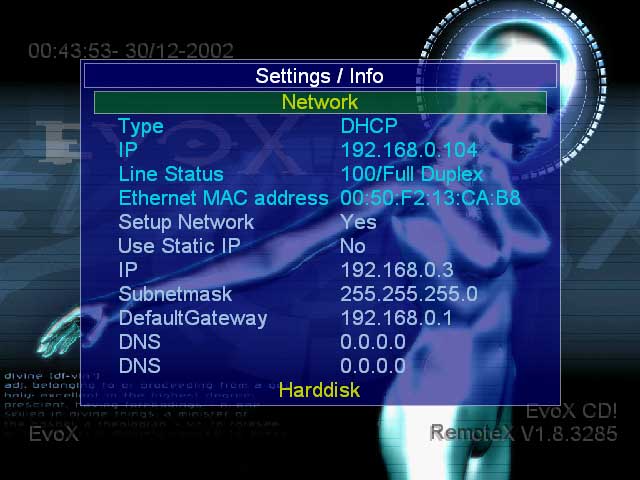
[Network]
SetupNetwork = Yes
StaticIP = No
Ip = 192.168.0.3
Subnetmask = 255.255.255.0
Defaultgateway = 192.168.0.1
DNS1 = 0.0.0.0
DNS2 = 0.0.0.0
___________
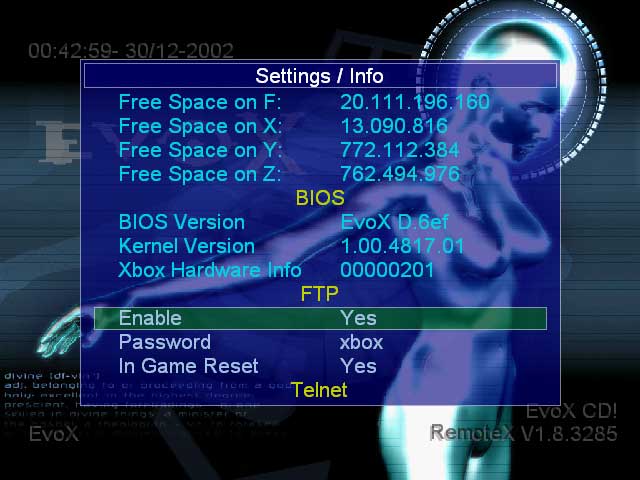
Make sure you have a YES next to SetupNetwork and also make sure that
you enable FTP (see below)
_________
[FTP]
Enable = Yes
Password = xbox
IGR = Yes
________
If you want to, you can put yes next to StaticIP; if you do, be sure
to set the IP below. We'll later need this IP to FTP into the XBOX. Save
it. Next thing we'll need to do is to create an xbox image file of this
folder and then burn it to a blank cd-rw.
I'll explain more about the evox.ini file later on, after we get the
dashboard installed onto your xbox.
Next we need to create an xbox image file of this folder containing the
evox.ini, default.xbe, BIOS folder, Skin folder (xbox uses a different
type of file structure than most dvds) and then burn that .iso file to
a blank cd-rw. Click the link below to find out
Create xISO image with xISO
and burn them with Nero |